Captured Overhand Cuff

A closeup of a leg in a white bodysuit with a doubled blue rope tied around it in a captured overhand cuff. The rope enters from the left and makes two clockwise wraps around the leg, then makes a complicated knot right where the standing part of the rope meets the wraps. The tail of the rope exits at the bottom of the image.

The captured overhand cuff is a more stable version of the hojo cuff. Compared to the hojo cuff, it has the great advantage of being stable no matter how it’s loaded.

The disadvantage of the captured overhand cuff is that it’s slower and more fiddly to tie. We don’t use it often, but it’s a useful technique to have in your back pocket.

Step by step

We are looking down at the legs of a person in a white bodysuit seated in a chair. A doubled blue rope is tied around the left leg just above the knee. The standing part exits to the right, crossing over the right leg and exiting to the right of the image.

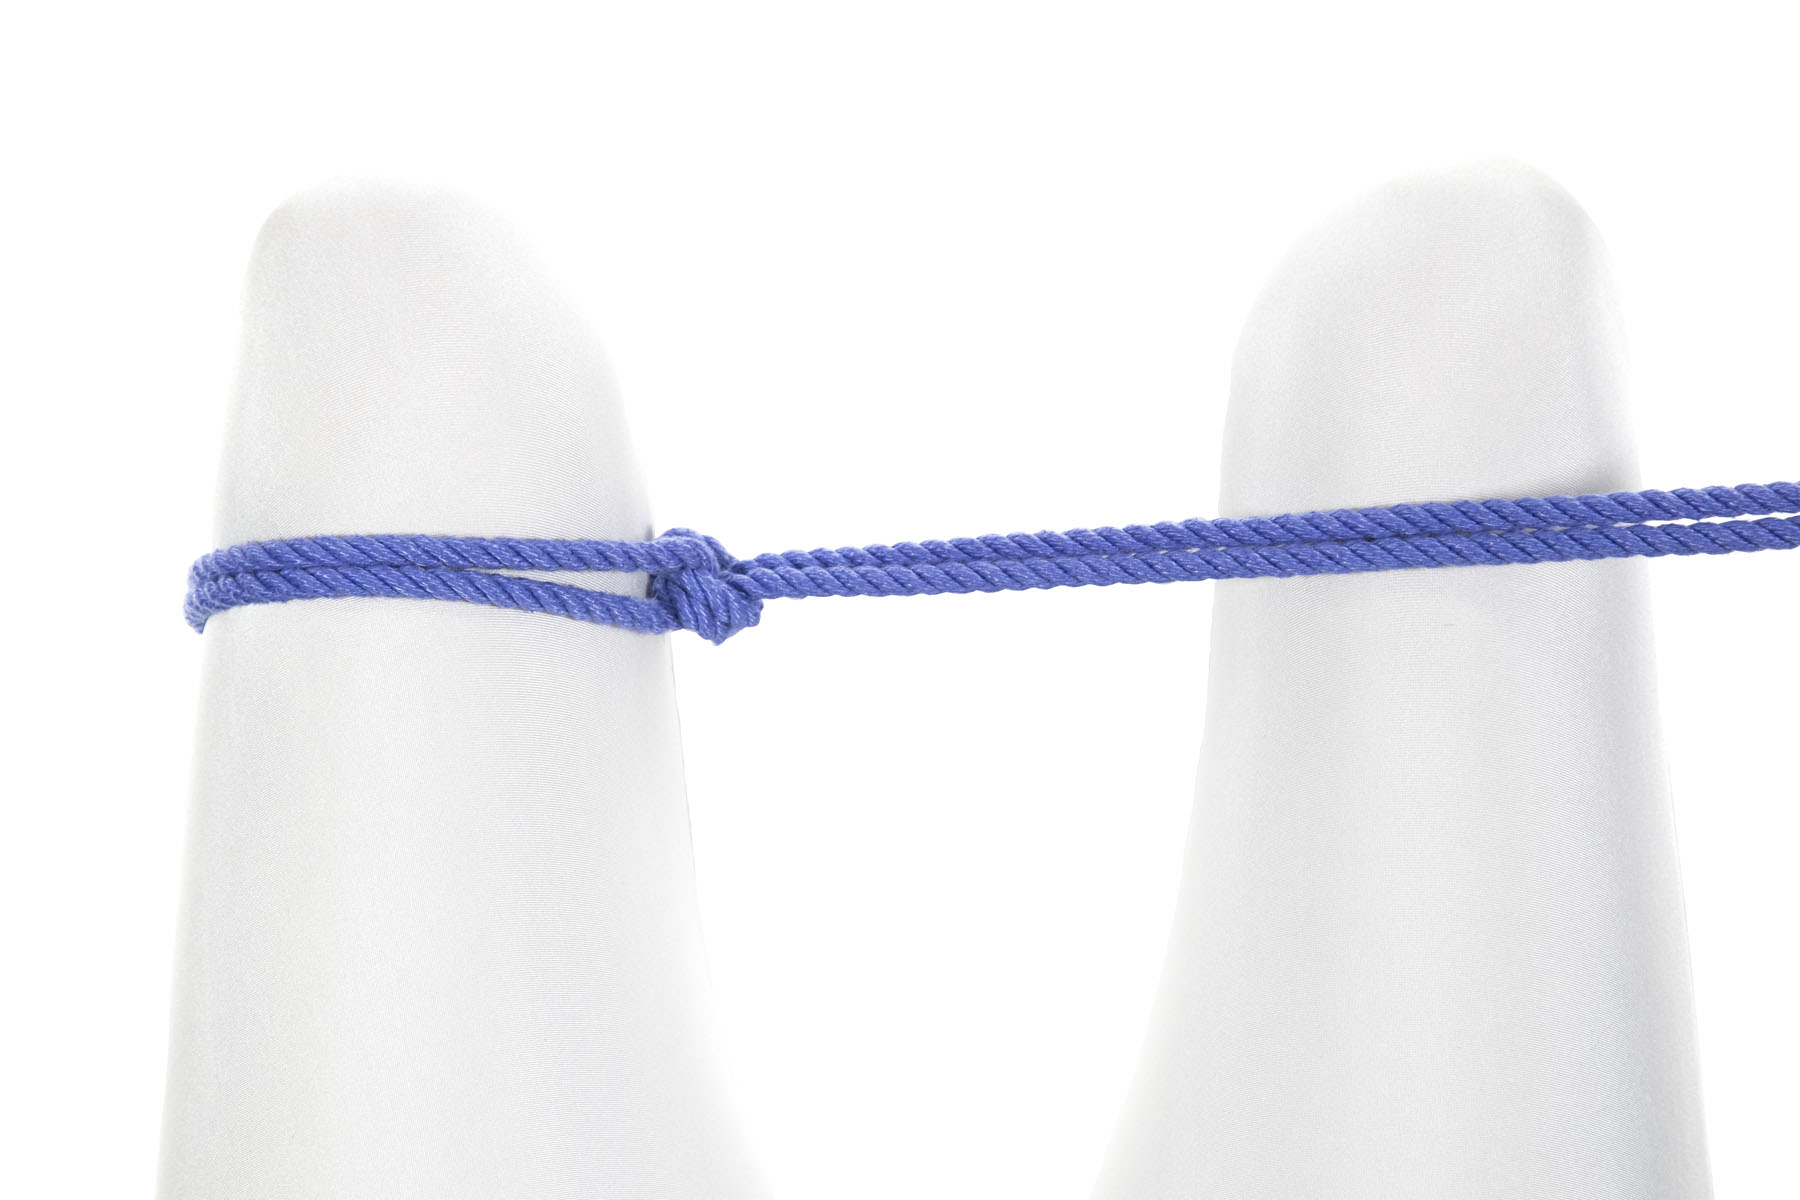
1Tie your favorite column tie around your left leg and run the rope over to your right leg.

A closeup of the blue rope meeting the right leg. Just before it reaches the leg, the two parts of the rope separate slightly and are tied together with an overhand knot. They then continue to the right, lying on top of the right leg. The overhand knot makes a vertical twist that separates the two halves of the rope, about one inch to the left of the right leg.

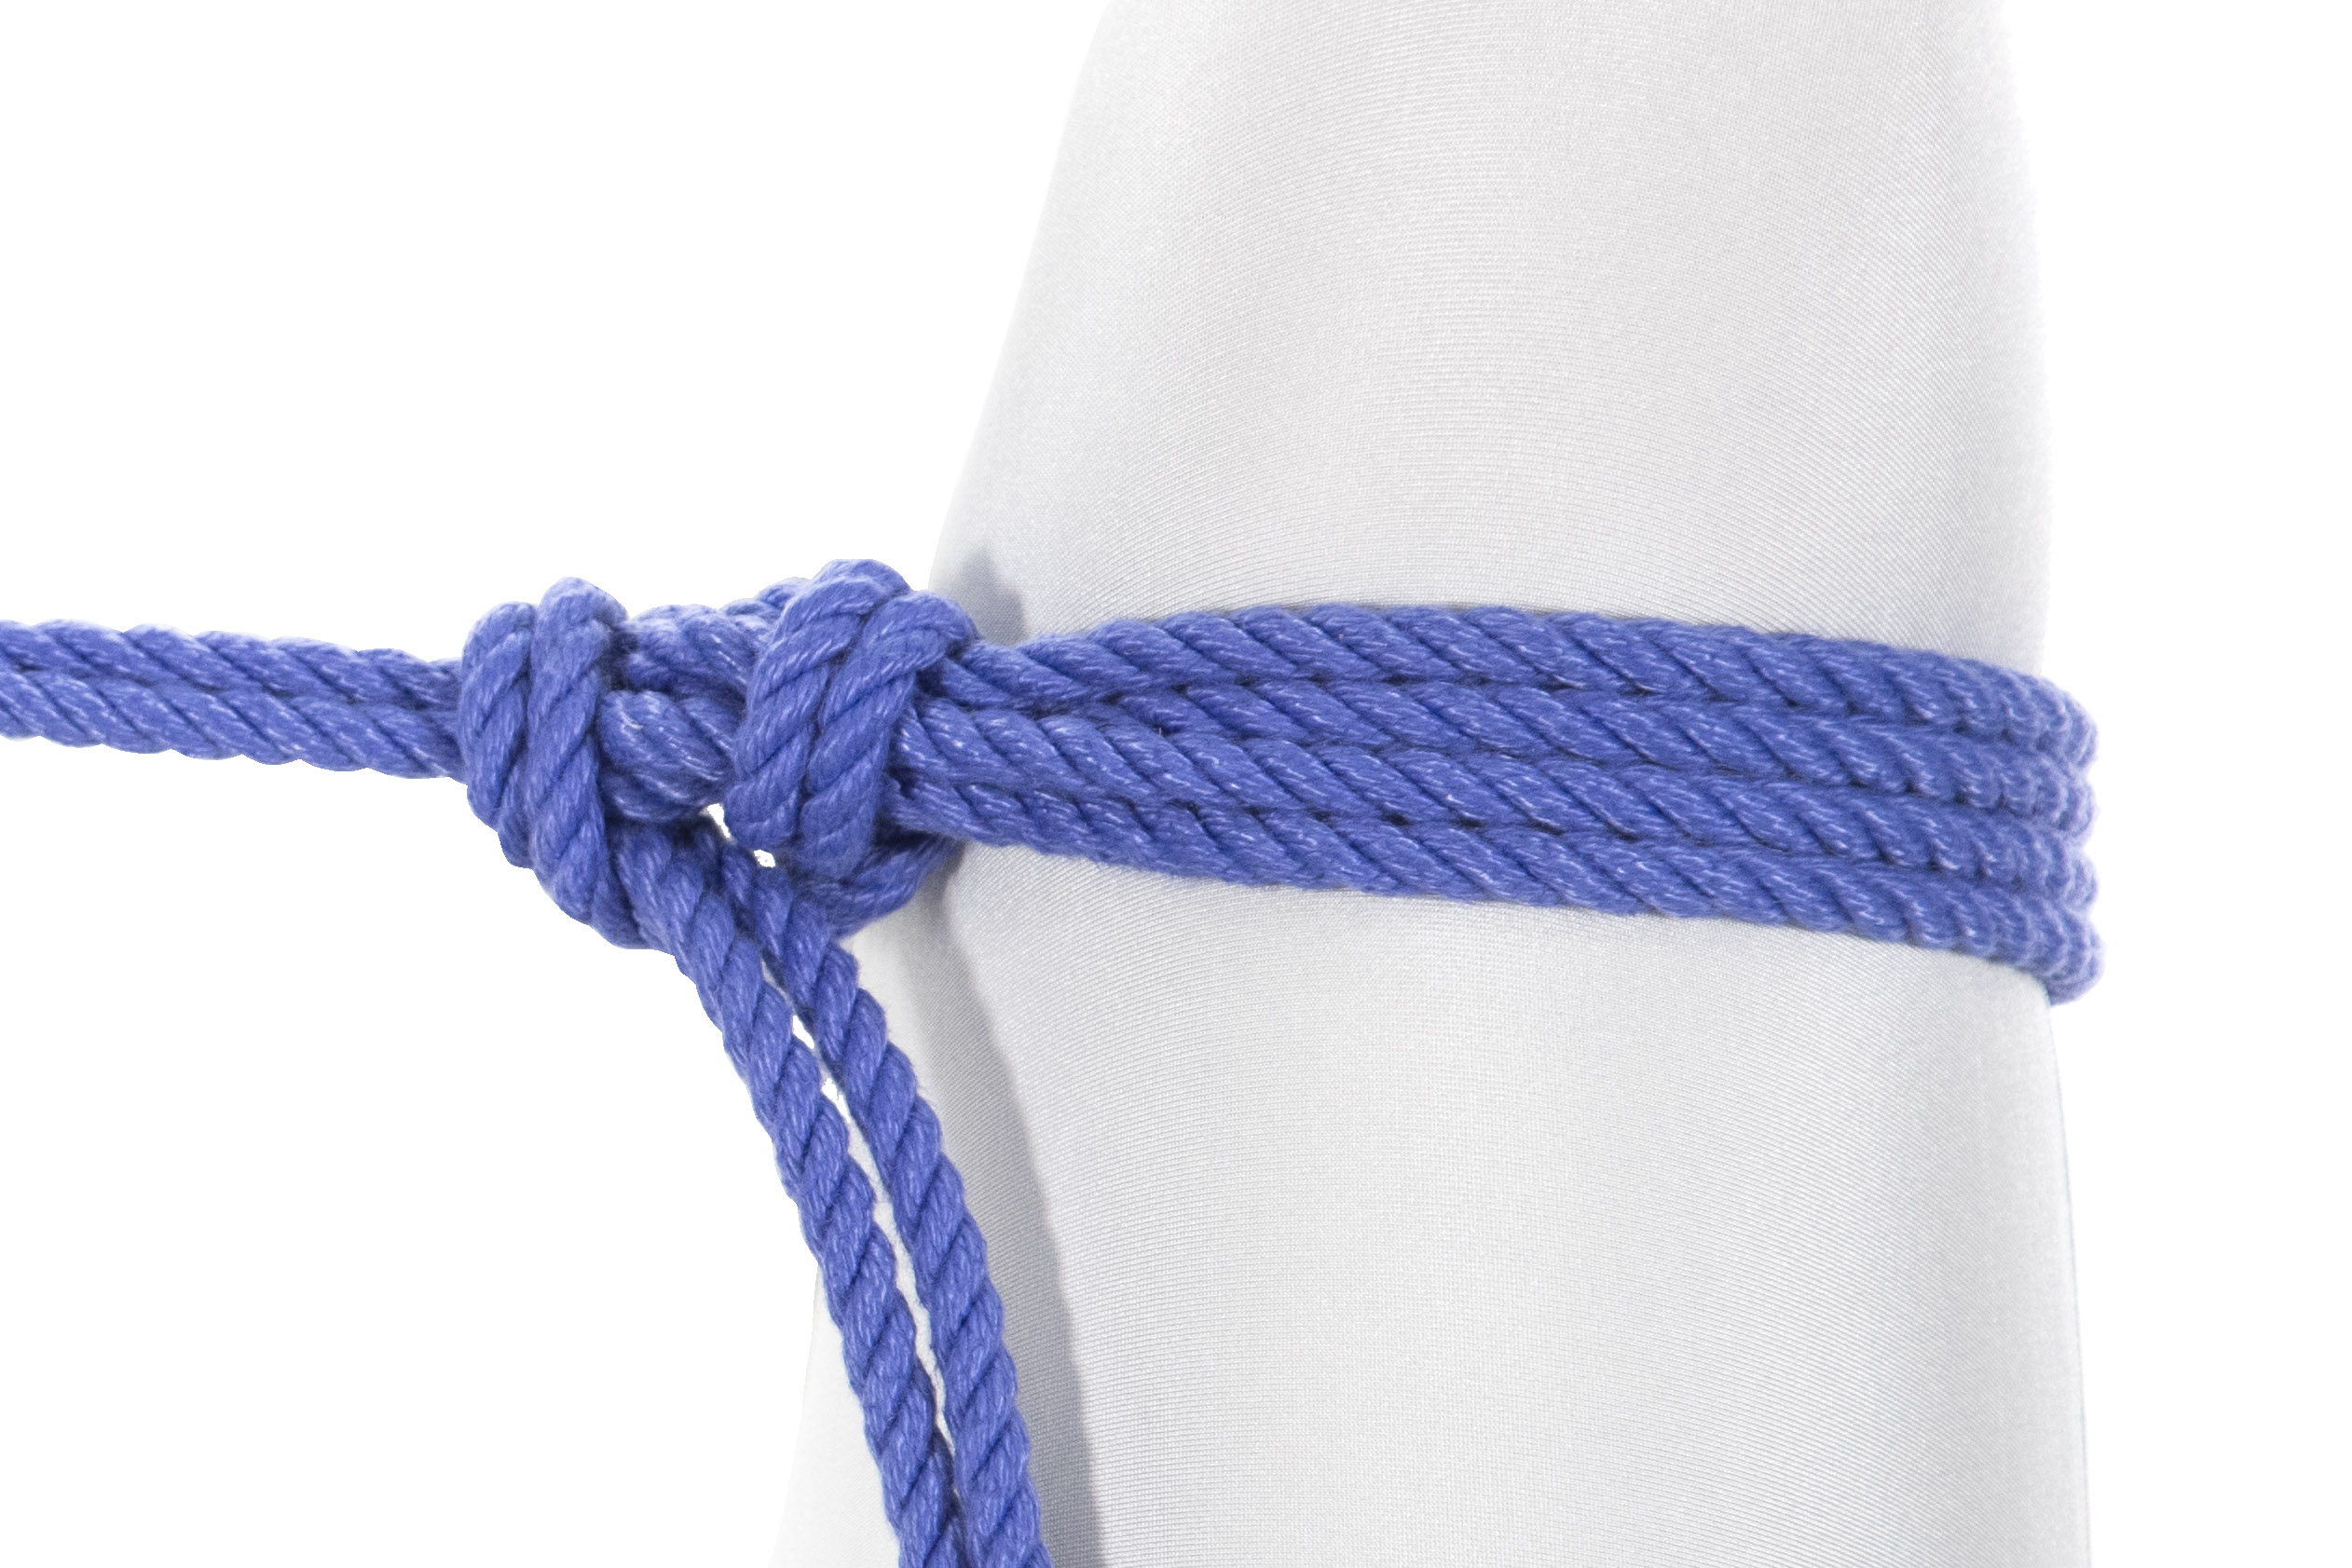
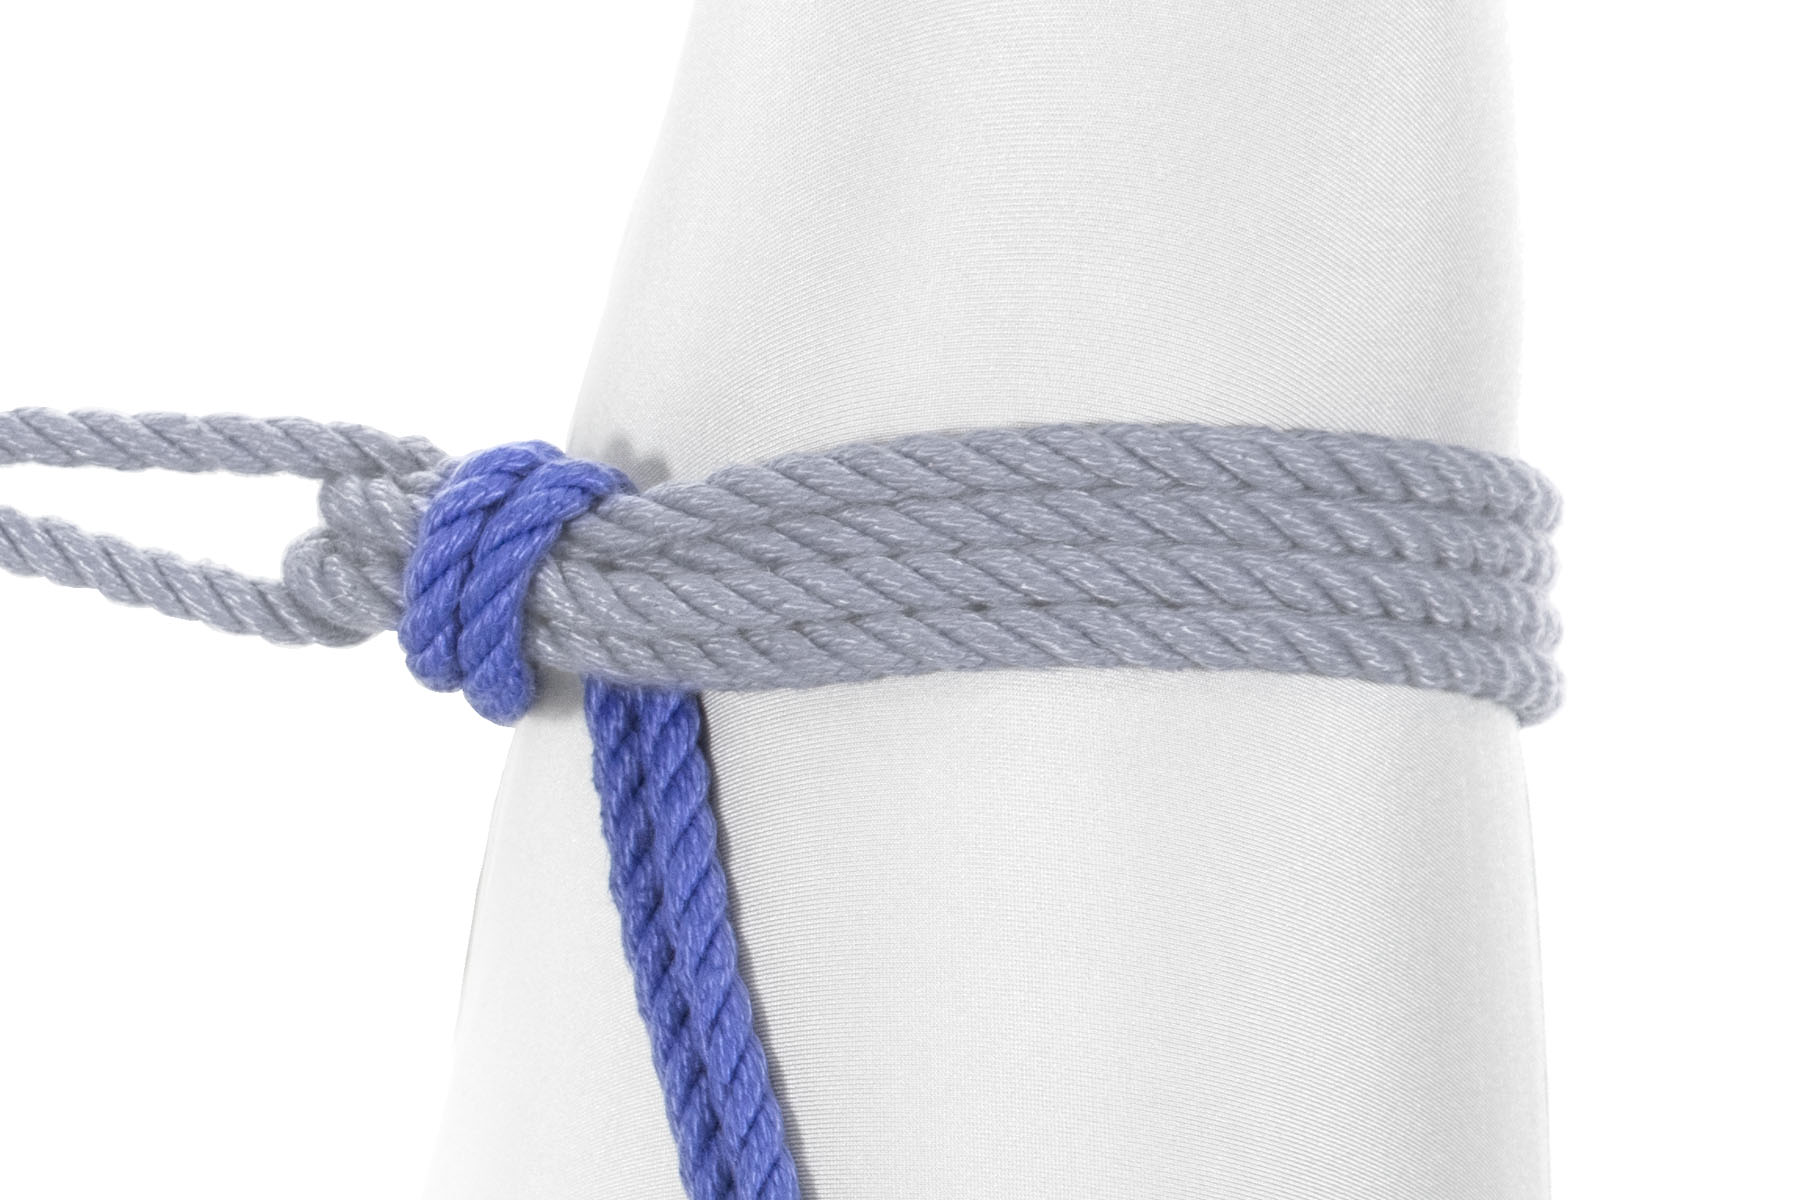
2Tie an overhand knot right where the rope meets your right leg.

The rope makes a single clockwise wrap around the leg, six inches above the knee. At the end of the wrap, it passes over the overhand knot from the previous step, passing in between the two halves of the standing part of the rope. It then travels down and right, exiting the image.

3Wrap the rope clockwise around your right leg and through the standing part, going over the overhand knot.

The rope makes a second wrap around the leg, lying against the first wrap on the side closer to the person’s body. This wrap does not go between the two halves of the rope.

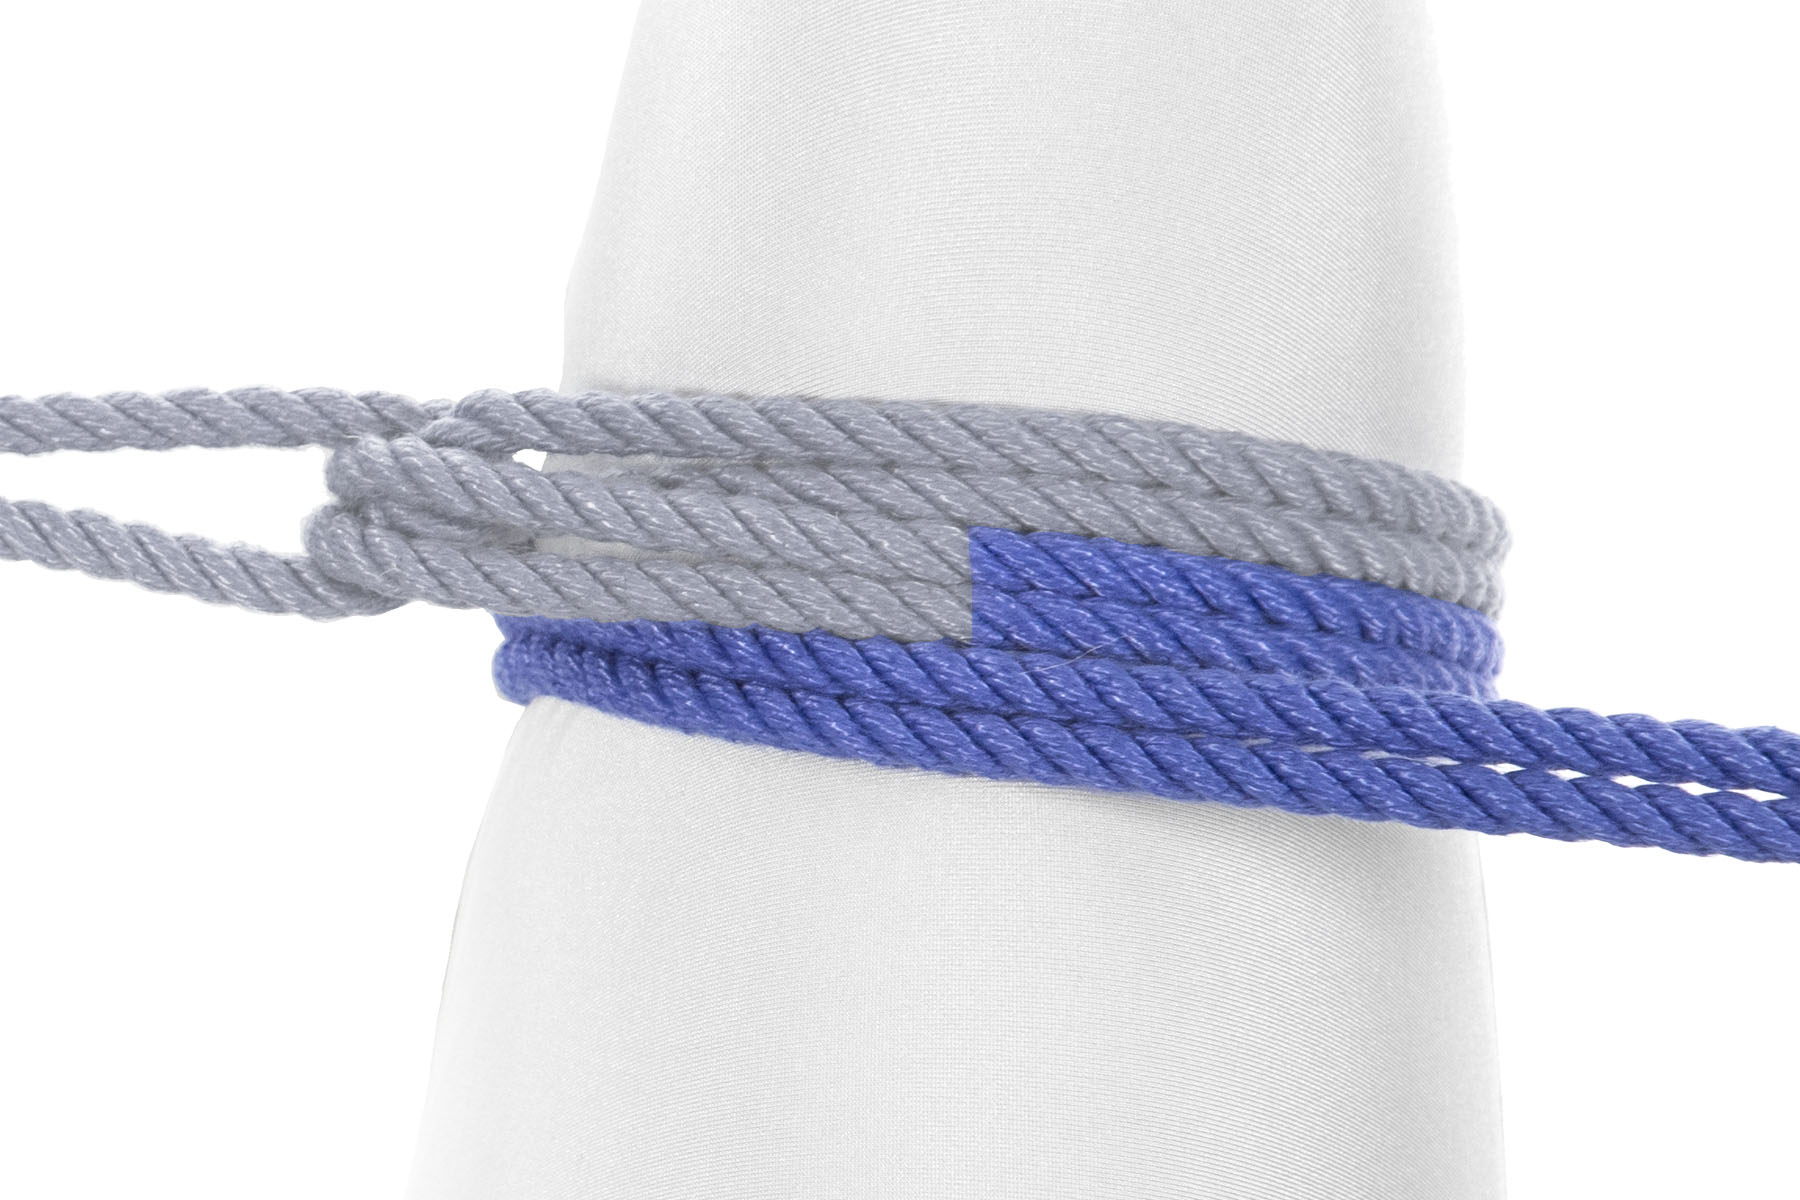
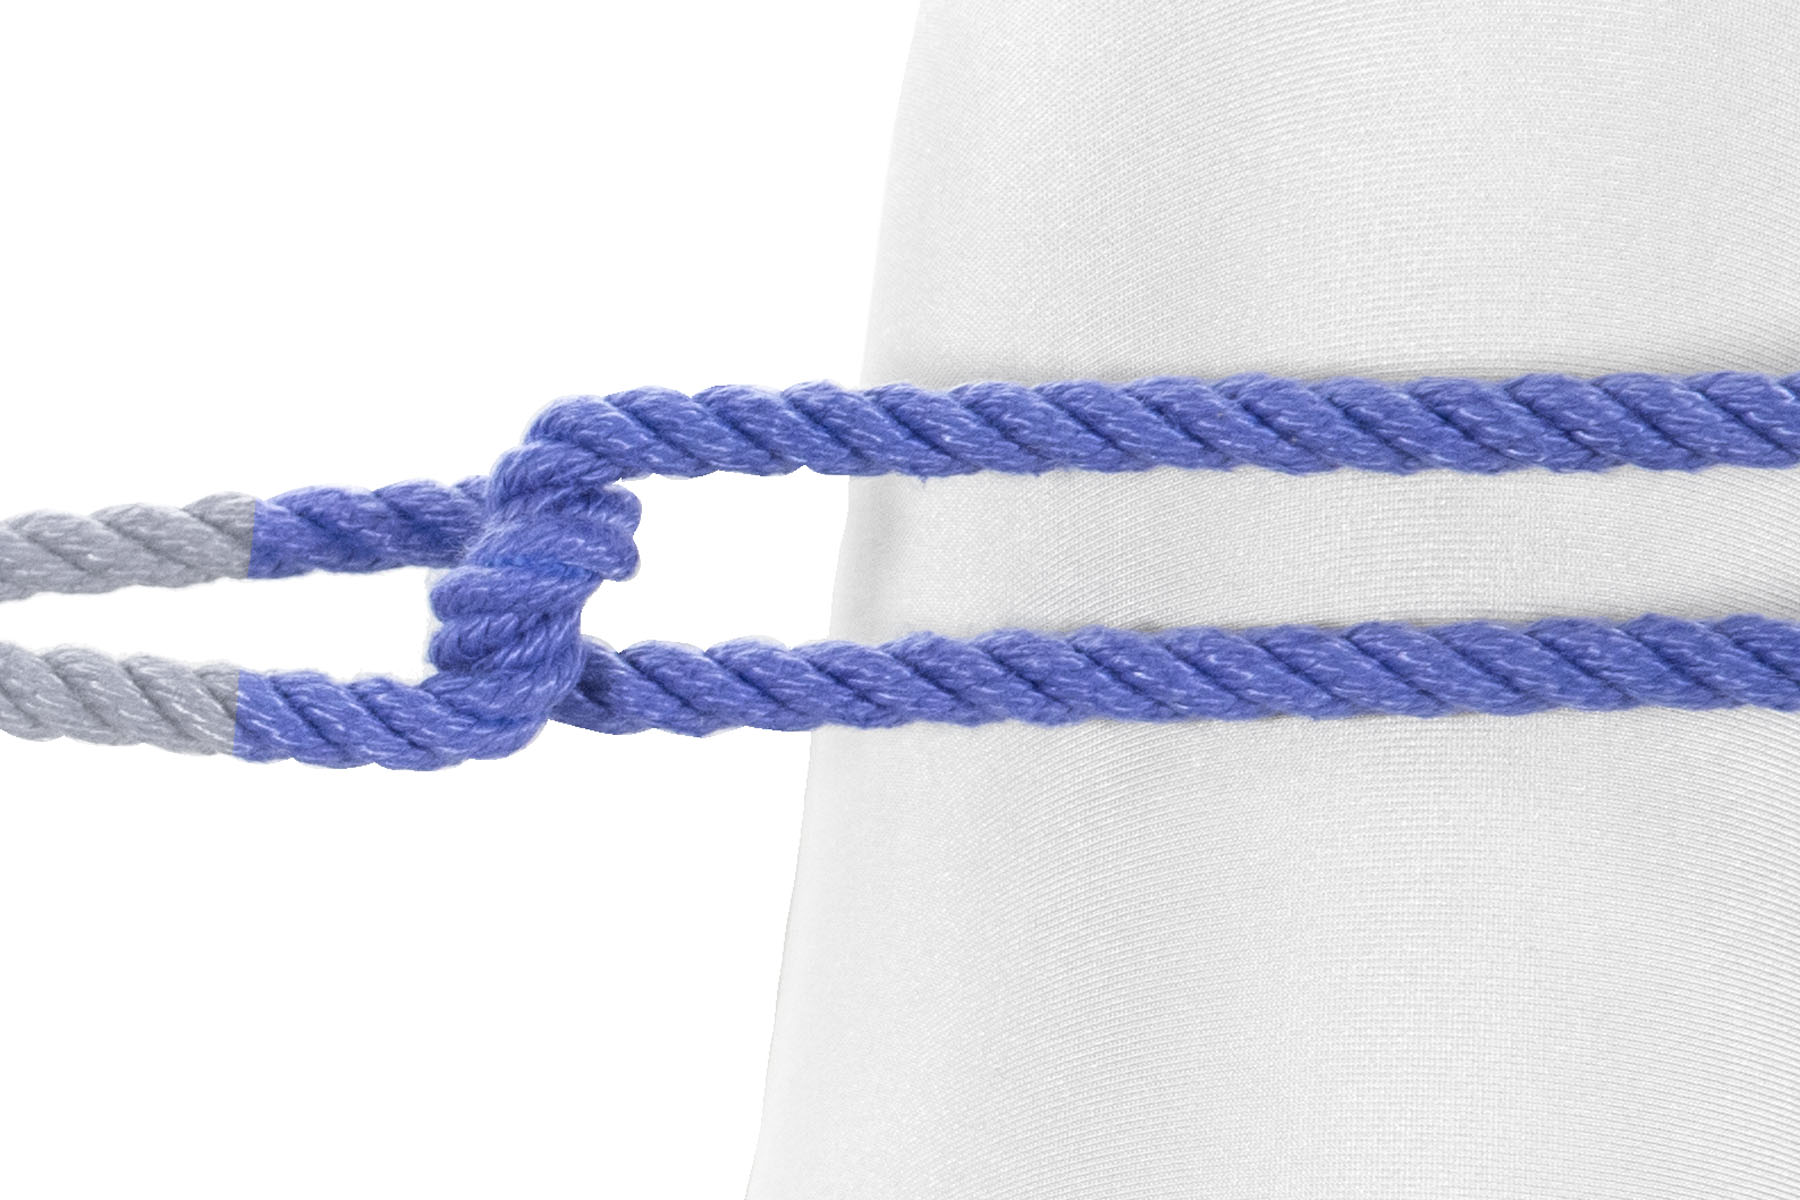
4Make another wrap around your leg.

You don’t need to go over the knot this time.

Immediately after passing the standing part of the rope, the working end crosses over both wraps and then doubles back, going under them.

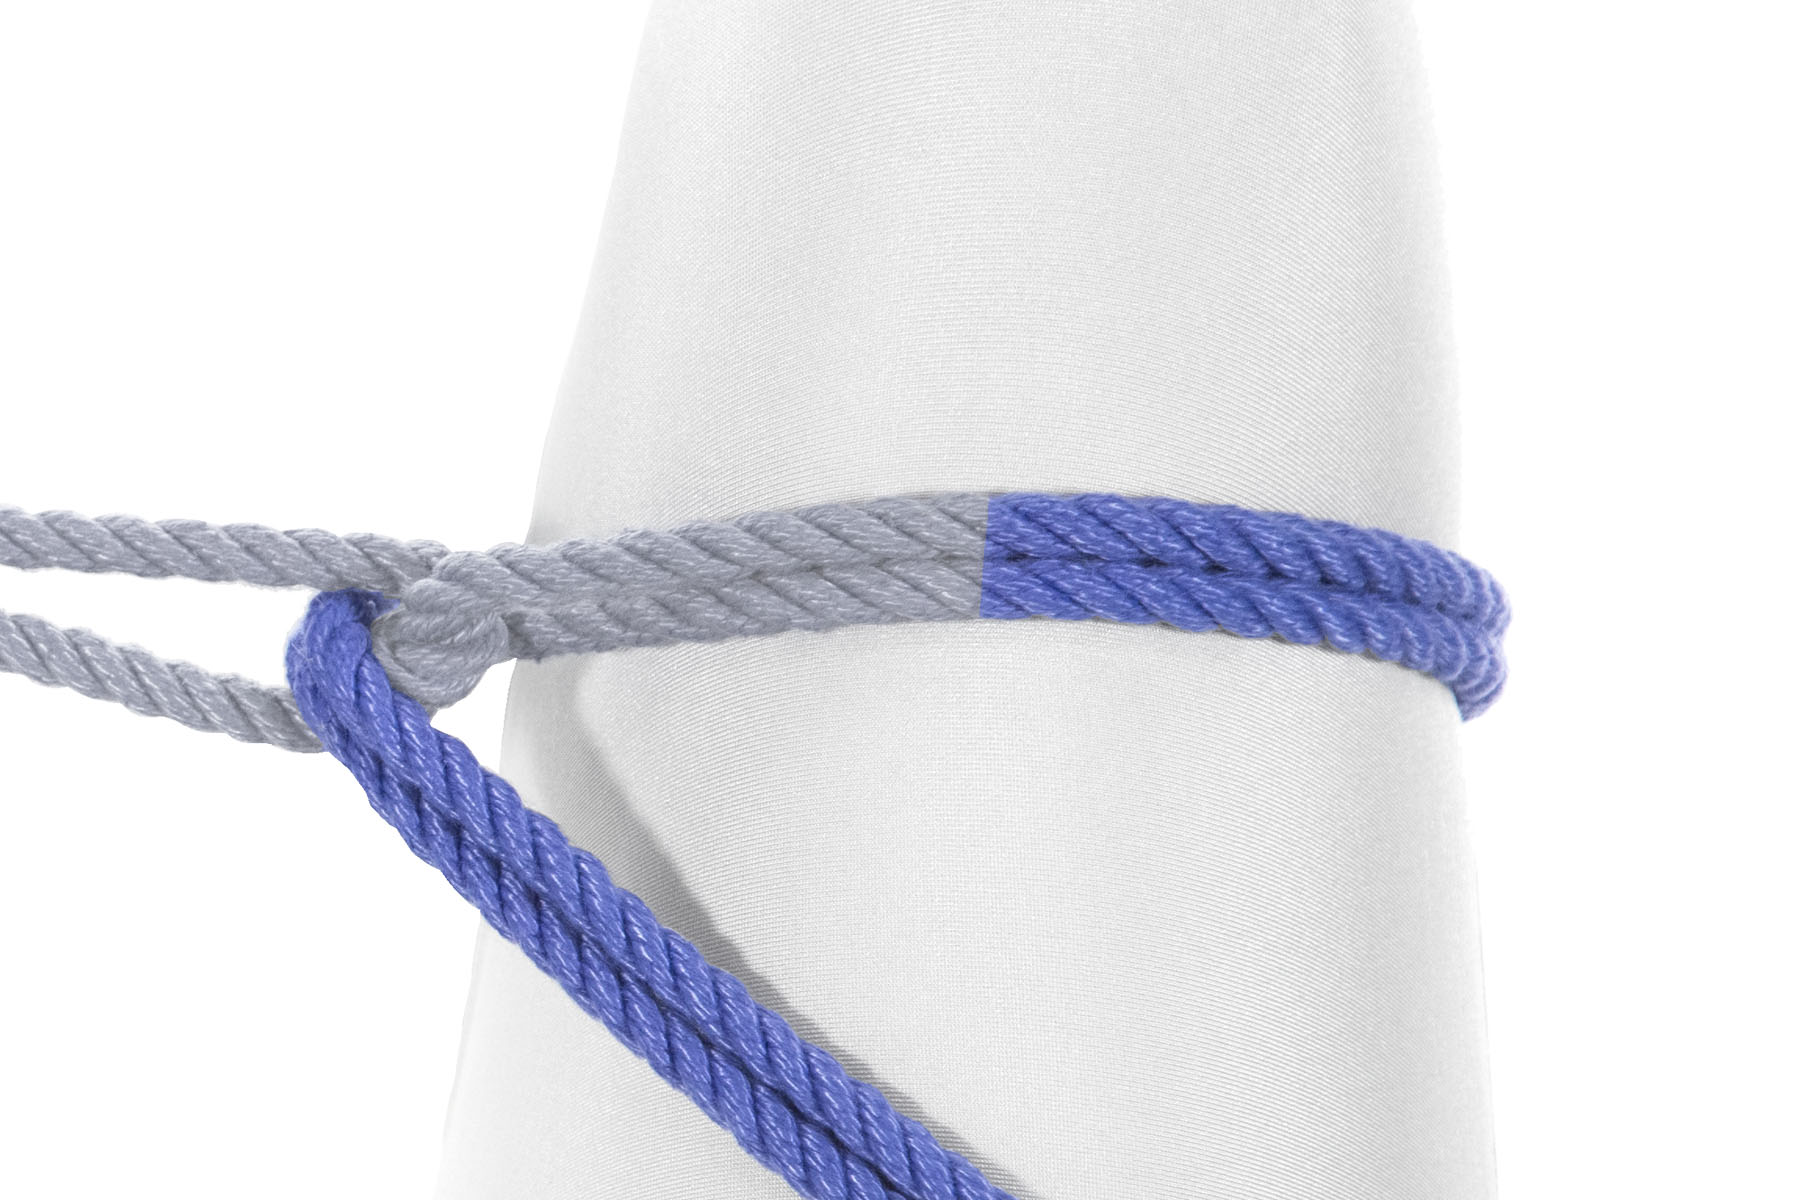
5Right after the standing part, cross over all the wraps and then go back underneath them.

The working end makes a half hitch around the standing part, going over it then doubling back under it, then crossing over itself.

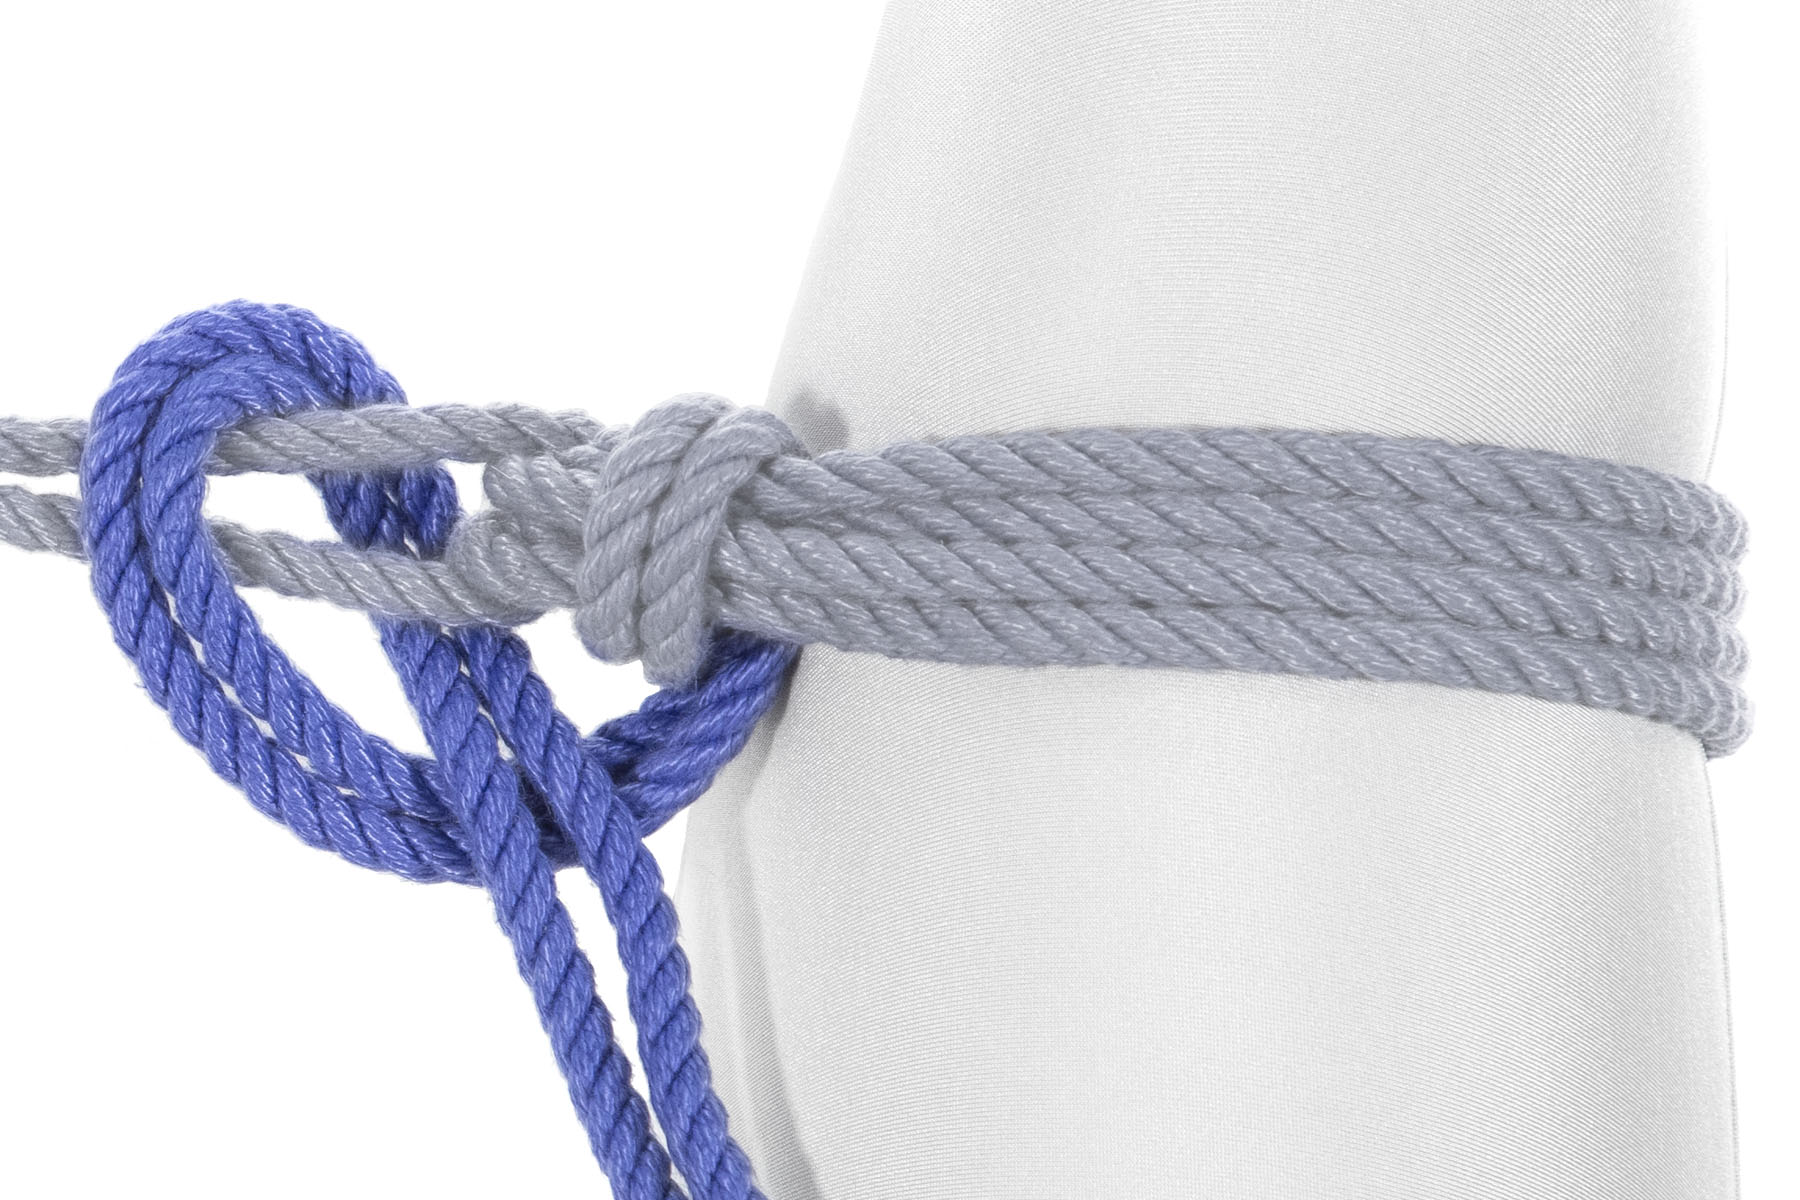
6Make a half hitch around the standing part.

0

This work is licensed under a Creative Commons Attribution-ShareAlike 4.0 International License.