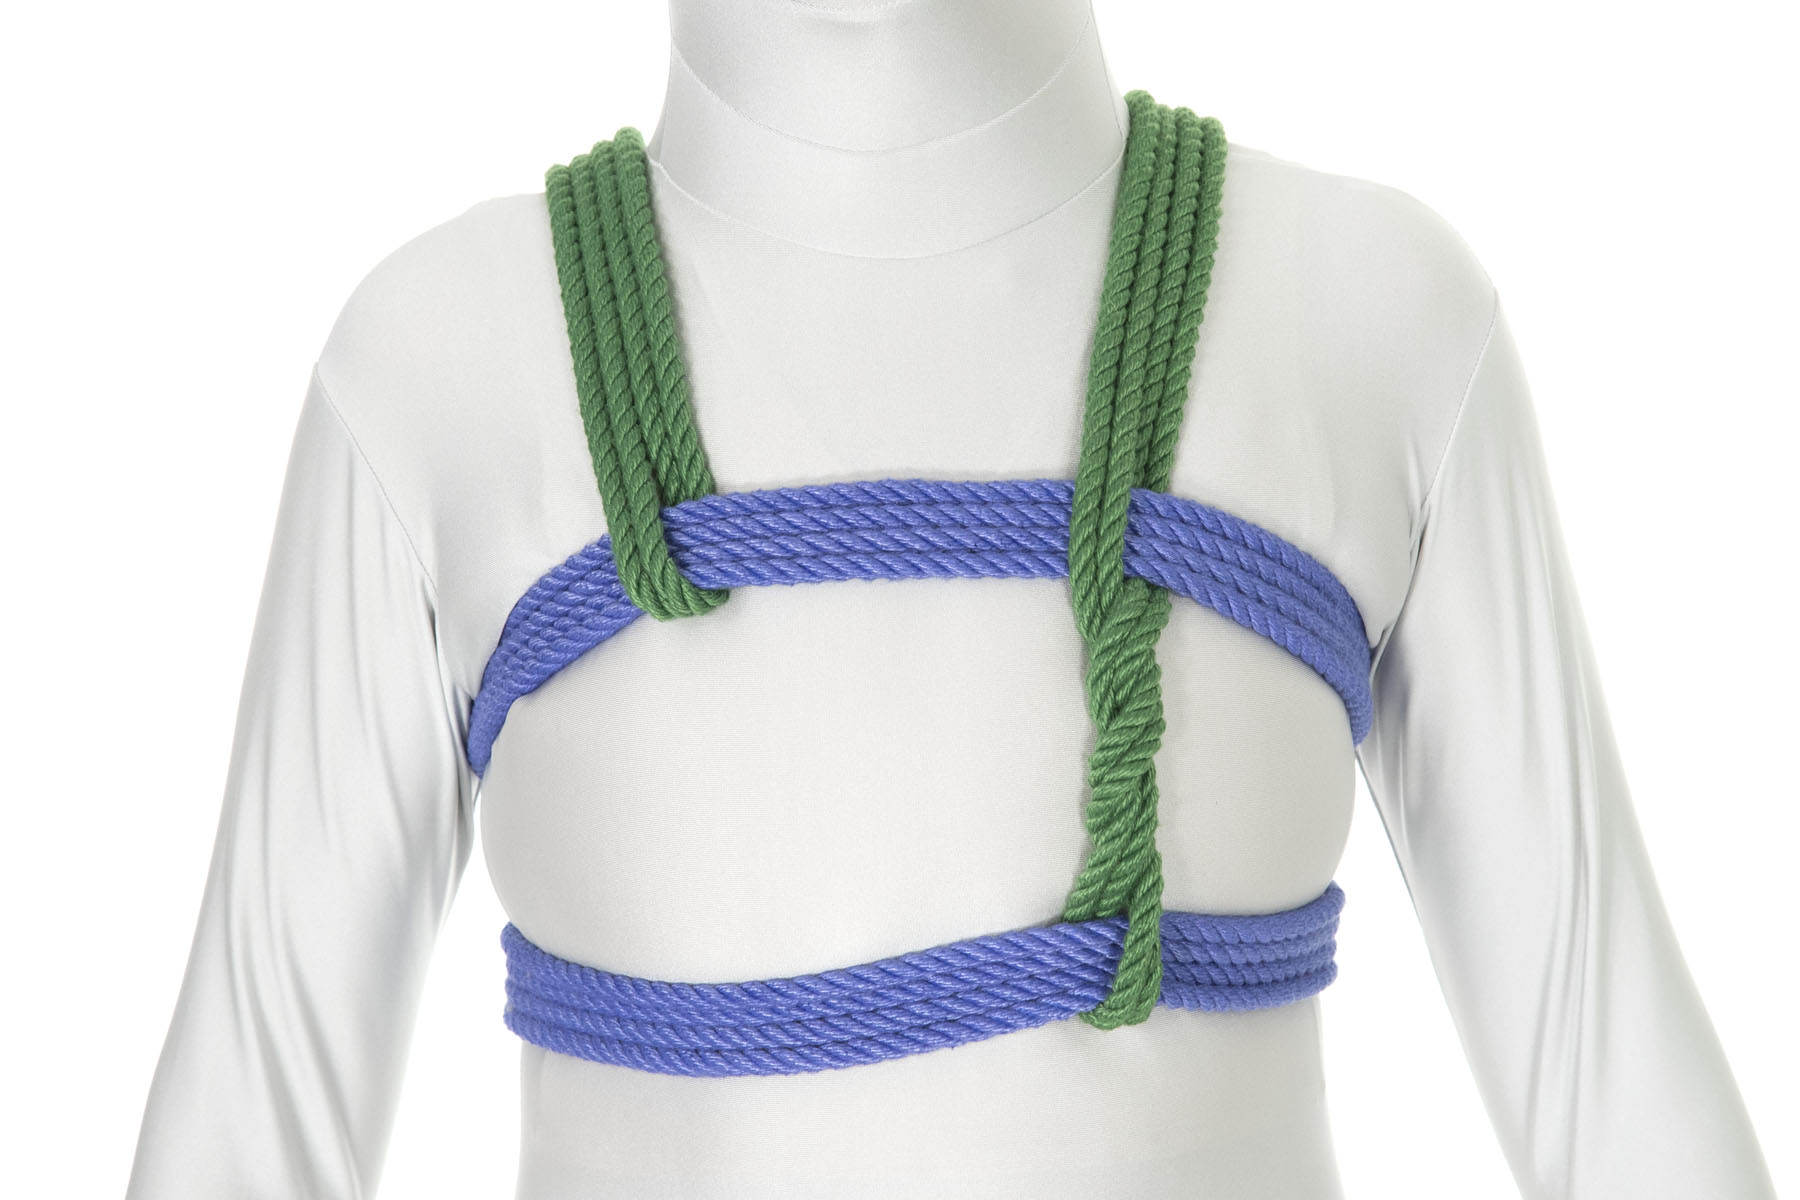
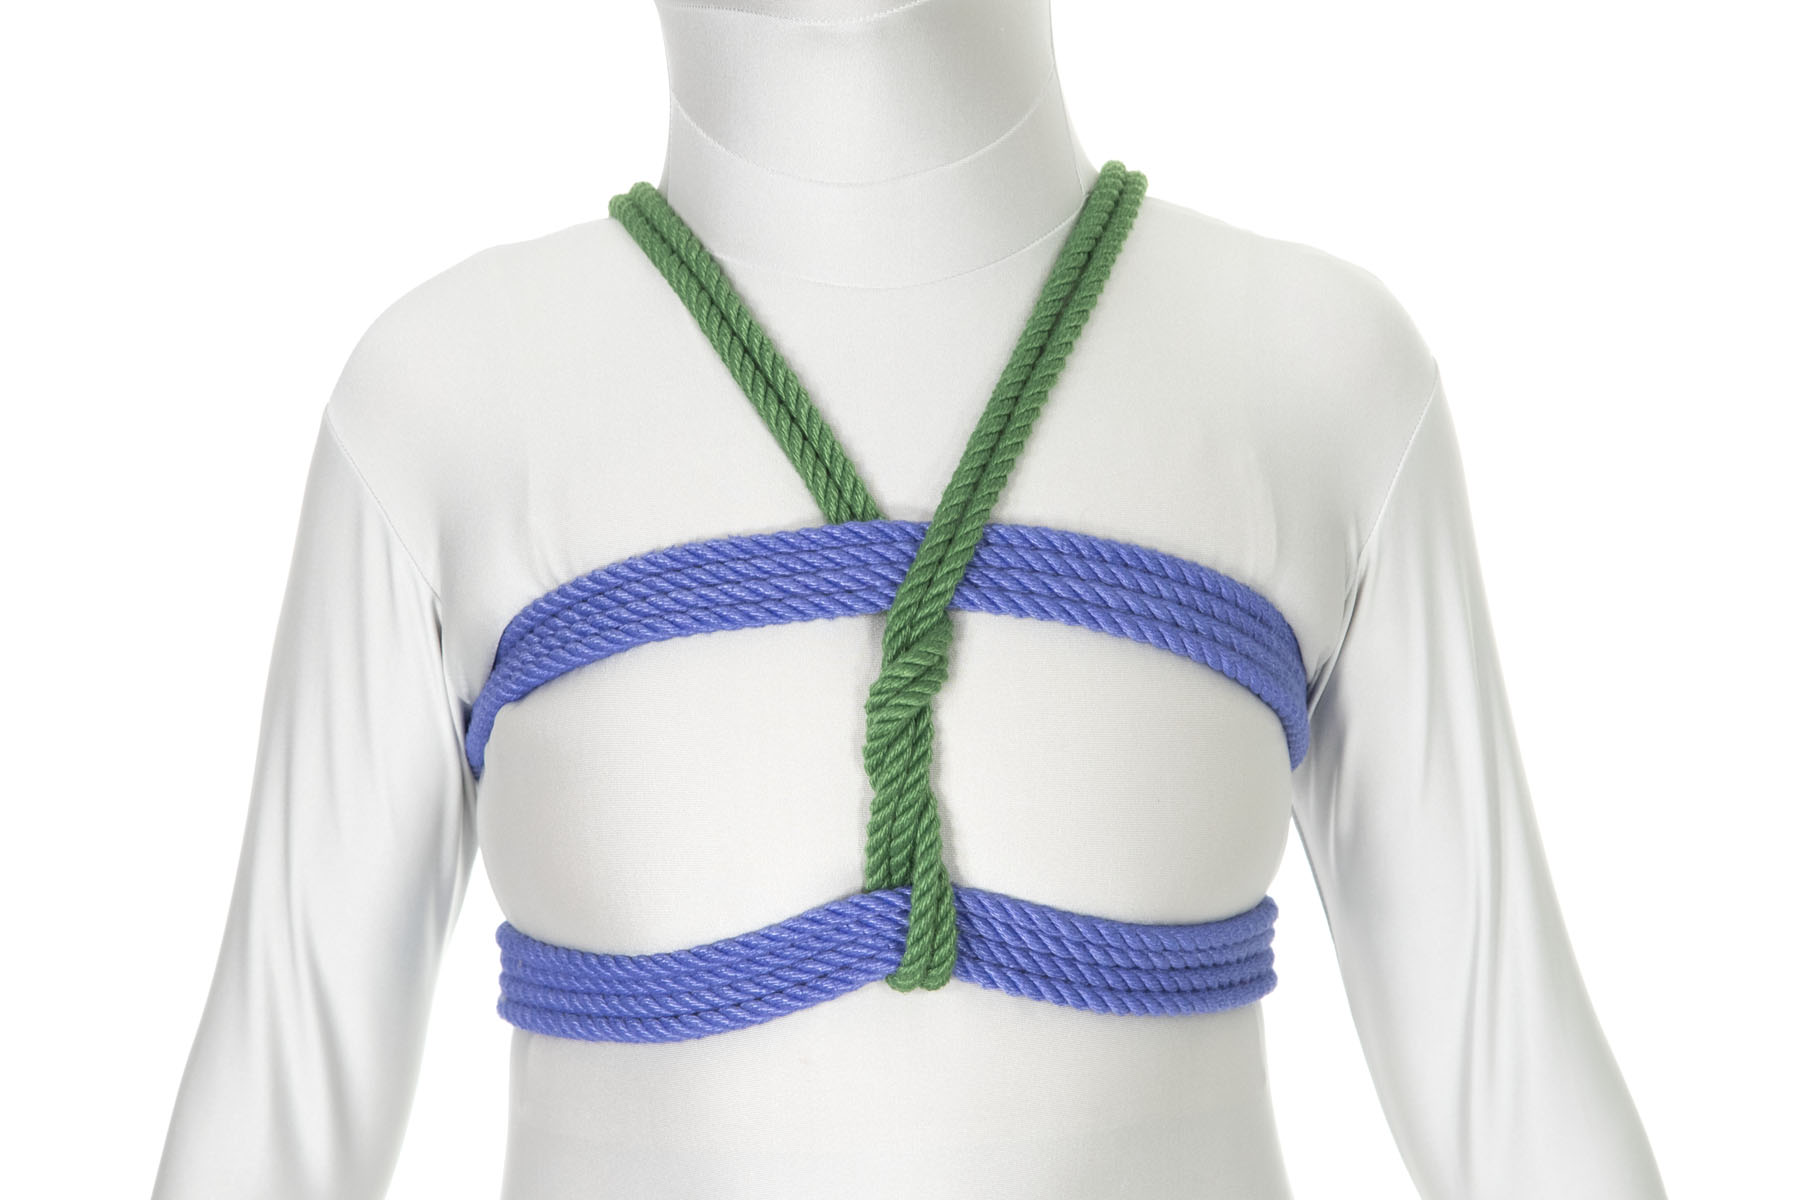
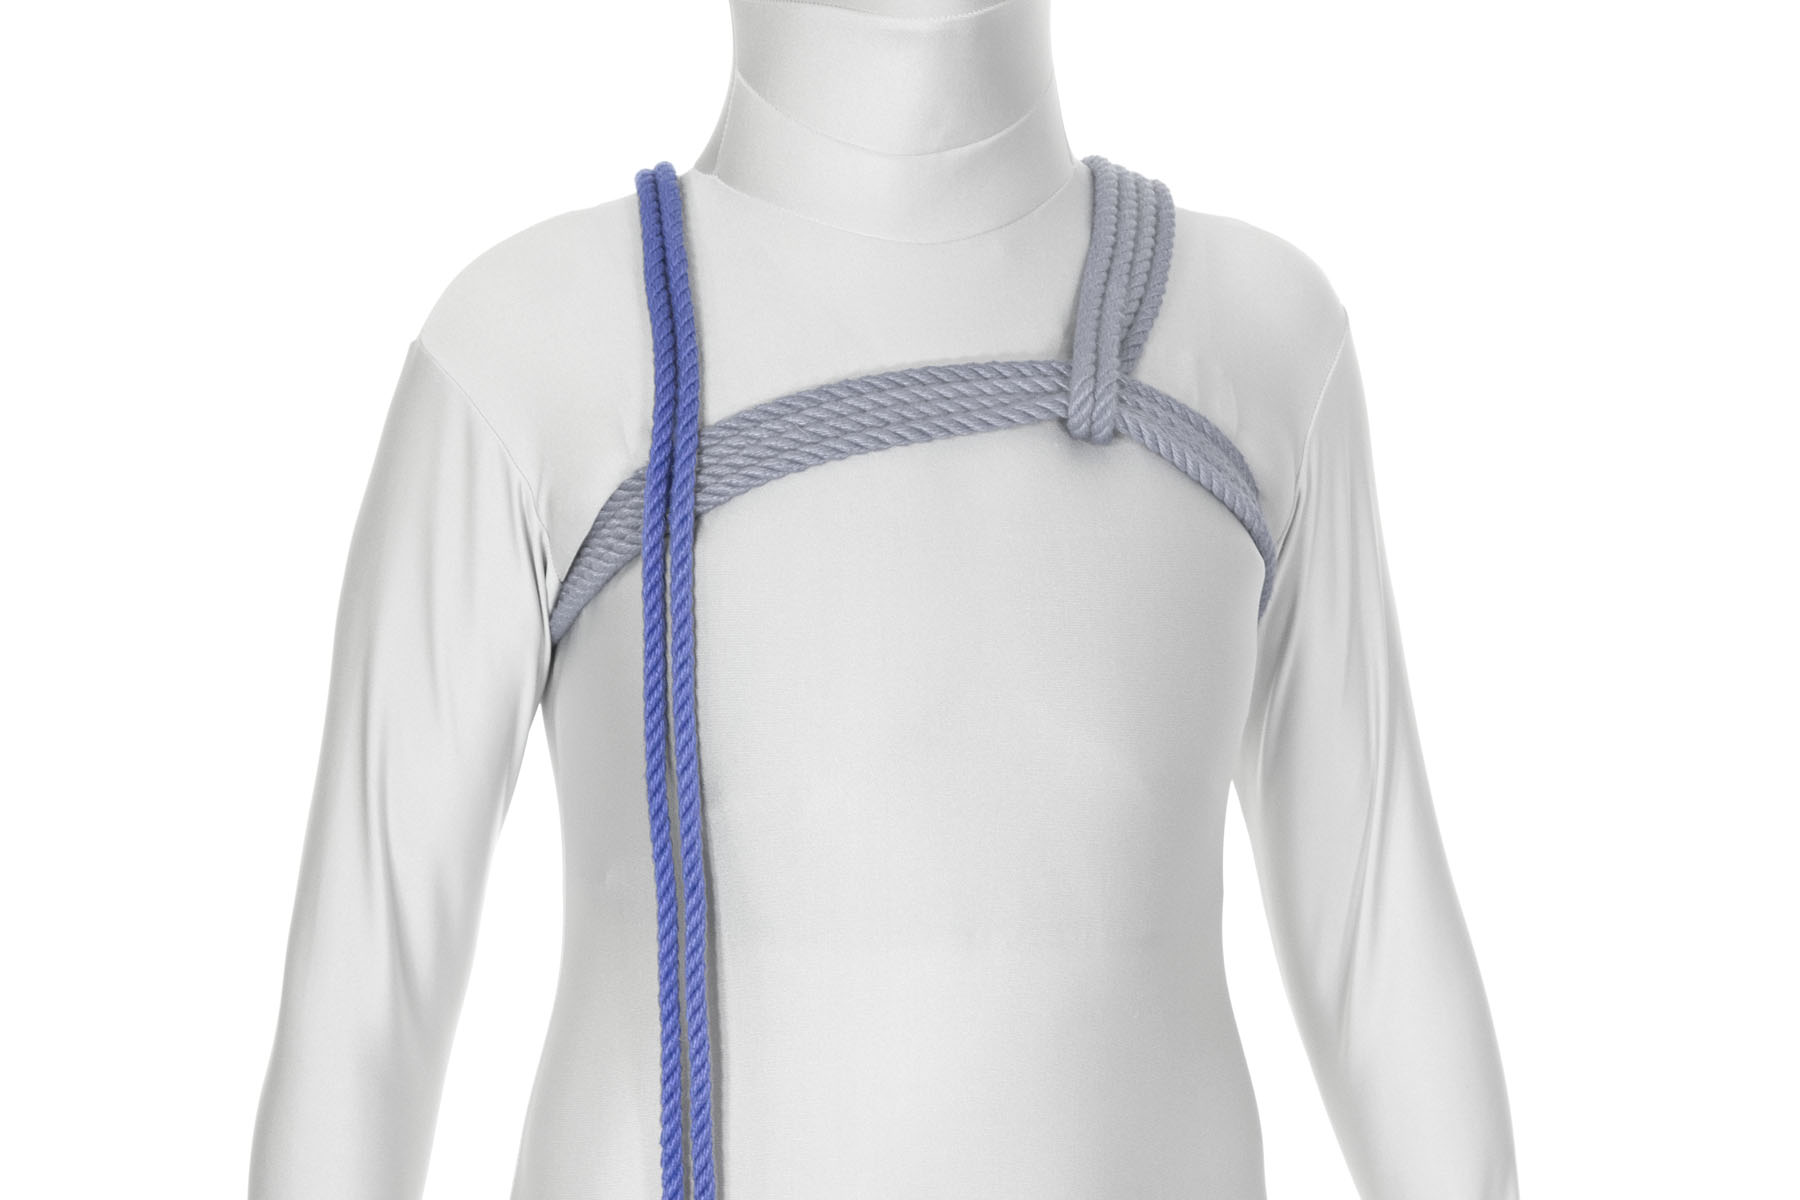
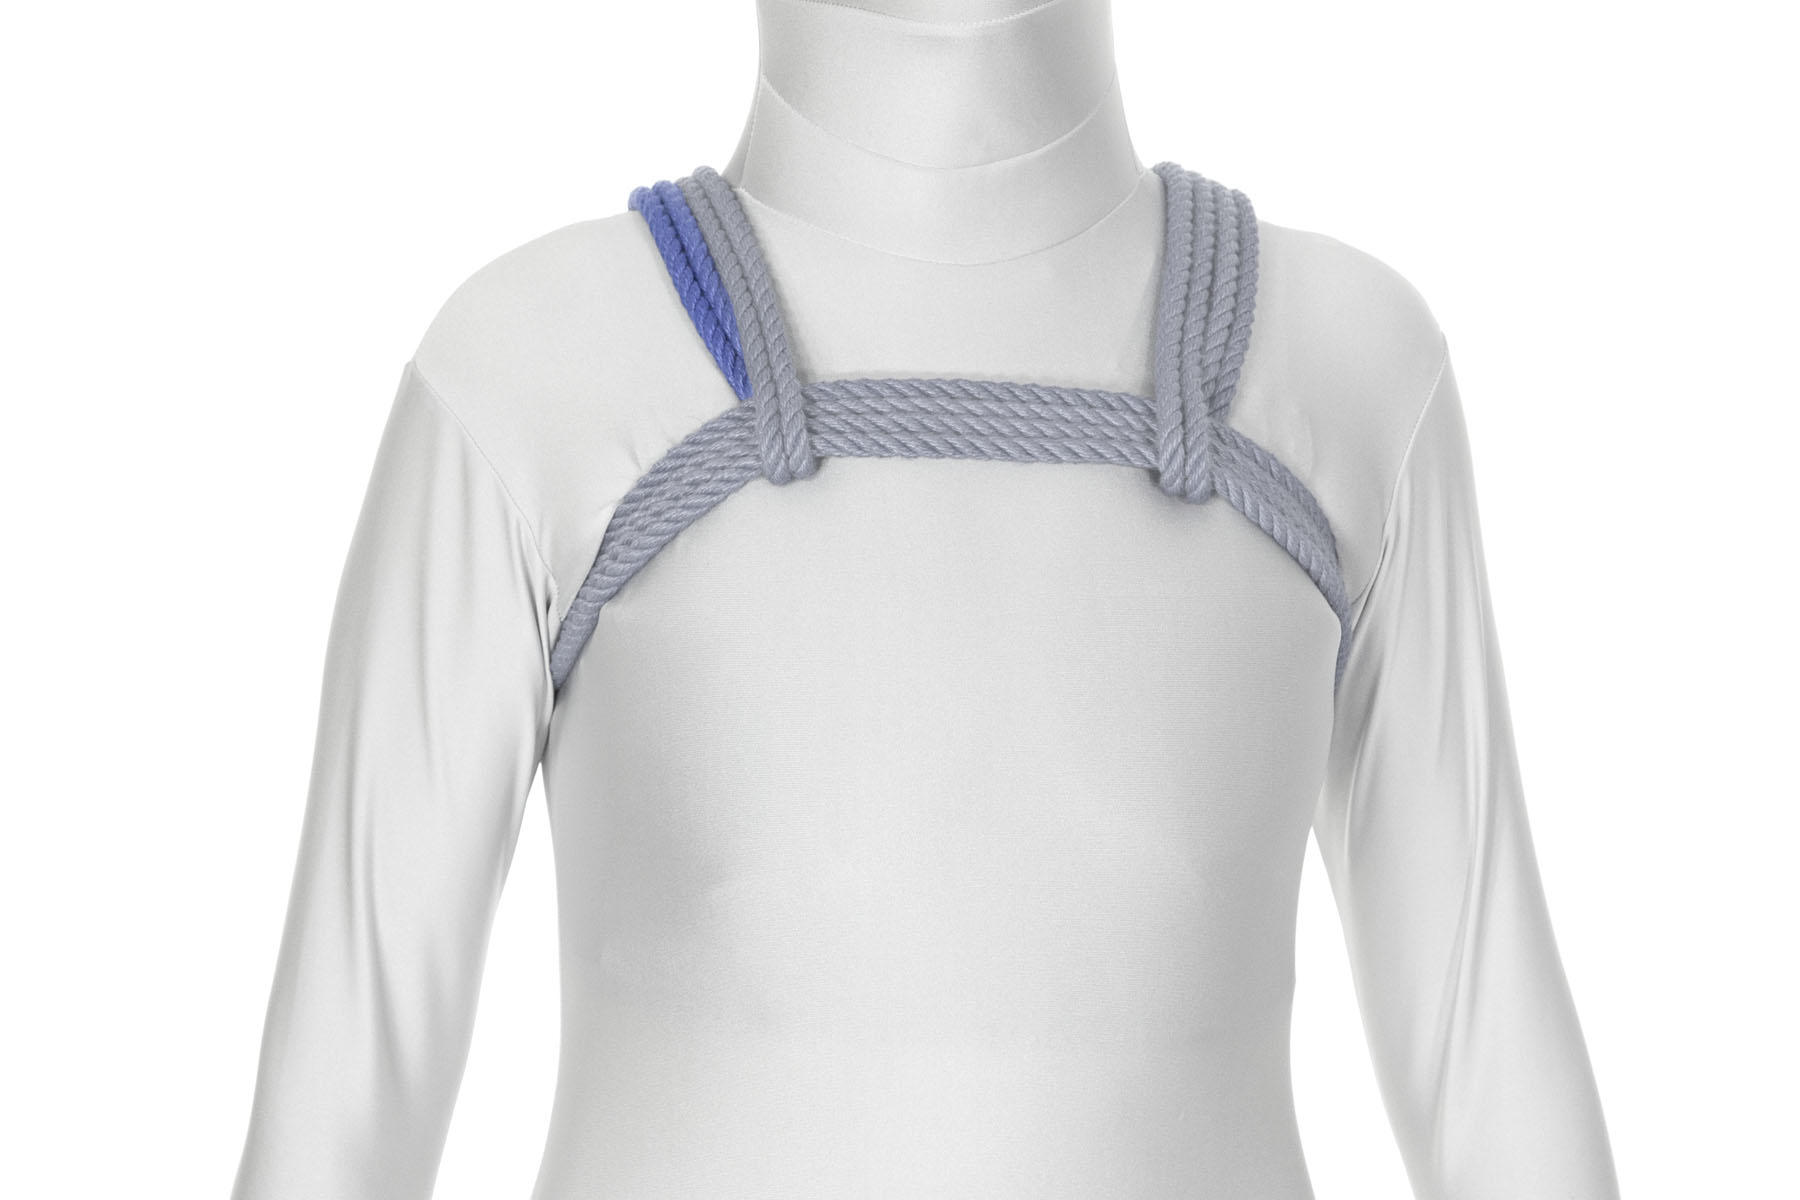
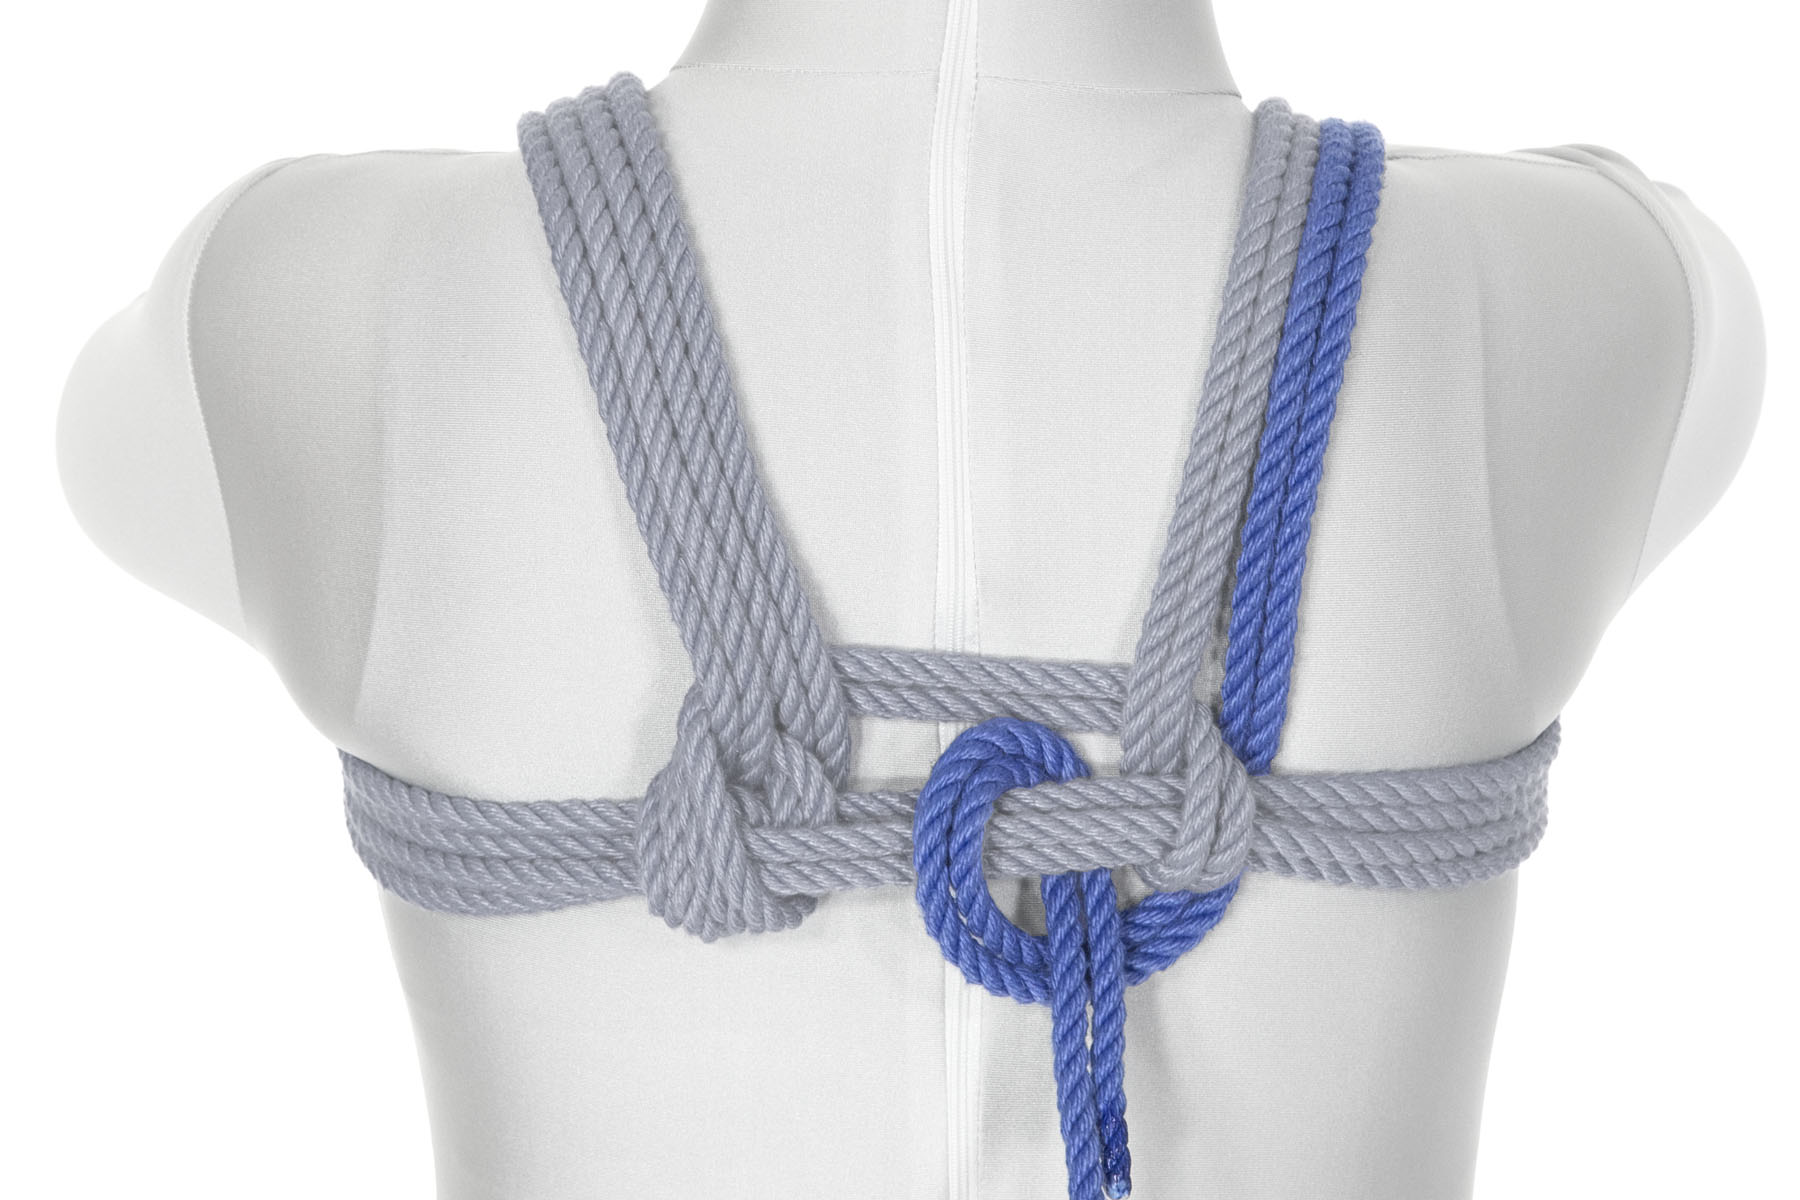
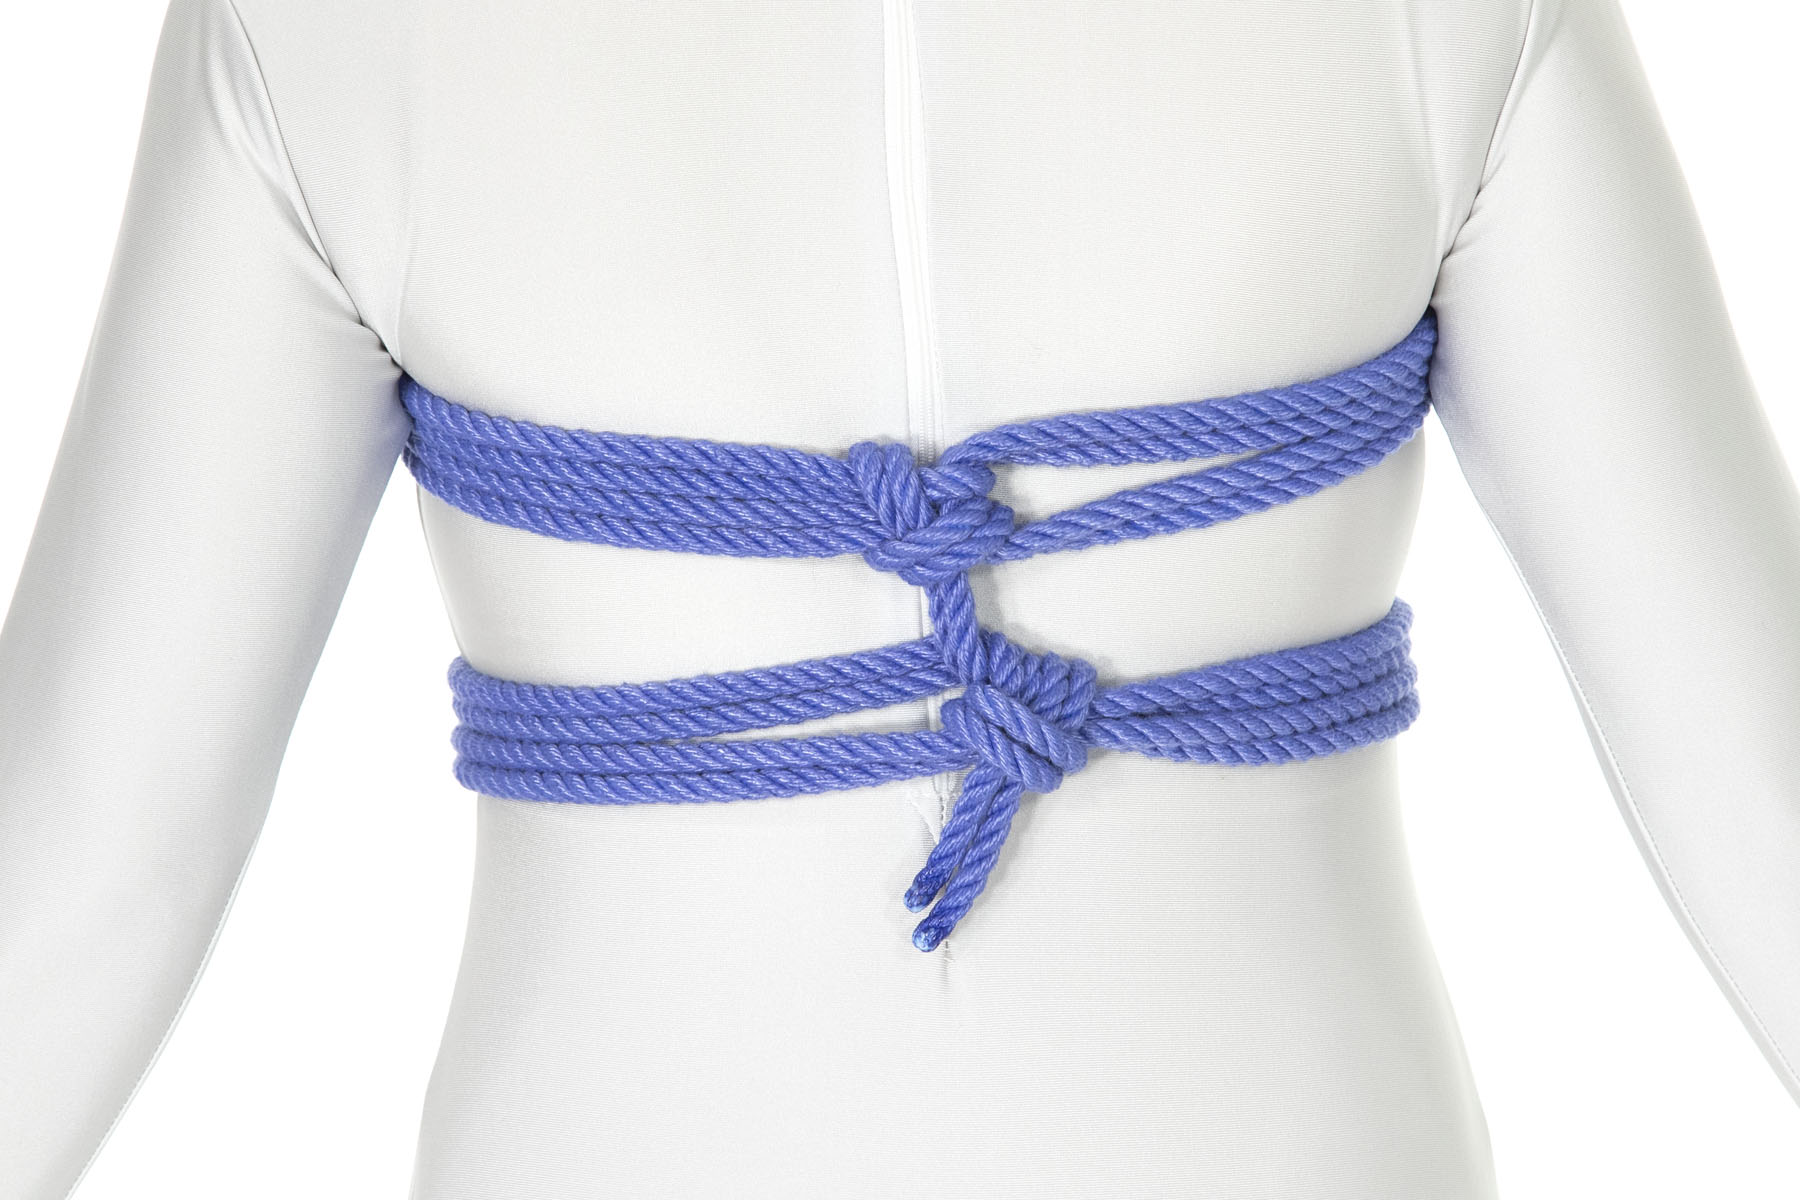
Chest Harness

A person in a white bodysuit is wearing a chest harness tied in blue rope. Four strands of rope come under the left armpit, cross high on the chest, and go under the right armpit. A doubled rope comes over each shoulder, goes under and around the chest wrap, and goes back over the same shoulder.

The chest harness is a workhorse of Western-style bondage. It’s commonly used for suspension as well as for adding handles and attachment points to someone’s chest.

Step by step

A person in a white bodysuit is facing the camera. Their arms held out in front of them at shoulder height. The arms are bent at the elbows, with the fingertips of each hand touching the opposite elbow.

1When you raise and lower your arms, the size of your chest changes slightly.

To avoid tightening or loosening later on, hold your upper arms horizontal to the ground when tying a chest harness.

We are looking at the back of a person in a white bodysuit. The bight of a doubled blue rope has been wrapped all the way around the upper chest, going under the right armpit, across the front of the chest, and back under the left armpit. The bight ends up two inches to the left of the spine. The end of the rope makes a reverse tension through the bight and is pulled taut to the right of the frame.

2Pass the bight counter-clockwise around the chest, an inch or two below the armpits.

Reverse tension and adjust the bight so it sits a few inches to the left of the spine.

The rope makes a second wrap all the way around the chest, just under the first wrap. It makes a reverse tension through the U shape created by the first reverse tension and is pulled taut off to the left of the frame.

3Go counter-clockwise around the chest again, just below the previous line.

Reverse tension again.

The rope goes over the chest wraps just to the left of the bight, back under them, and then over itself, making a half hitch. The end of the rope exits the half hitch in the direction of the left shoulder.

4Secure the chest wrap with a half hitch.

Note that you’ve just tied a single column tie around the chest.

We are looking from the front as the rope comes over the left shoulder and straight down the front of the chest, crossing under the chest wraps.

5Go over the left shoulder and under the chest wraps.

The rope doubles back over the chest wraps and goes over the left shoulder, just to the left of the first pass over the shoulder.

6Double back over the left shoulder, just inside the first line.

We are looking from the back as the rope comes down the back and under the chest wraps.

7Pass under the chest wraps in back.

The rope comes over the chest wraps just to the left of the shoulder lines and crosses under the shoulder lines, travelling to the right. The tension on the rope locks the shoulder lines to the chest wraps.

8Go over the chest wraps to the left of the shoulder lines and then under the shoulder lines, locking the rope in place. The shoulder lines should be quite snug, but not uncomfortably tight.

The rope goes three inches to the right of the spine, then makes a 90 degree turn over the chest wraps. It doubles back under the chest wraps and crosses over itself. The left and right of the harness are now symmetrical, with matching crossing structures a few inches on either side of the spine.

9Cross over to the right side of the back. Pass the rope over the chest wraps, then underneath them and over itself, locking it in place.

Remove any slack from the rope.

This is a front view of the rope coming over the right shoulder and passing over the chest wraps.

10Go over the right shoulder and over the chest wraps in front.

The rope doubles back, going under the chest wraps and over the right shoulder. The left and right shoulder lines should be symmetrical.

11Double back under the chest wraps and over the right shoulder, just outside the previous line.

This is a rear view of the rope coming down from the shoulder on the outside of the first pass over the shoulder. It goes under the chest wraps, travels to the left, then comes over the chest wraps in between the left and right parts of the harness. It crosses back under the chest wraps just to the right, and over itself, making a half hitch.

12Pass under the chest wraps in back and finish with one or two half hitches.

Adding lower wraps

-

Adding lower wraps

You can add a second wrap around the lower chest for additional comfort and security.

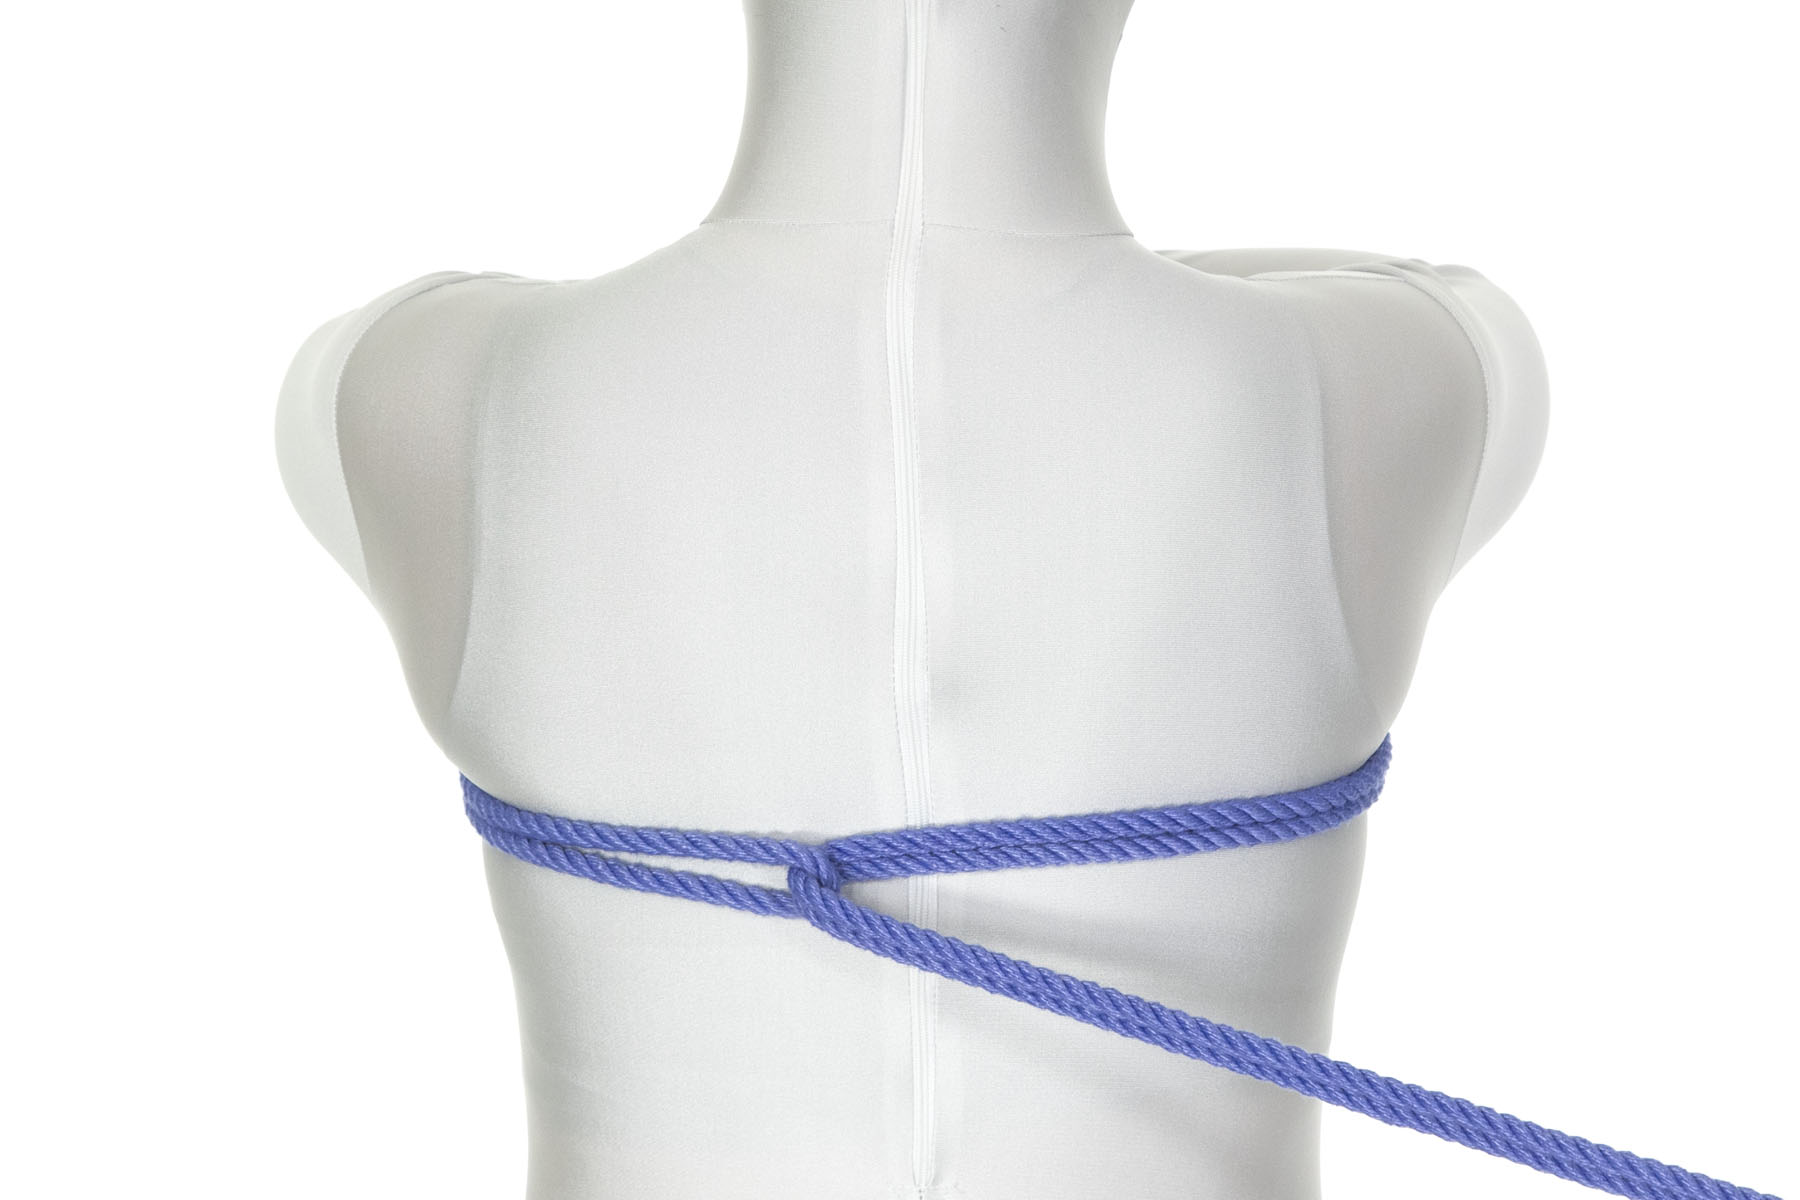
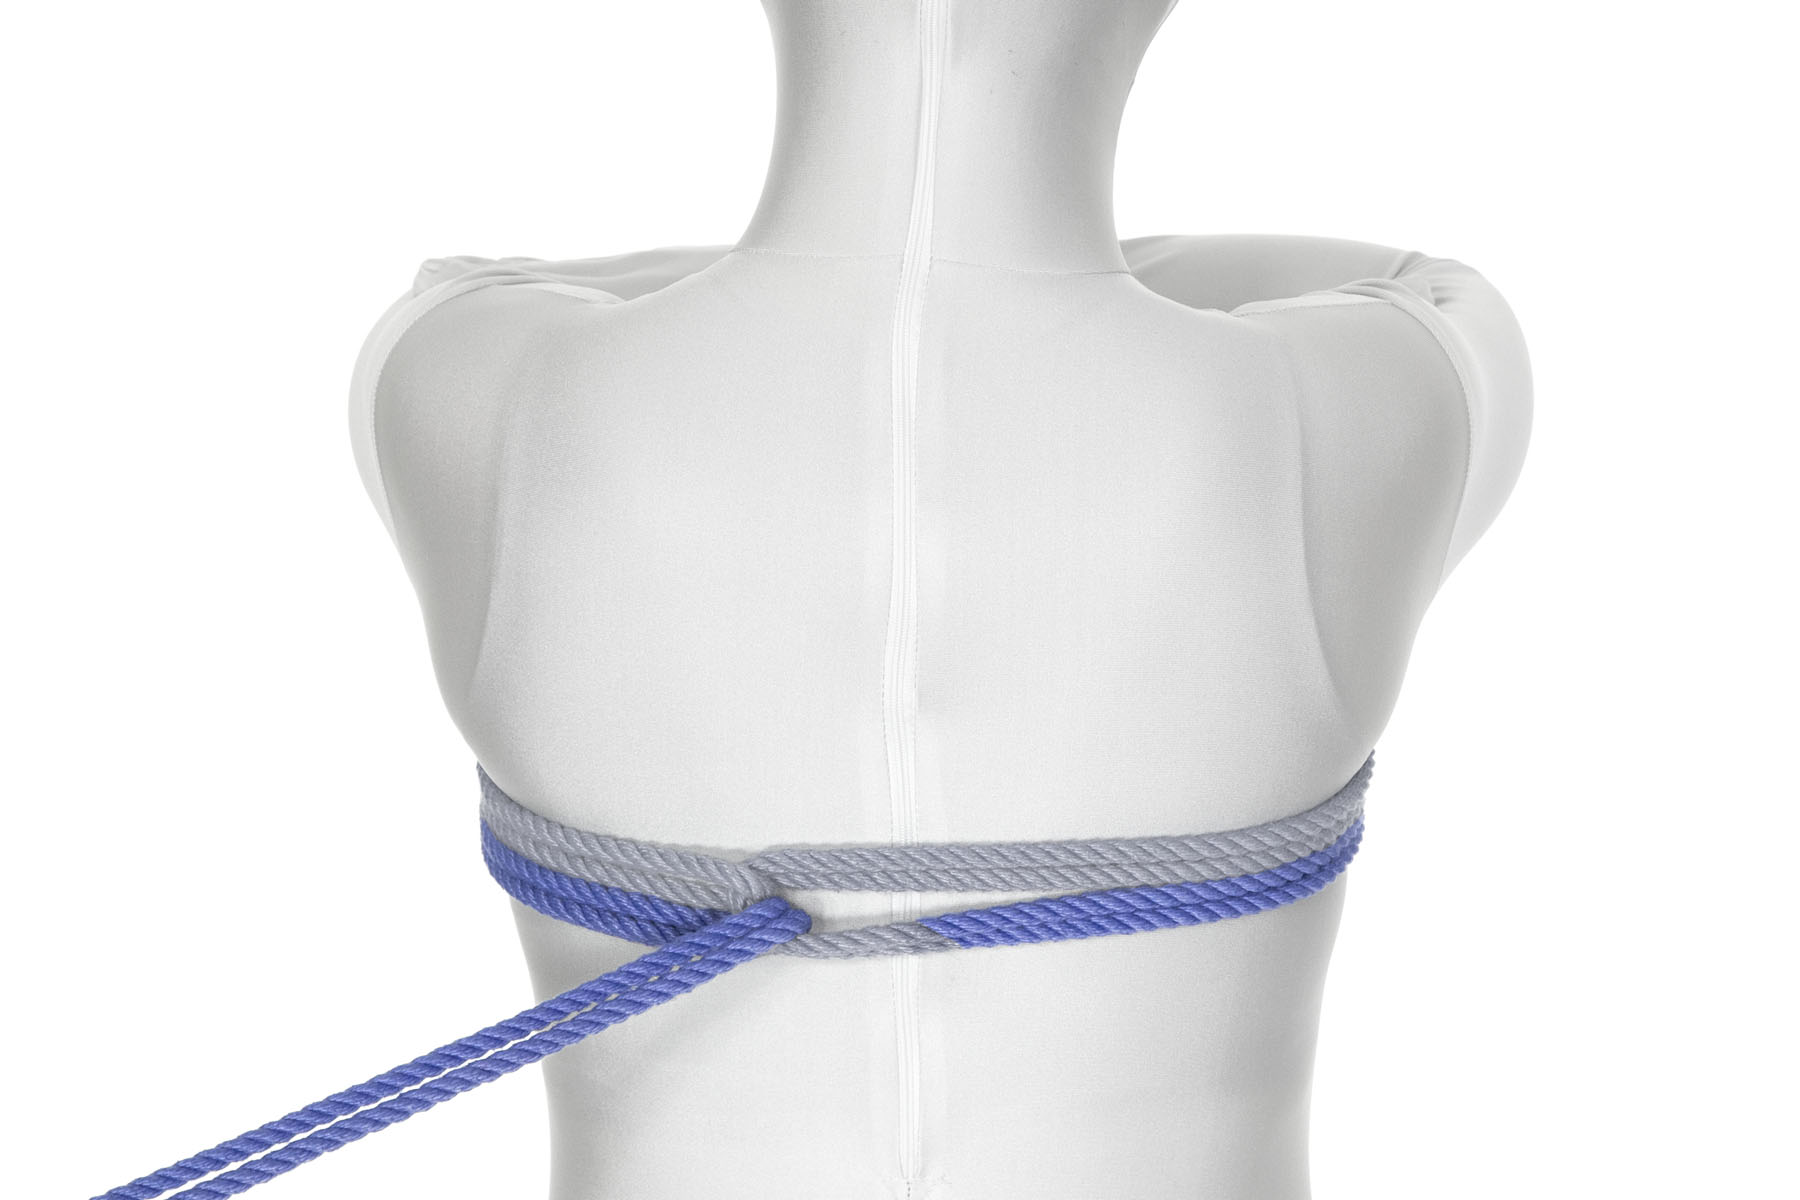
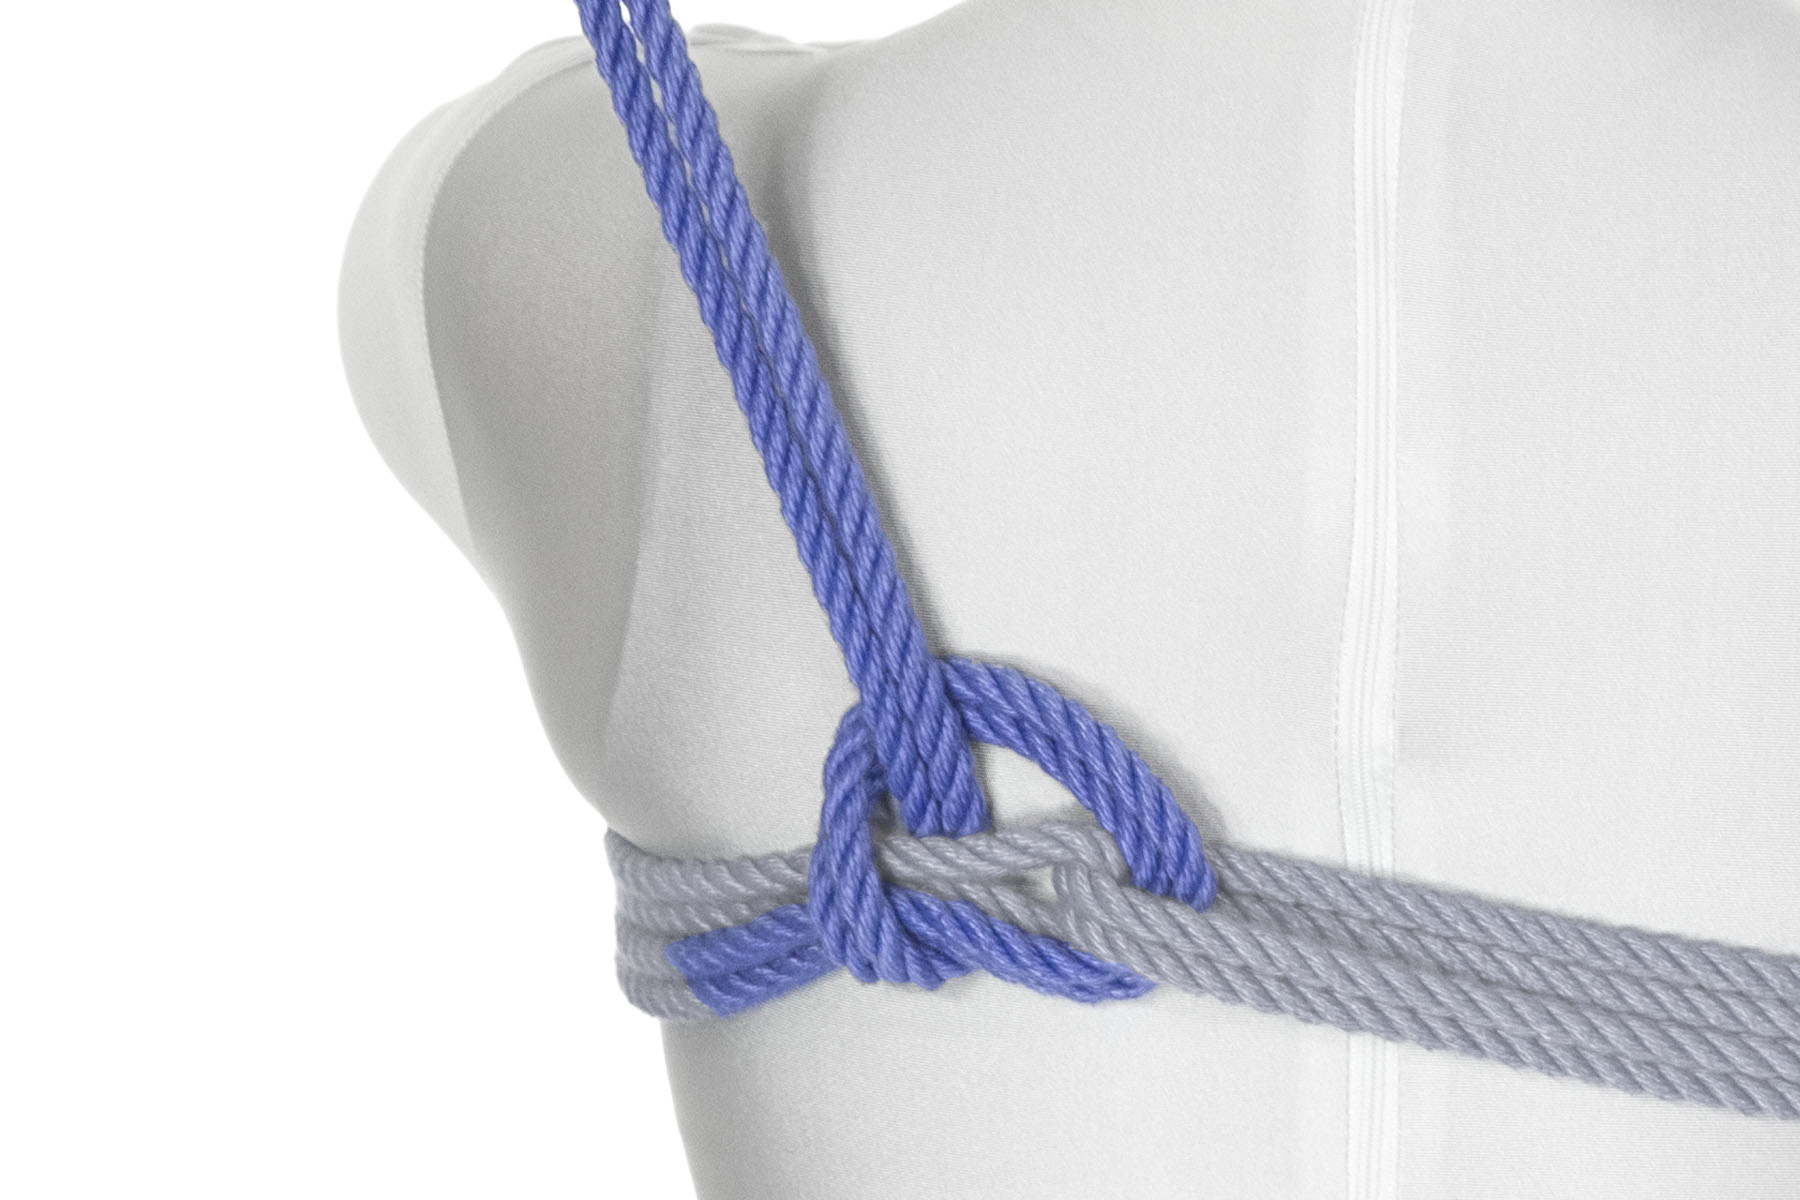
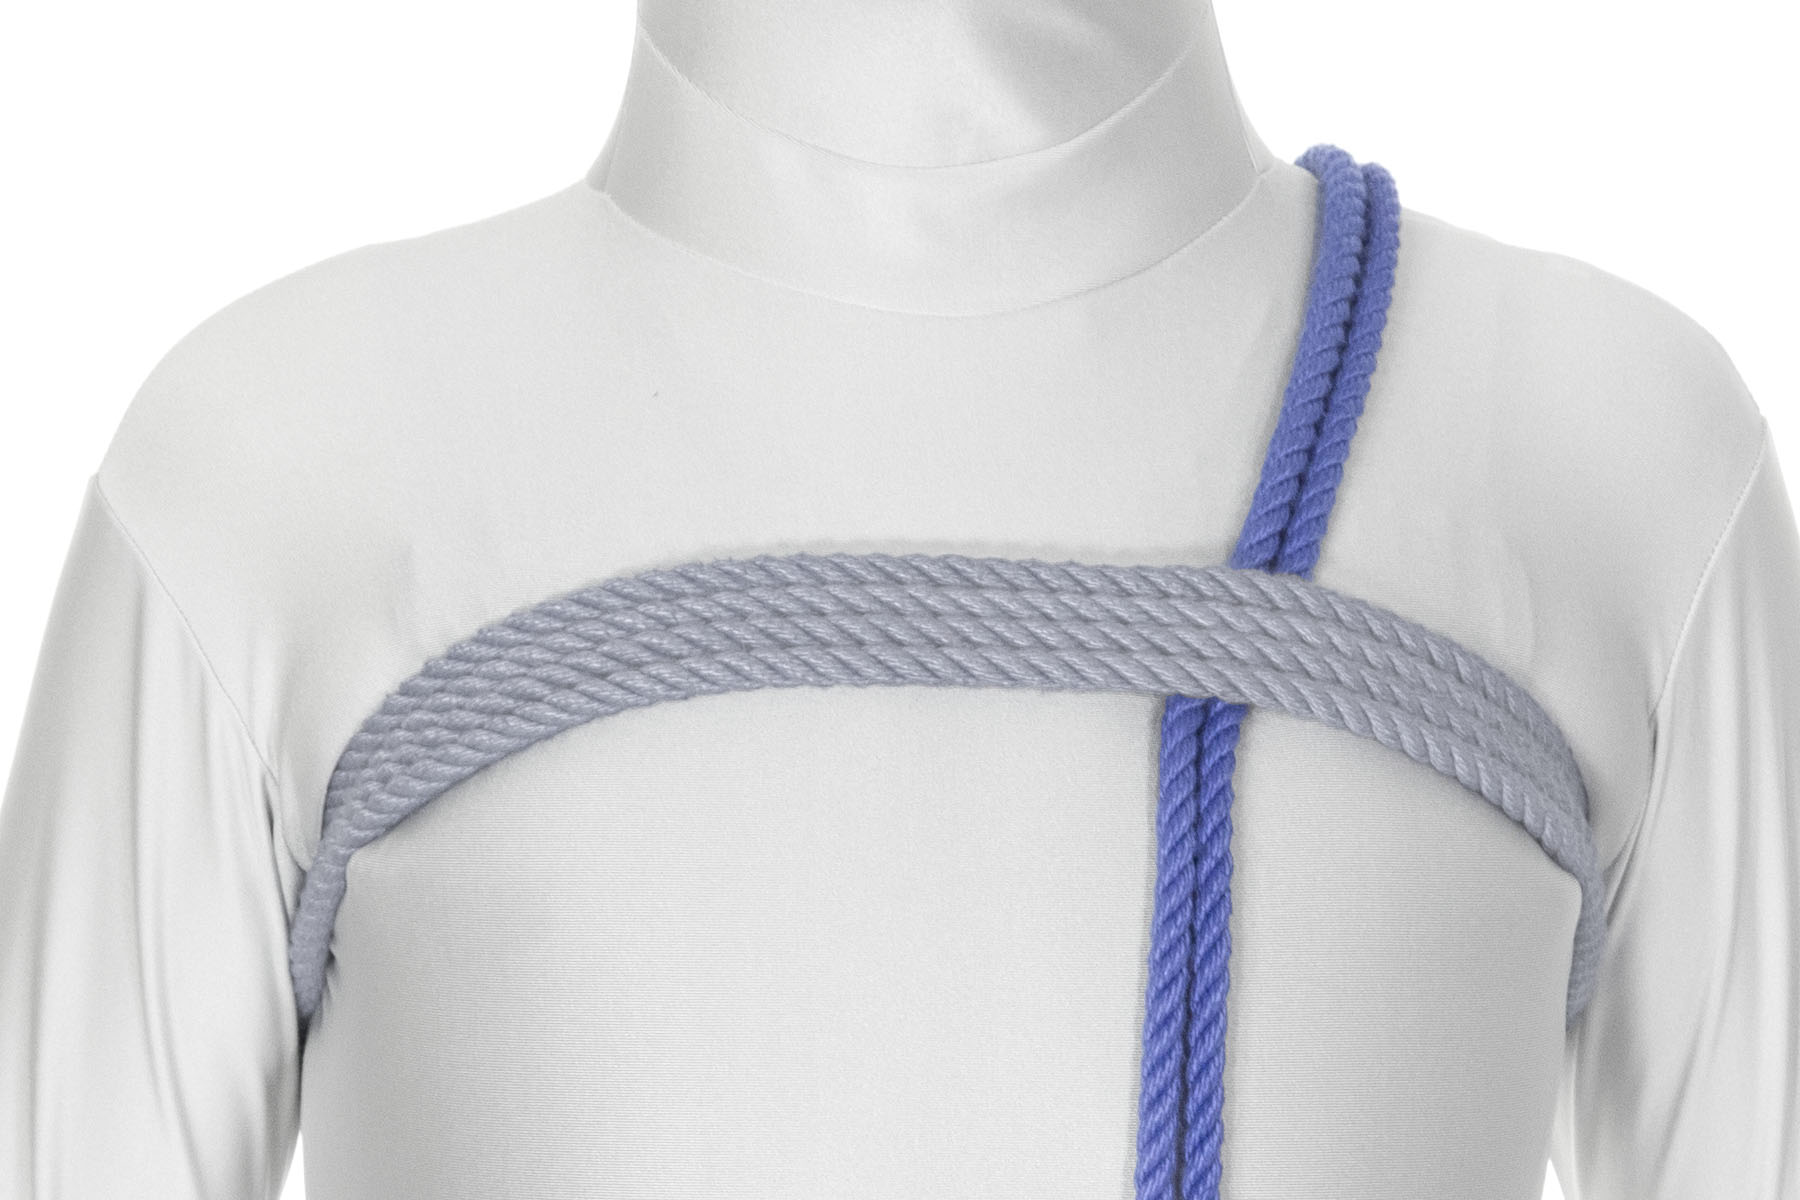
Begin with a column tie around the upper chest as usual. After tying it off, go a few inches down the back and make a ladder rung.

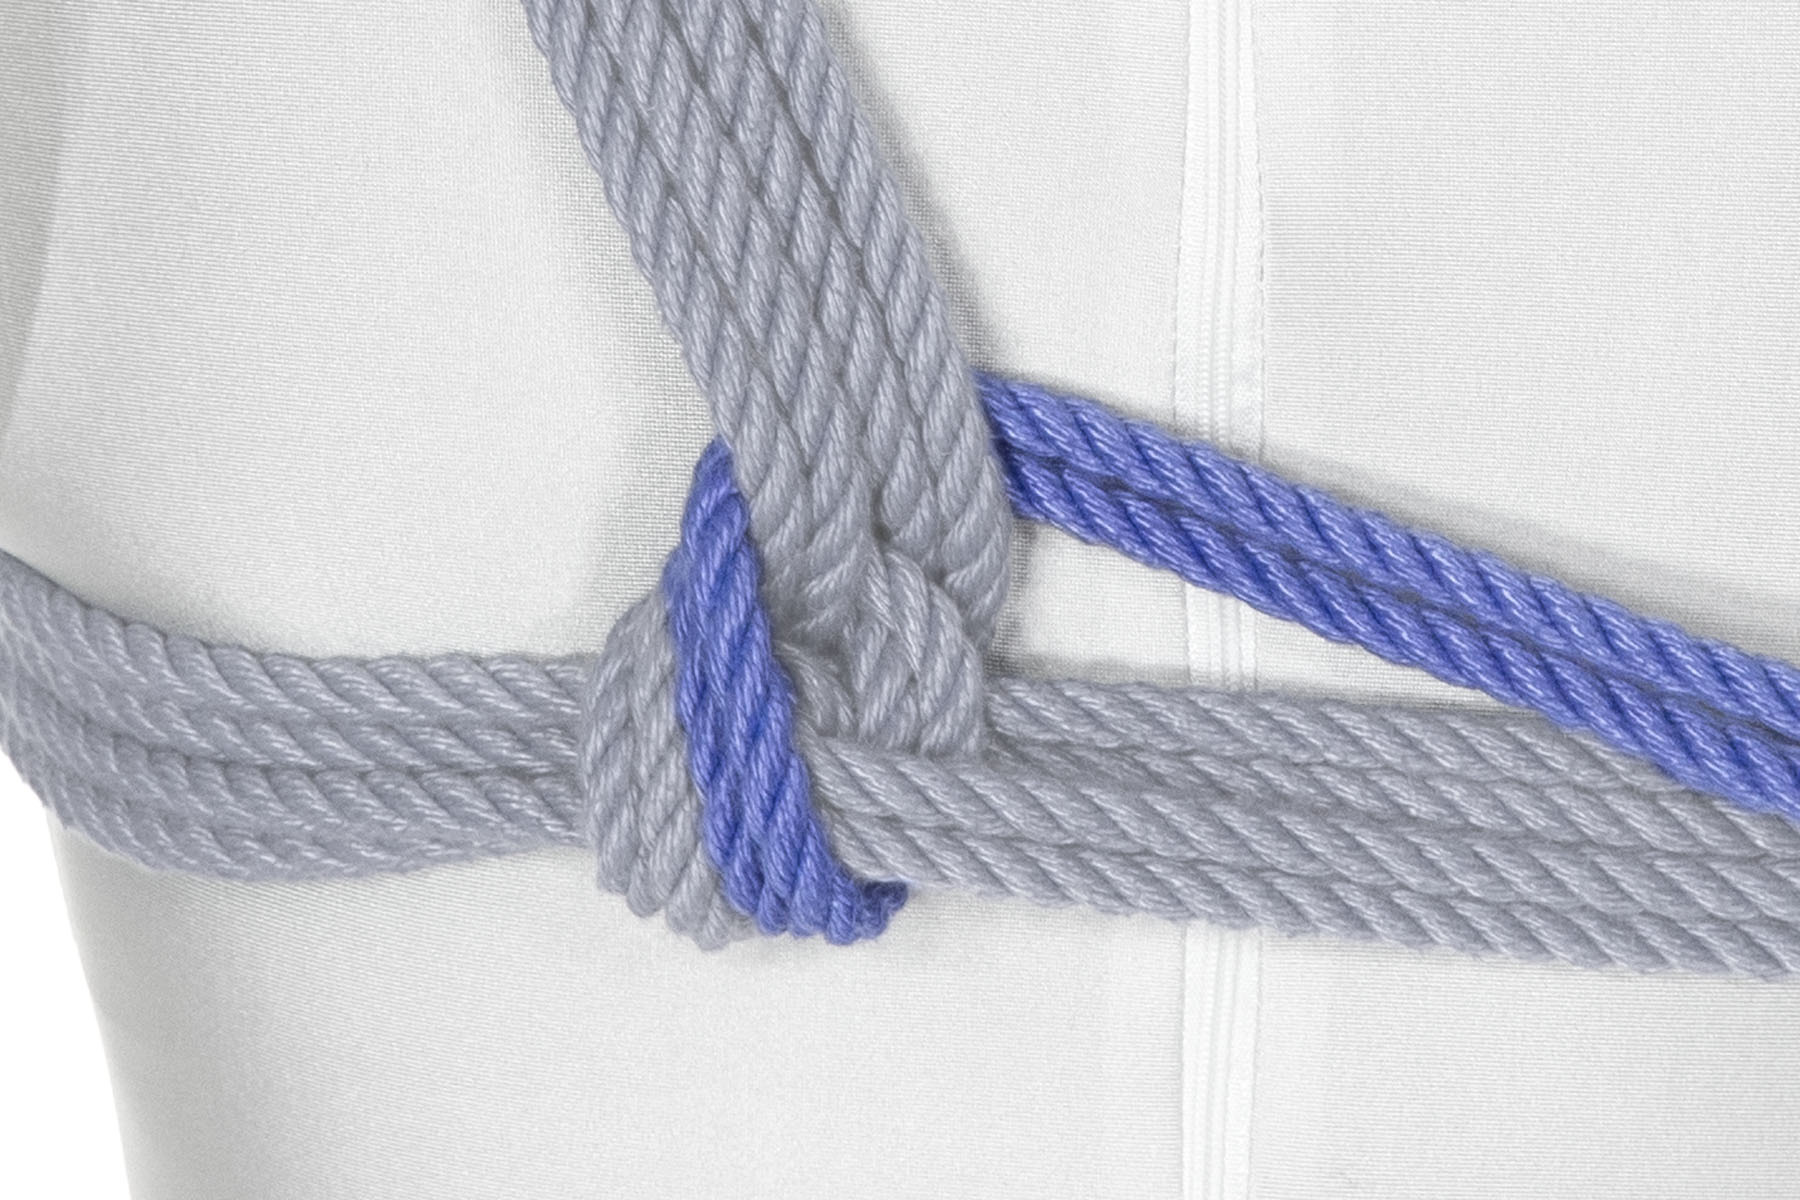
Make a second wrap around the chest and tie off with a half hitch.

-

Shoulder lines, option 1

This option is preferred by many people without breasts.

On the bottom’s right side, we’ve doubled back around the upper wraps.

On their left side, we’ve doubled back around the lower wraps. We’ve also added some twists between the upper and lower wraps to keep them separated.

-

Shoulder lines, option 2

Many people with breasts prefer this version, although it can put more pressure on the neck and collarbones.

Place the bight in the center of the back. Go over the left shoulder, then diagonally down the front of the chest. Double back around the lower wraps, adding a twist or two between the upper and lower wraps. Go over the right shoulder and tie off at the bight.

0

This work is licensed under a Creative Commons Attribution-ShareAlike 4.0 International License.