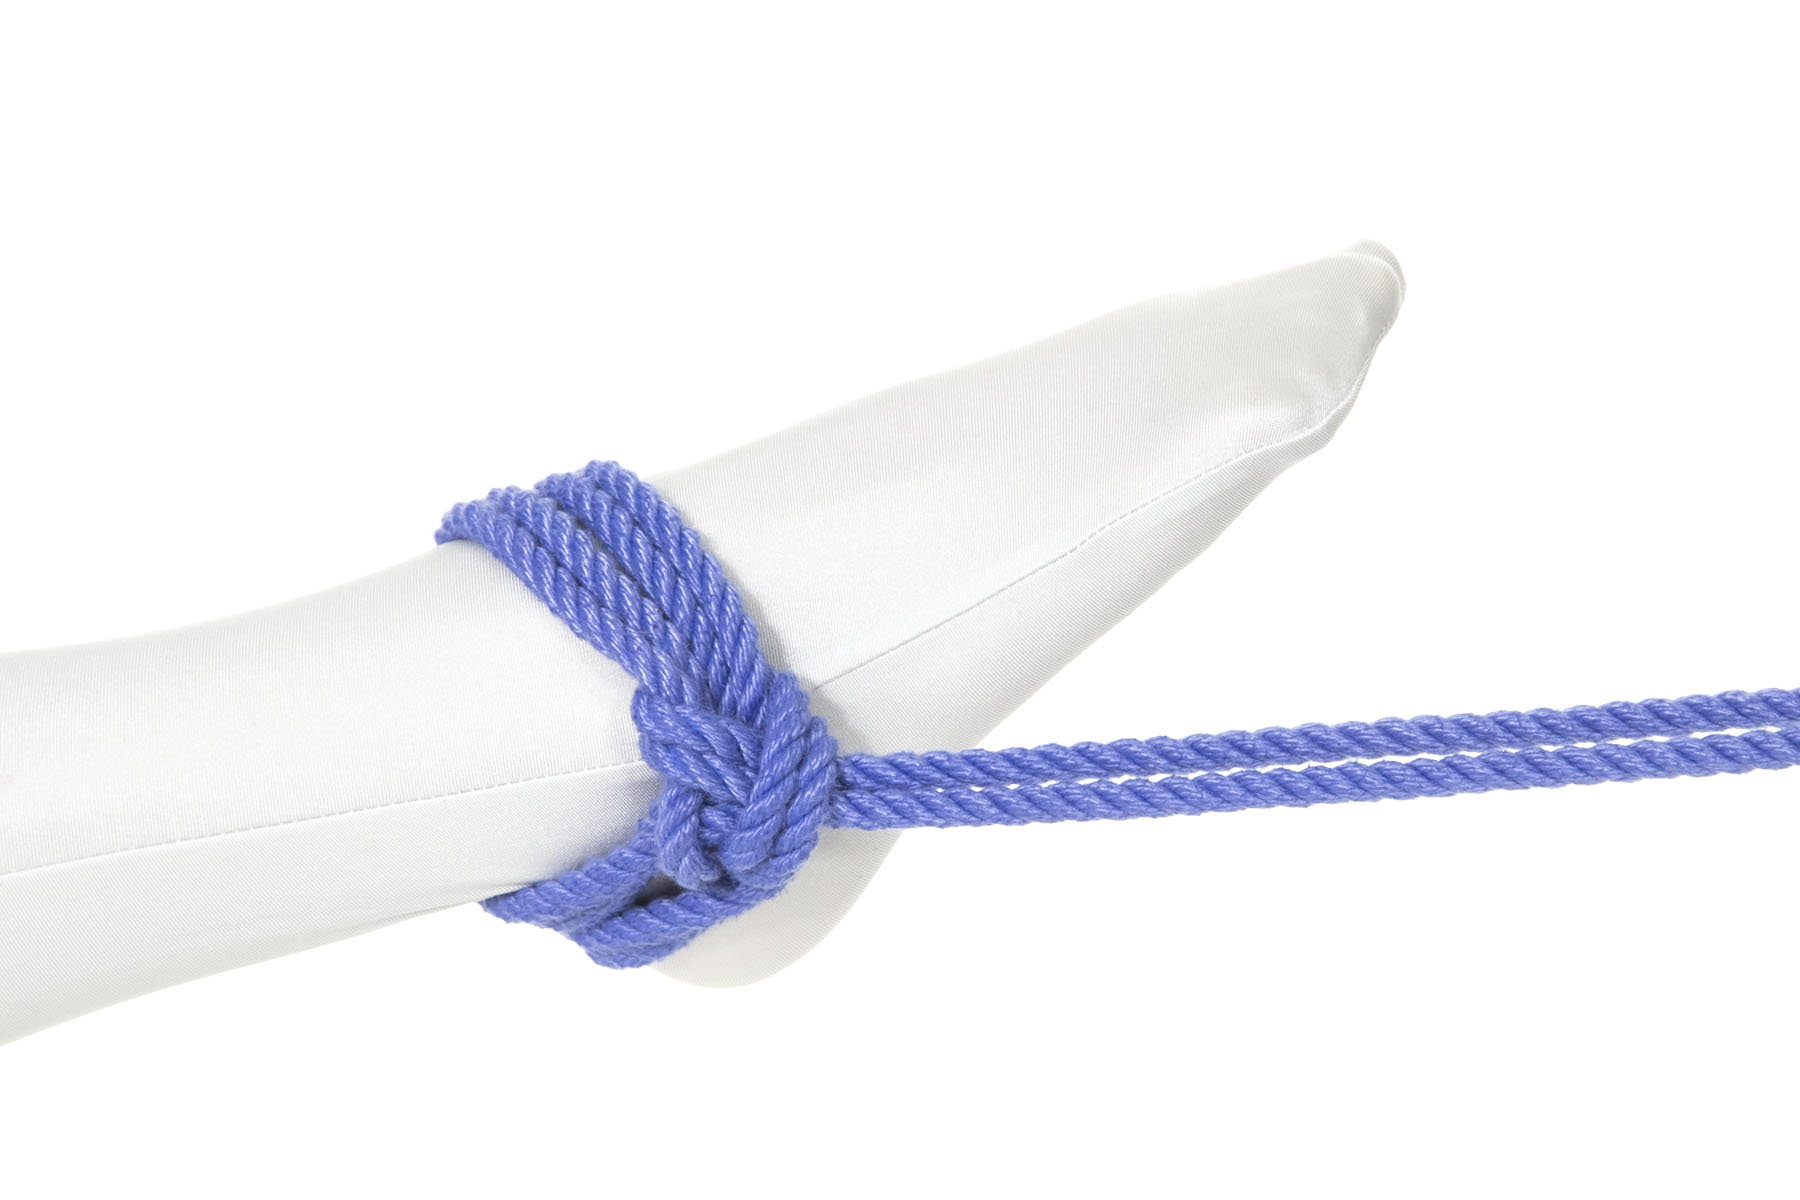
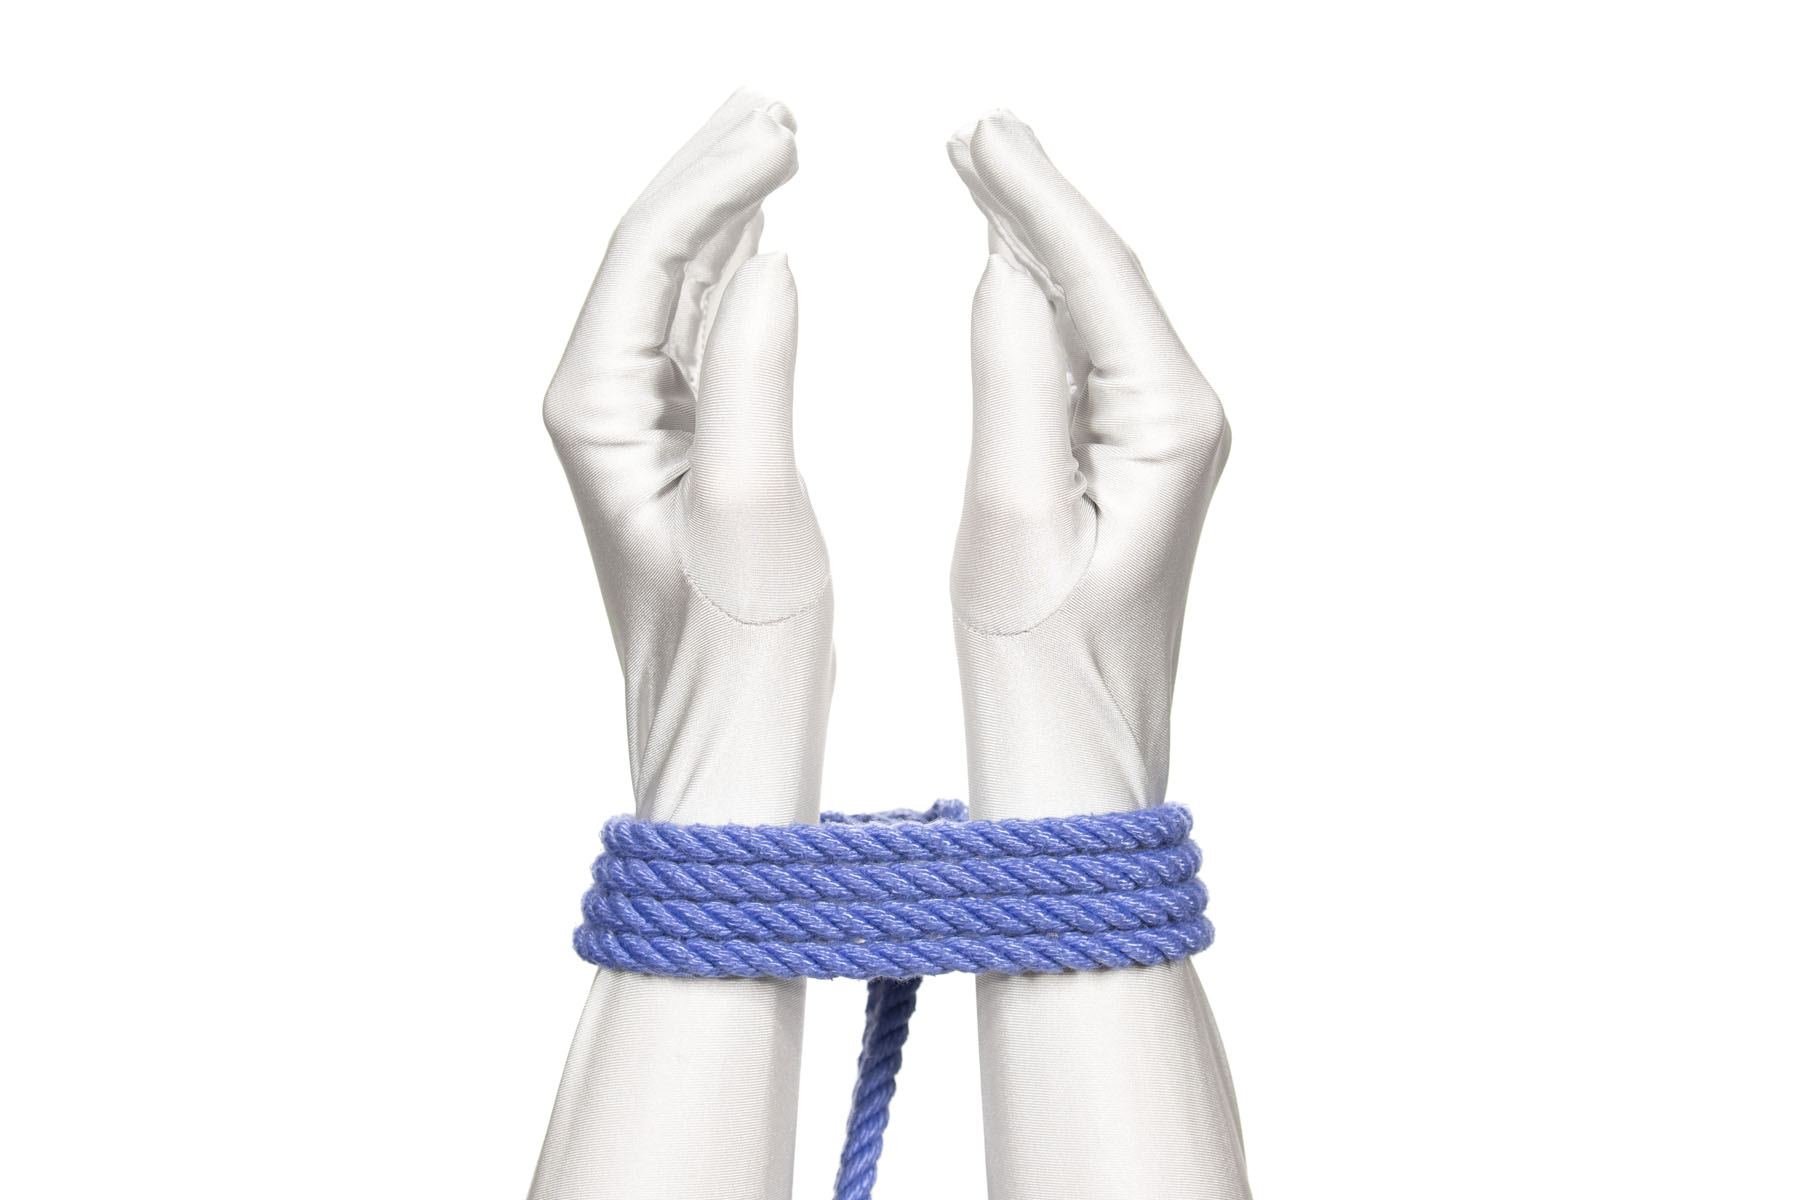
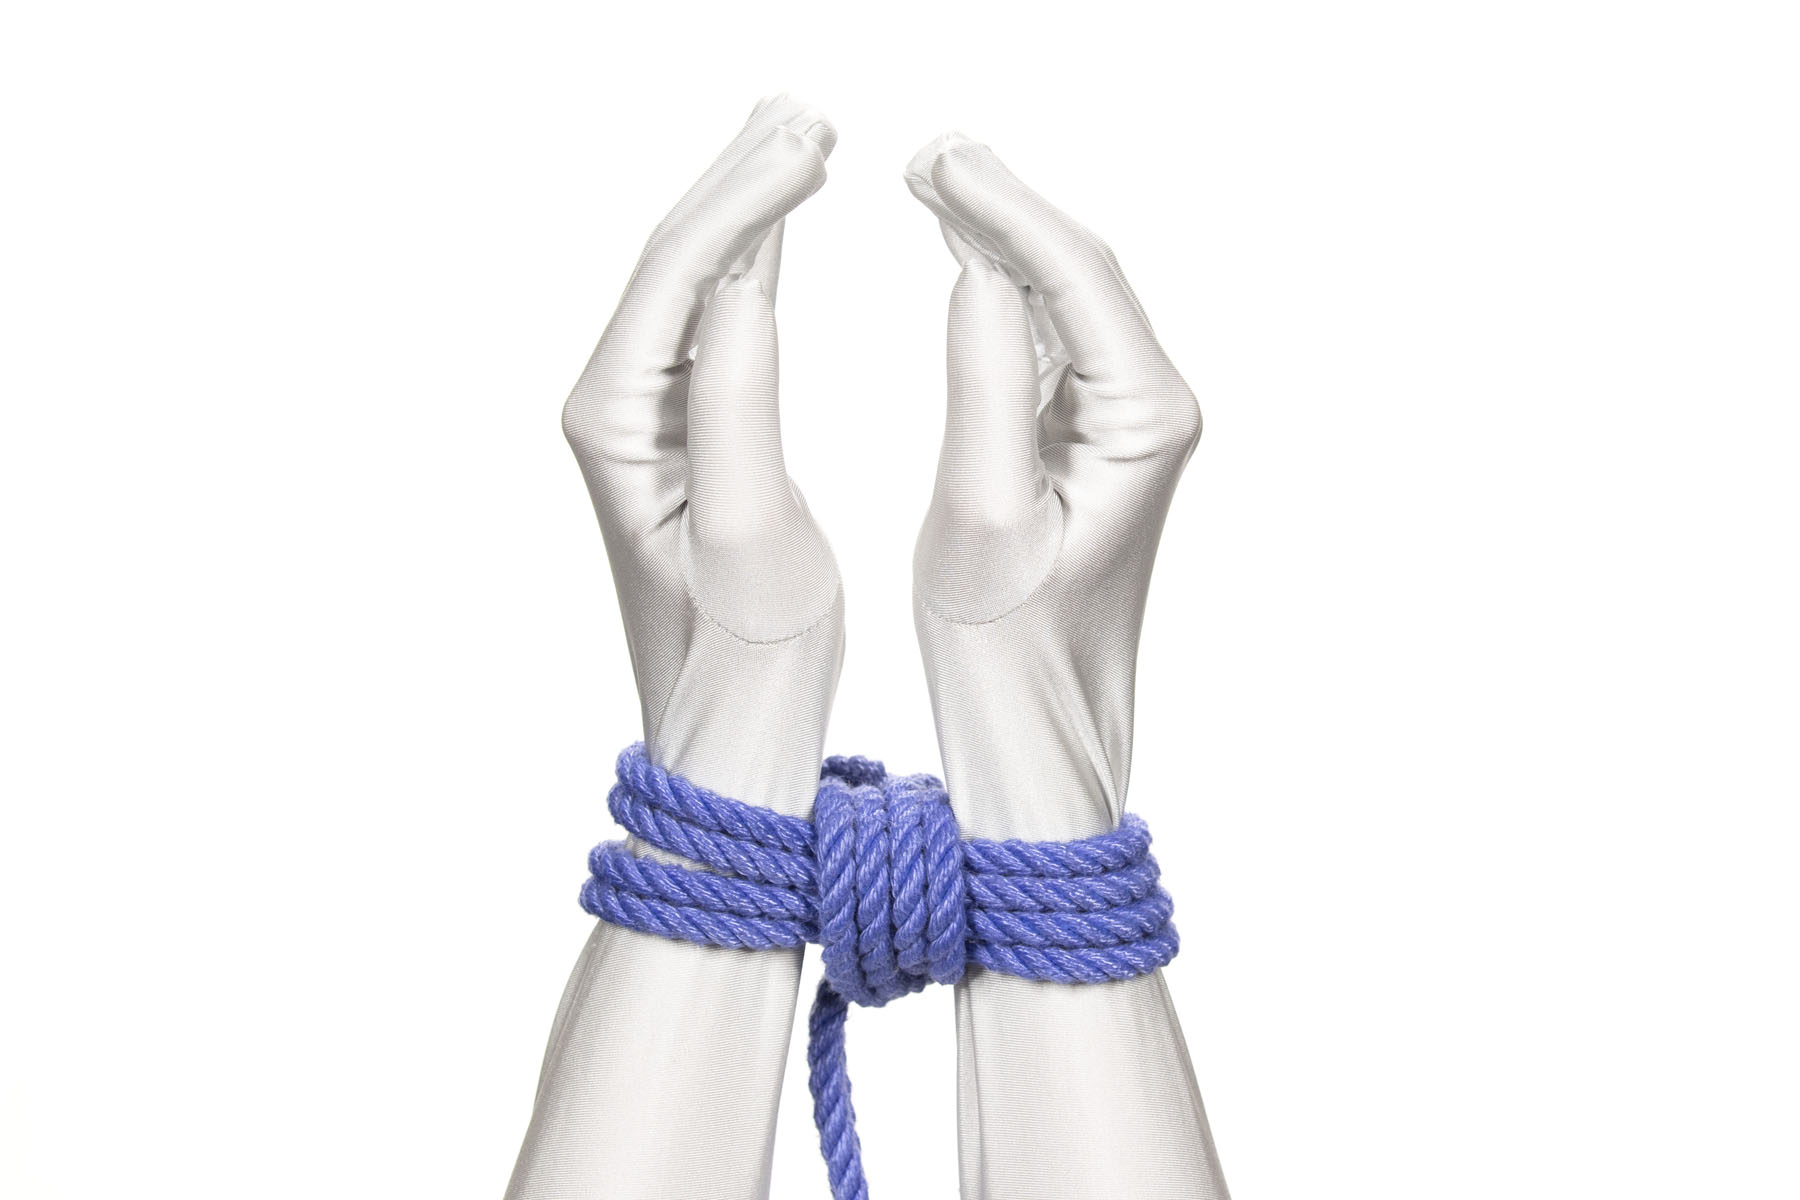
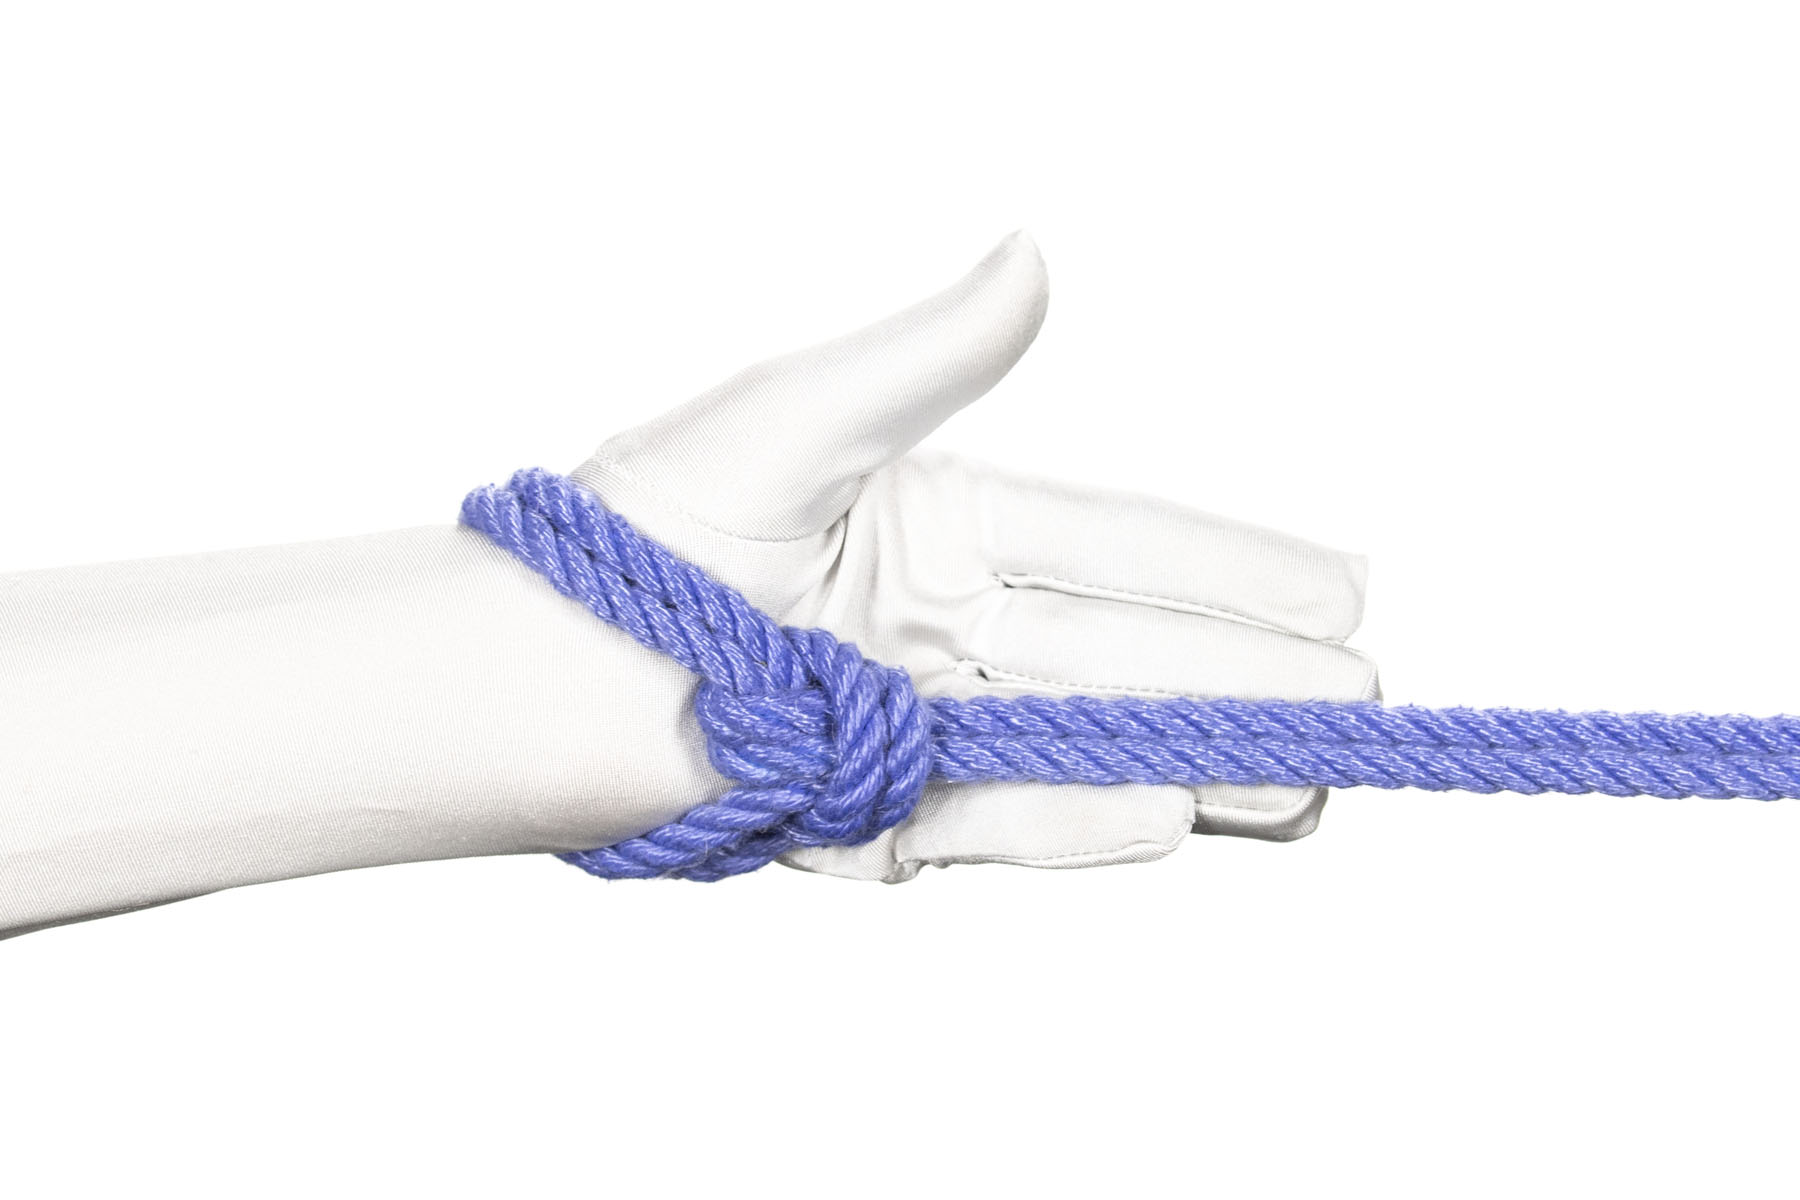
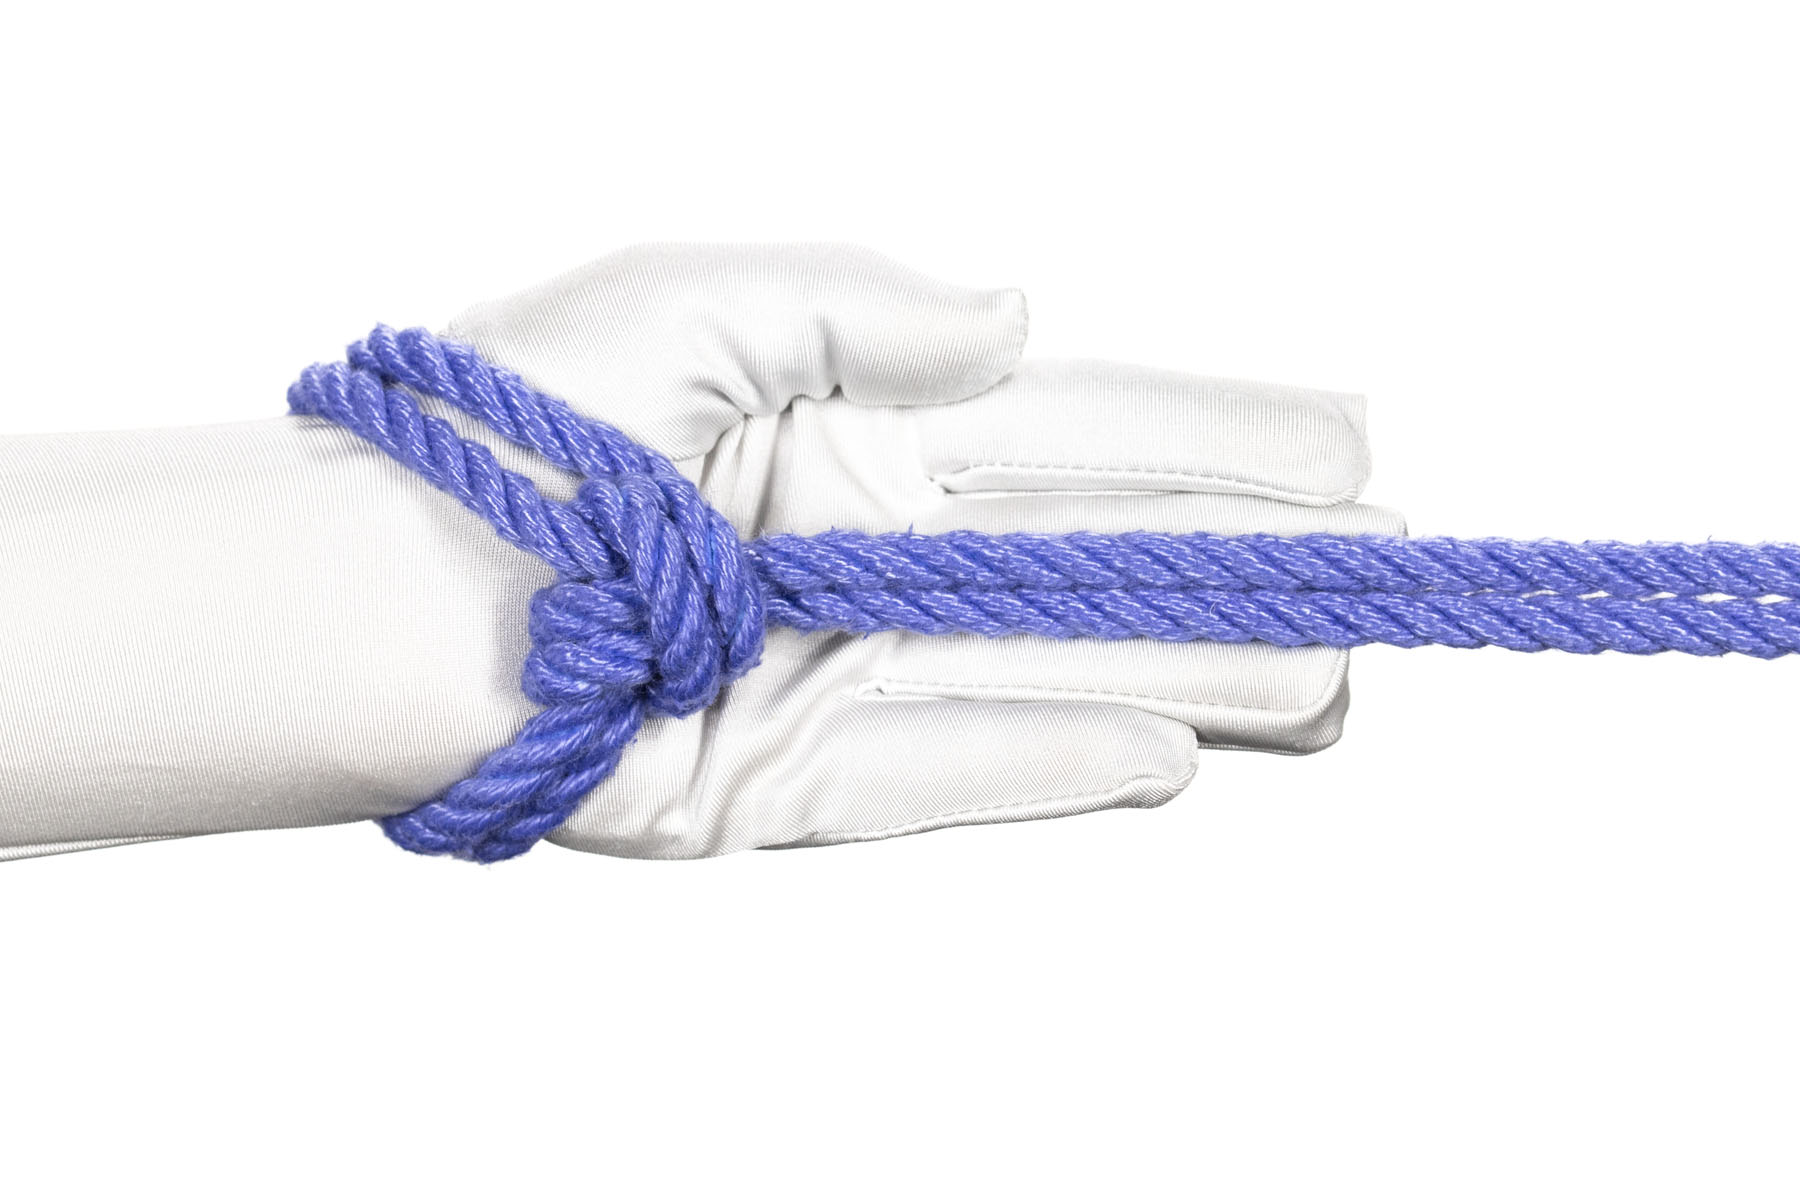
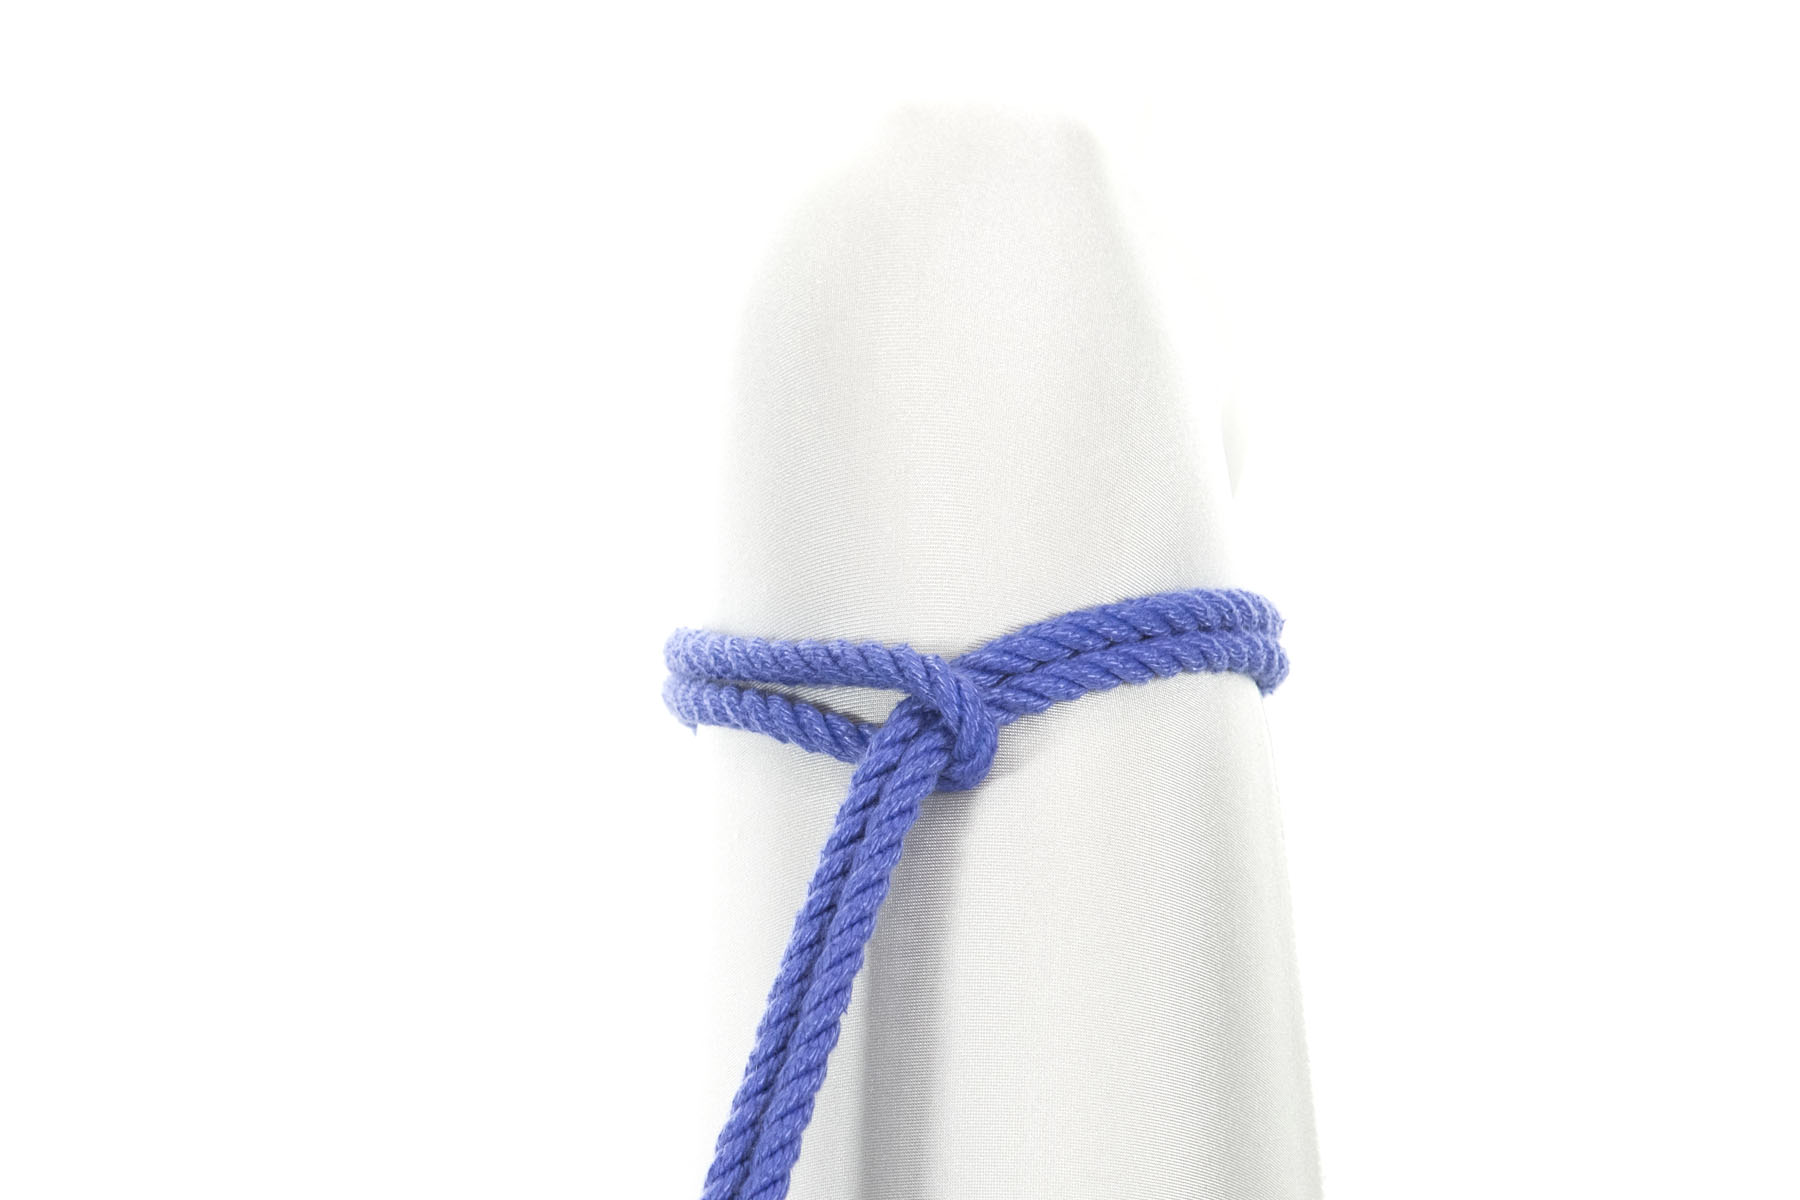
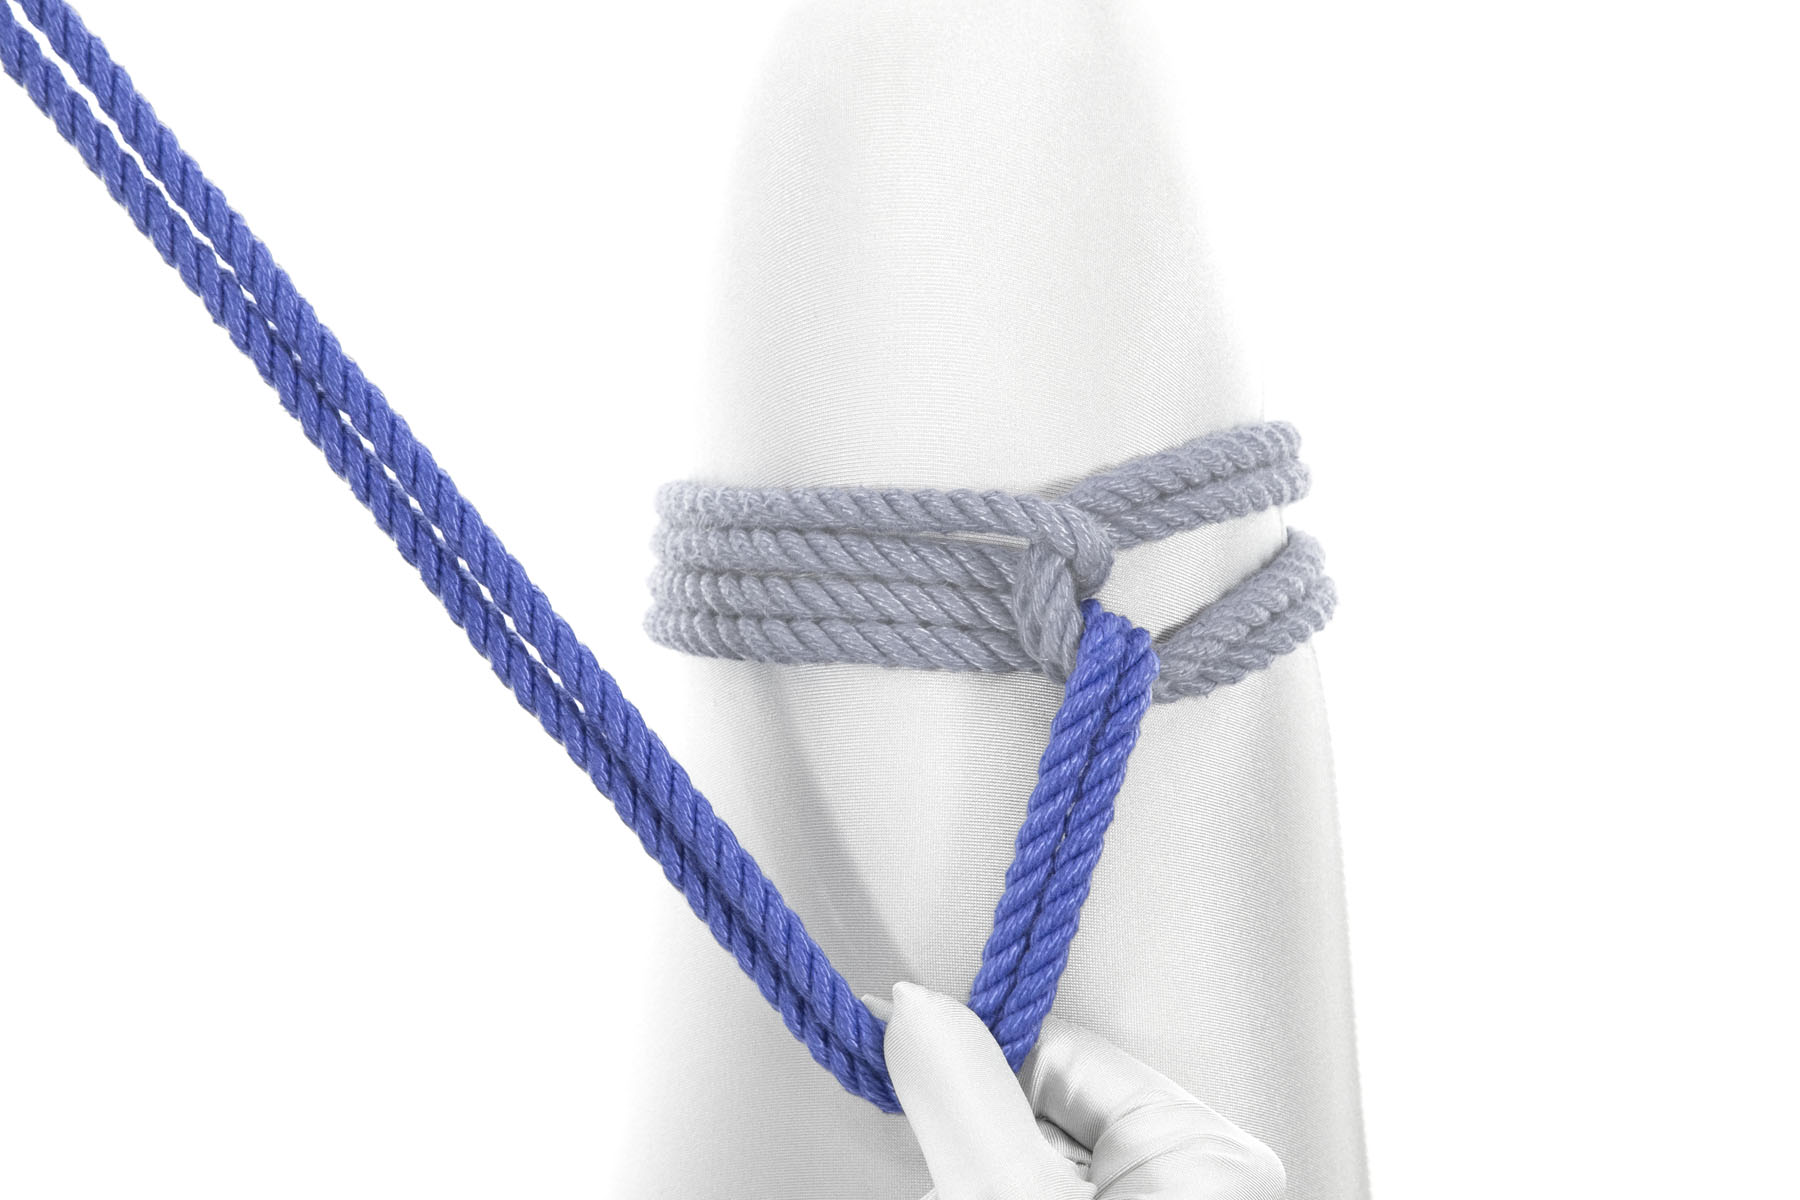
Single Column Tie

If you only learn one tie, learn this one
This is a single column

The single column tie is a simple but versatile technique for making a rope cuff. You can put it around one wrist to tie it to the bedpost or around both wrists to bind them together like handcuffs. If this is the only tie you ever learn, you will have enough technical skills to happily spend the rest of your life doing satisfying bondage.

This is a foundational technique and we encourage you to spend some time playing with it and mastering the subtleties of tying it well in different situations. It’s also a great technique for practicing your rope handling skills.

The term “single column tie” refers to a whole family of similar techniques. This version is our favorite for beginners because it’s easy to tie and hard to get wrong. There are many other single column ties to choose from, but the Somerville Bowline is probably the most popular choice among experienced riggers.

Step by step

A person holding two ends of a blue rope in their right hand and the doubled center of the rope in their left hand.

1Double the rope by holding the ends in one hand and running the other hand along the rope until you get to the center. Make sure the ends are even.

The loop at the center of the rope is called the bight.

A doubled rope has been wrapped clockwise around the lower thigh. The bight of the rope is on the left side, facing right. The working end of the rope crosses under the bight from the right and comes up through the bight, exiting up the thigh toward the left.

2Wrap the bight clockwise around your leg, then pass the ends of the rope through the bight.

You just tied a lark’s head around your leg.

A doubled rope has been wrapped clockwise around the lower thigh. The bight of the rope is on the left side, facing right and is grayed out. The working end of the rope is blue and crossed under the bight from the right, goes through the bight, and is being pulled to the right.

3Make a reverse tension by reversing direction and pulling on the rope to adjust tension.

The rope should be snug but not tight.

The working end from the previous step has wrapped clockwise around the thigh, just above the first wrap. It makes a complete circuit around the thigh and is being pulled to the right.

4Wrap the rope clockwise around your leg again, just above the first wrap.

The working end has passed underneath the reverse tension and is being pulled left and toward the body. There are now two double wraps going all the way around the thigh, and two reverse tensions next to each other.

5Bring the rope through the reverse tension you made in step 3 and reverse tension again.

Make sure you’re going through the reverse tension, not the bight.

The rope is in the same position as before, but the rigger has placed two side by side fingers between the rope and the thigh to ensure the single column tie isn’t too tight.

6Check that all the wraps are even. You should be able to comfortably fit two fingers side by side under the rope.

The rigger has pulled the working end to the left and up their thigh. Four inches along its length, they have pinched the rope between their thumb and forefinger. Their left hand is pulling the remainder of the working end to the left and down the thigh, so the rope makes a triangle pointing toward the body.

7Make a triangle in the rope by pulling it toward your body with one hand while the other hand pulls the ends toward your knee.

Continuing to pinch the rope with their right hand, the rigger has passed the working end under all four wraps. The rope continues to make a triangle pointing toward the body.

8Go under all the wraps, maintaining the triangle shape.

The working end has turned back toward the body. It crosses over all the wraps around the thigh and passes through the triangle, exiting underneath the point of the triangle.

9Go back through the triangle.

Steps 7 - 9 tied a half hitch around the wraps.

The rigger has snugged the single column tie by pulling on the working end, collapsing the triangle into a half hitch knot.

10Pull the knot snug.

Check that the cuff doesn’t get tighter when you pull on the rope.

How tight?

As a general rule, you should tie the single column tie with just enough room to slide a finger underneath it. As you gain experience, you’ll find that the ideal snugness depends on your partner’s preference and on where you’re tying it.

This is a single column

Wrist cuffs

The wrist is vulnerable to nerve damage, so be careful about tying wrist cuffs too tight or pulling too hard on them.

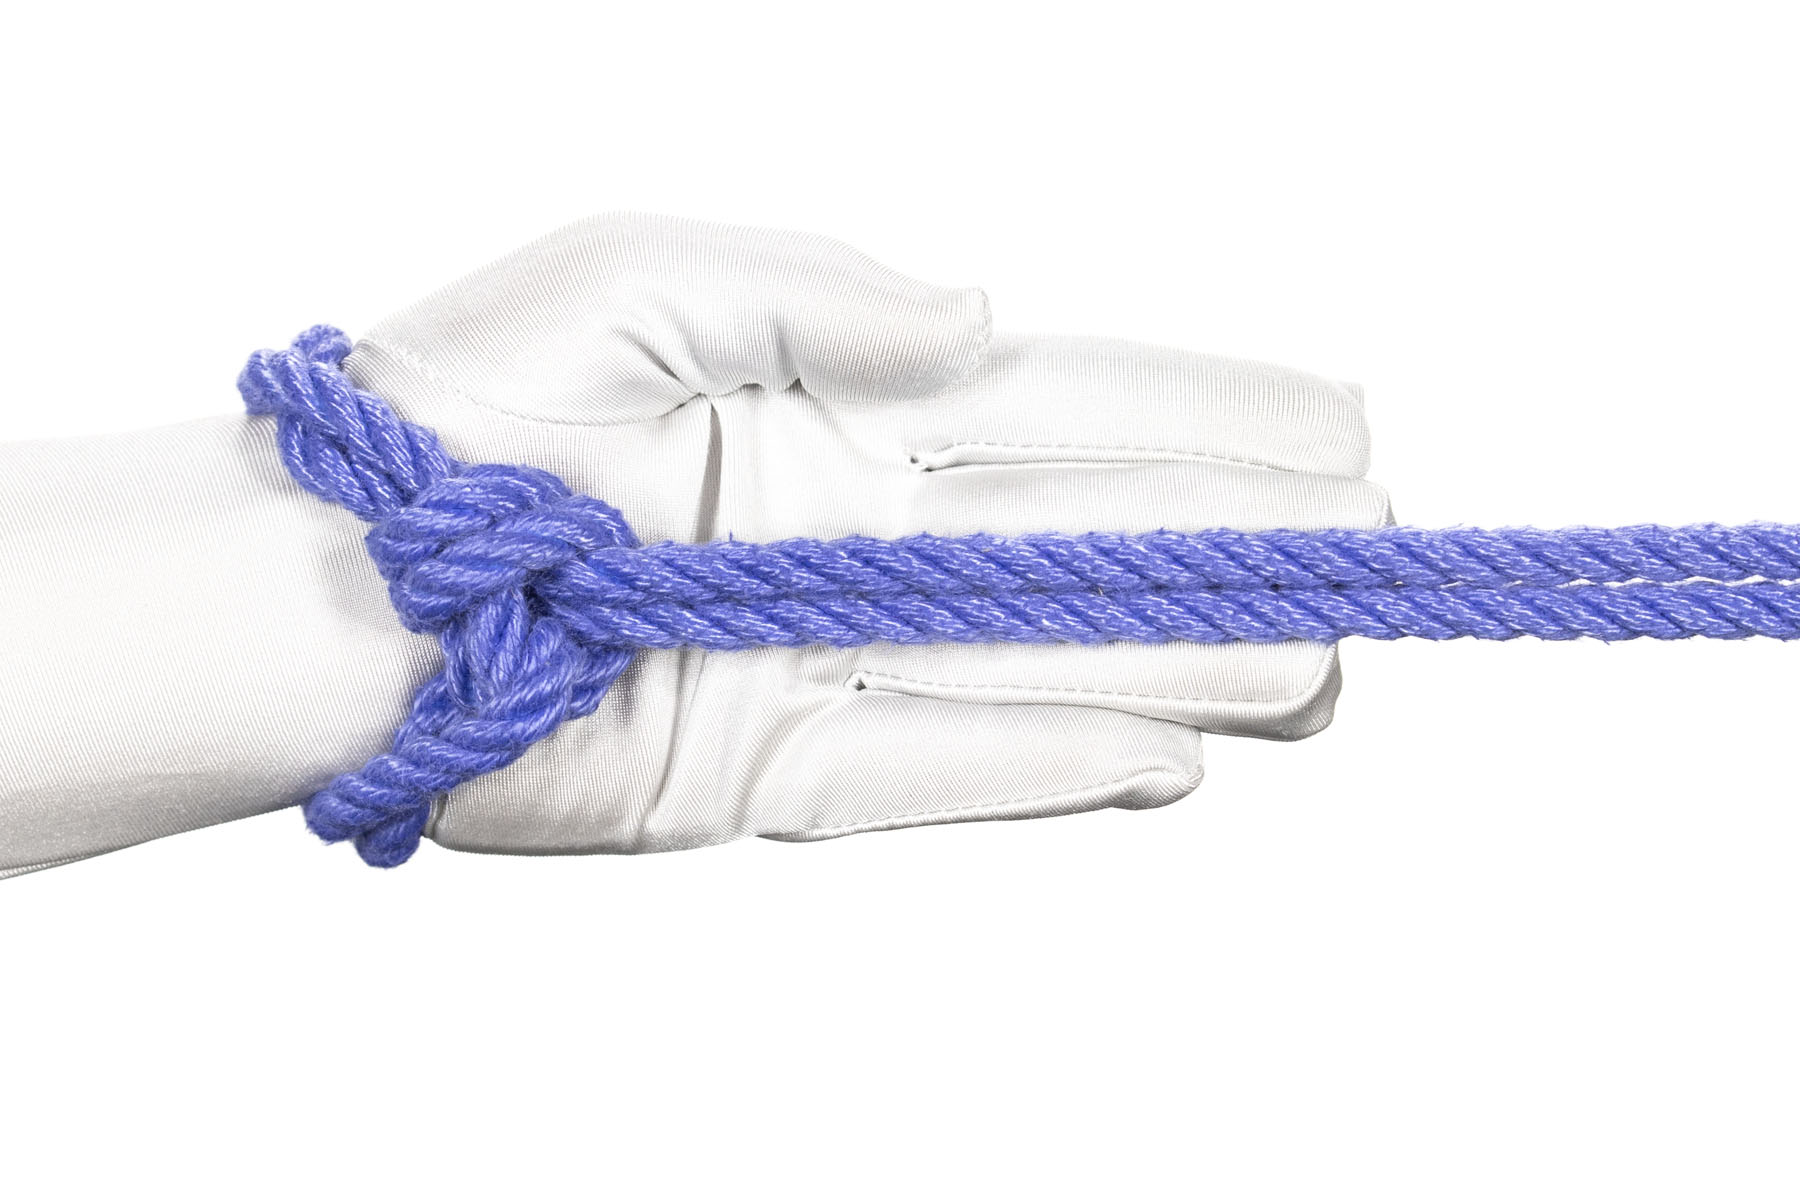
Our favorite places to put wrist cuffs are:

  • On the forearm right above the wrist (this works well for crab).
  • Tied loosely on the wrist, so the cuff rests on the hand more than the wrist.
An ankle with a single column tie tied around it. The tie has two double wraps, so four strands of rope go around the ankle. The tie is loose enough that the knot hangs just below the ankle, and the remainder of the rope is being pulled down below the foot.

Ankle cuffs

Don’t put pressure on the ankle bone—it isn’t dangerous, but it’s painful in a way that is irritating rather than fun. We usually tie ankle cuffs loose enough that the cuff hangs below the ankle bone or place it well above the ankle on the calf.

Frapping

The single column tie is great for binding two body parts together. You can use it to bind the wrists together like handcuffs, or to tie a wrist to an ankle for the crab.

The simplest way to bind two body parts together is to simply put them side by side and tie a single column tie around them. If you want to make the tie more secure, you can add some rope between the two body parts (called frapping turns). Frapping makes the tie more secure by eliminating wriggle room and creates padding between the ankles.

To add frapping, leave an inch or two of space in between the wrists. After you finish the tie, wrap the rope once or twice around the tie, in between the wrists. If you like, you can secure the frapping with a half hitch. For a more robust two column tie, we recommend the two column Somerville Bowline.

Bondage terminology can be confusing. This tie is called a single column tie, even if it’s tied around two wrists. If we add frapping, it’s called a two column tie.

Without frapping

Two hands are tied together by a single column tie at the wrists. Two double wraps go around the wrists and the knot is barely visible on the far side. The wrists have a three inch gap between them.

A plain single column tie around the wrists. We’ve increased the space between the wrists for clarity.

With frapping

Two hands are tied together by a single column tie at the wrists. Two double wraps go around the wrists, which are separated by a three inch gap. Two double frapping turns go across the wraps, filling the space between the wrists.

Adding frapping turns takes a bit of time, but makes it more secure.

Subtle details

How many wraps?

We like to use two complete wraps around the column, but there’s nothing magical about that number. You can use a single wrap, or add an third one if you like. Three full wraps is about as many as the tie will accommodate before it starts to get unstable.

A hand is tied by a single column tie with only one double wrap around the wrist. The single column has been tied loosely, so that the knot lies in the palm of the hand.

Starting direction

In step 7, does it matter whether the triangle points up (toward your body) or down (toward your knee)?

It matters a little bit. When you finish the tie, the end of the rope will point in the same direction that the triangle was pointing. If you pull on it in that direction, it’ll be stable. But if you pull on it in the opposite direction, the tie will tend to roll over on itself and become uncomfortable.

For best results, point the triangle in the direction you plan on pulling the rope.

A hand pointing to the right with a single column tie with one wrap tied around it. The rope exits the half hitch facing to the right, so when the rope is pulled to the right the single column tie remains stable.

Pulling in the direction of the rope: the tie stays flat and comfortable.

A hand pointing to the right with a single column tie with one wrap tied around it. The rope exits the half hitch facing to the left, so when the rope is pulled to the right the half hitch flips over, creating twists in the wraps that go around the wrist.

Pulling in the opposite direction: the tie rolls over and is less comfortable.

0

This work is licensed under a Creative Commons Attribution-ShareAlike 4.0 International License.