Square Lashing

We are looking down at the legs of a seated person in a white bodysuit. The right leg is bent and laid on top of the left leg, with the ankle of the right leg just above the knee of the left leg. The legs are bound together with a square lashing in blue rope. Four strands of rope go around the ankle of the left of the thigh, and another four go around the ankle to the right of the thigh. Six strands of rope go around the thigh above the ankle and right below the knee, and another six strands go around the thigh below the ankle. Put together, all the wraps make a square shape. They are secured by a square knot that lies on top of the ankle.

The square lashing gets our vote for the most under-appreciated bondage technique. It’s a very secure way to lash together two limbs that meet at a 90° angle. The square lashing has numerous applications for strict bondage as well as for adapting ties to make them work for different body types.

If you want to lash together two parallel limbs, use the parallel lashing.

Step by step

We are looking down at the legs of a seated person in a white bodysuit. The right leg is bent and laid on top of the left leg, with the ankle of the right leg just above the knee of the left leg. The bight of a blue rope goes clockwise around the thigh of the left leg, right above where the ankle crosses it. The rope goes through the bight and is resting on top of the left leg.

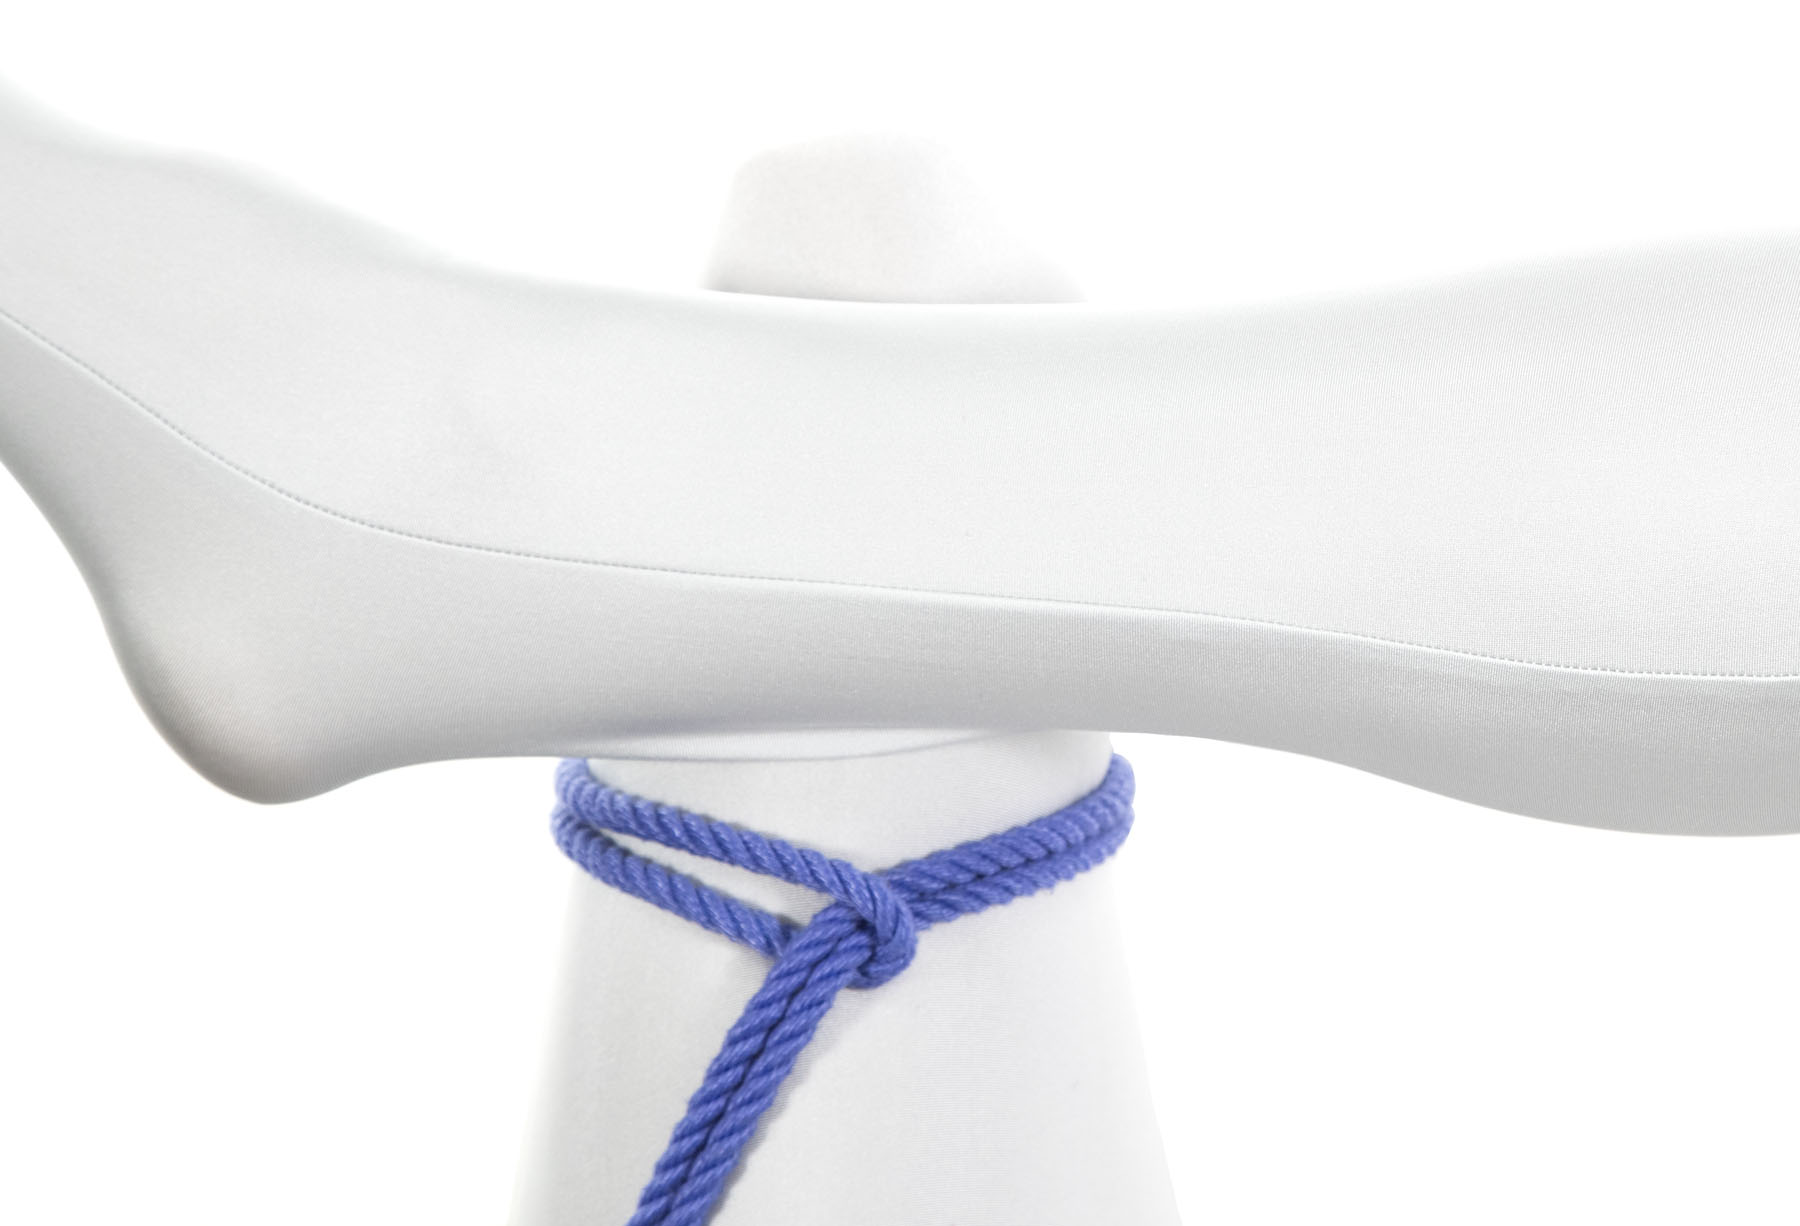
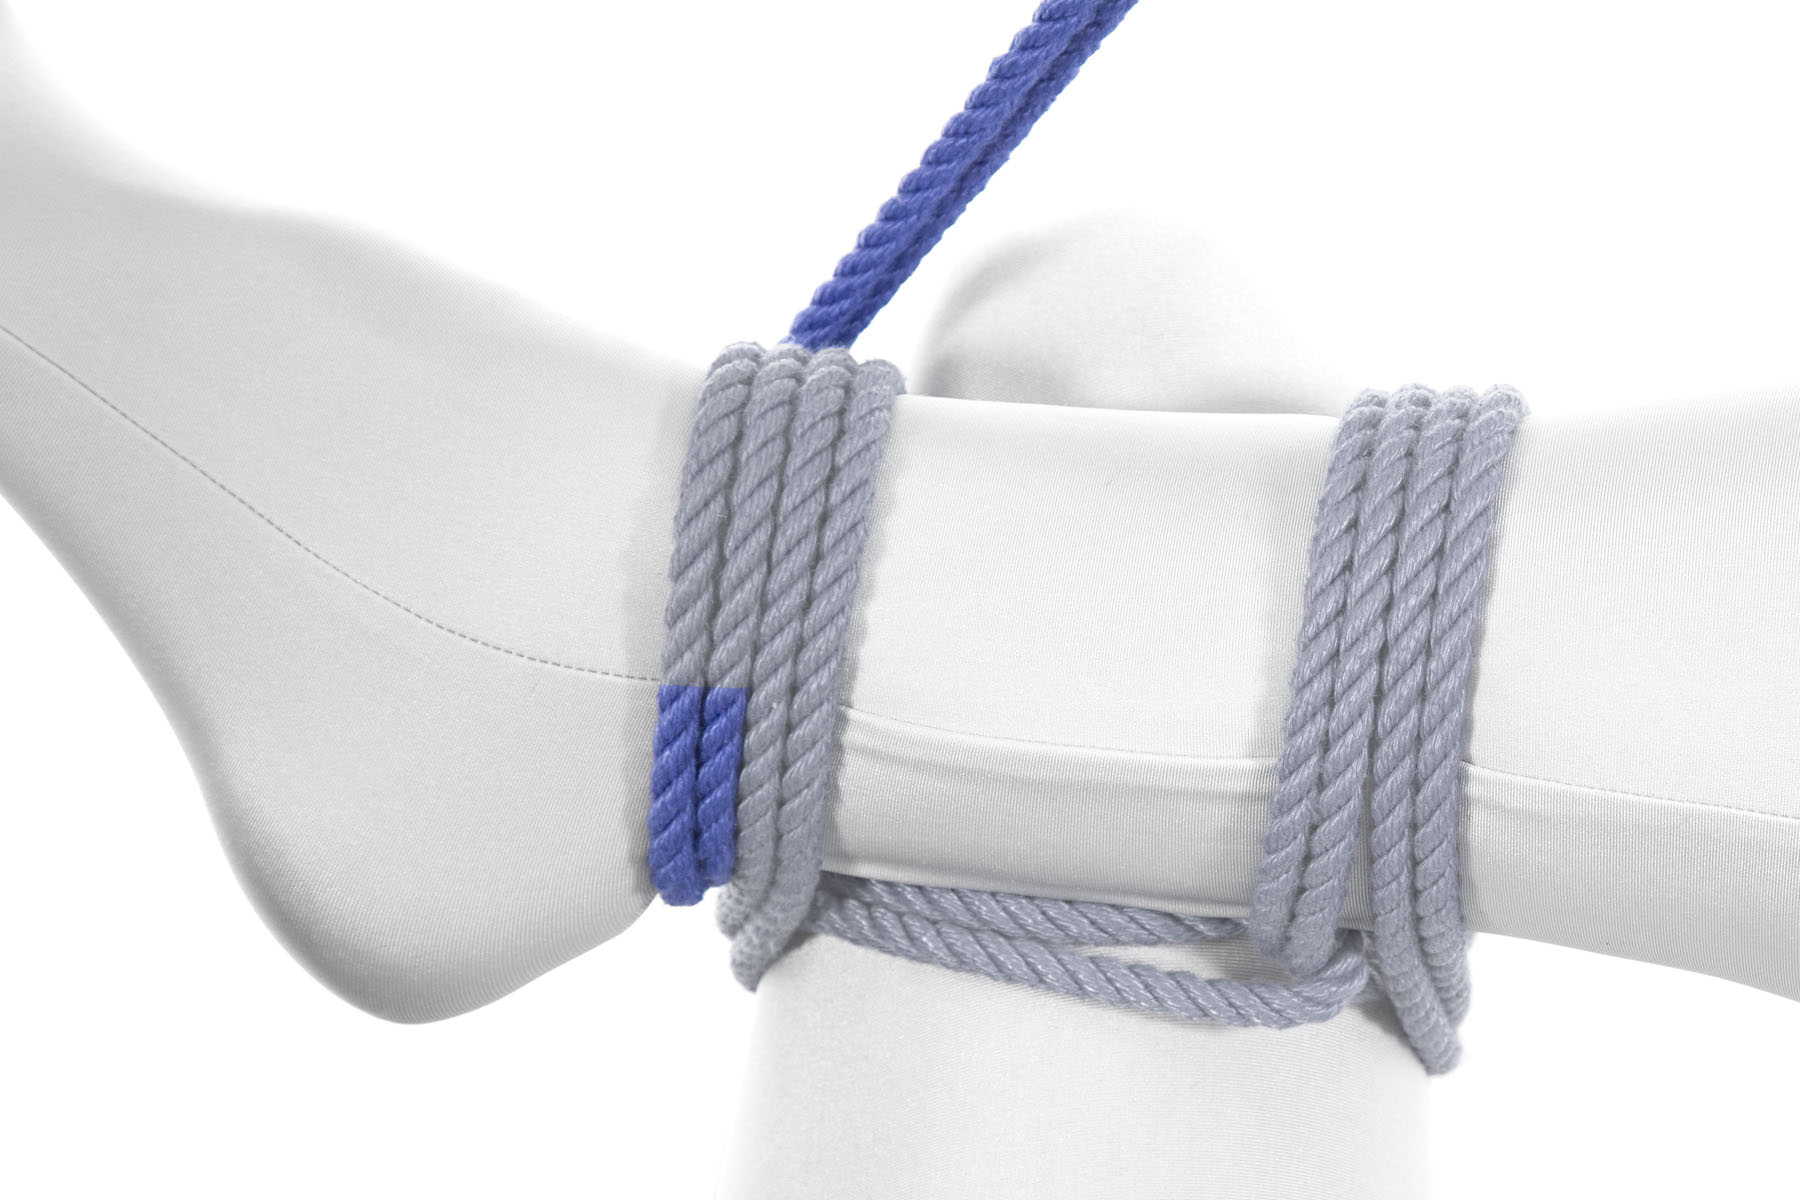
1Cross your right ankle over your left leg.

Pass the bight clockwise around your left leg, just above where the legs cross. Go through the bight, making a lark’s head.

The rope exiting the bight goes up and over the right leg, a few inches above the ankle. It goes down out of sight on the right side of the left leg and reappears on the left side, where it crosses over the right left at the lower ankle. The lines across the right leg are parallel and about four inches apart.

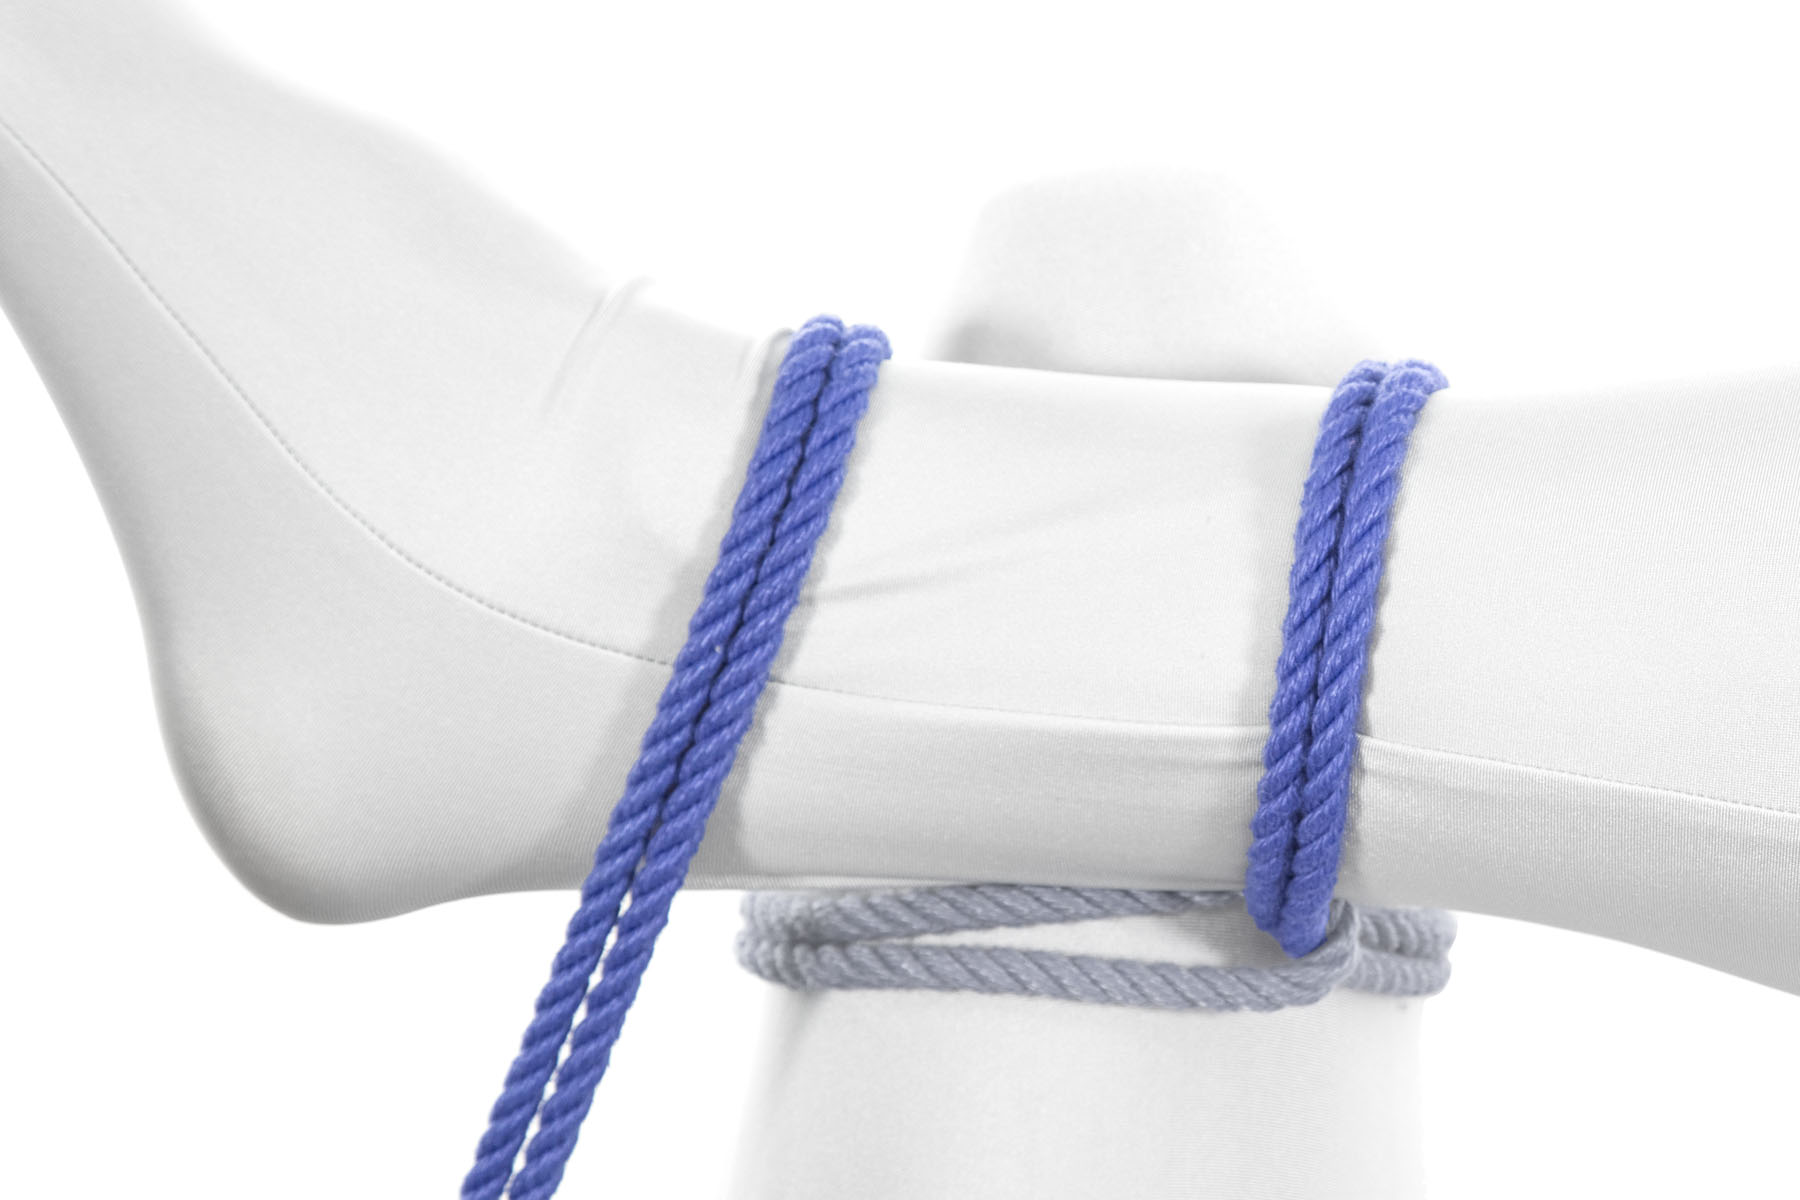
2Go over the right calf, under the left leg, and over the right ankle.

You’re always passing over the right leg and under the left leg, so the rope pulls the legs together.

The rope goes down the left side of the left leg, crosses underneath it, and comes back up on the right side. It the retraces its earlier path, going over the right leg a few inches above the ankle, down and under the left leg, back up the left leg on the left side, and over the right leg right at the ankle.

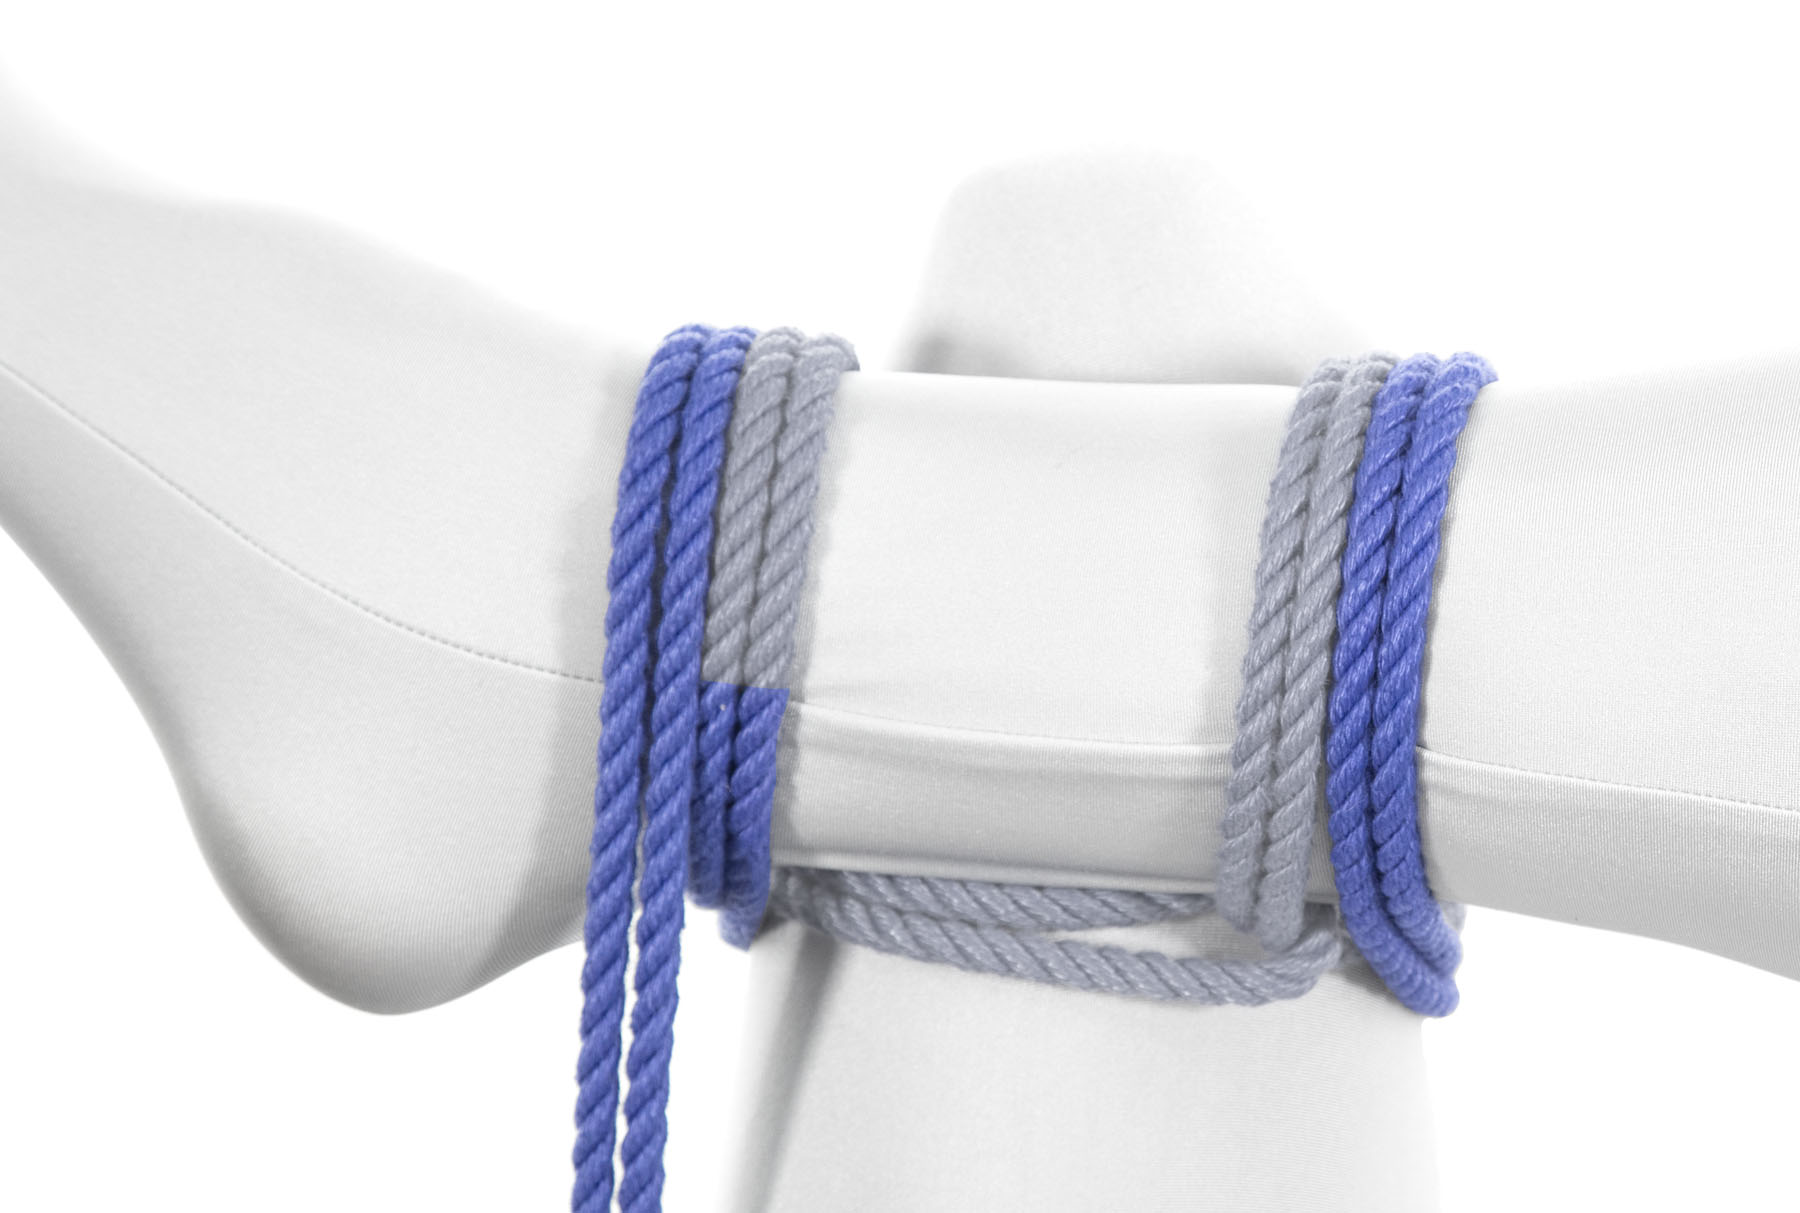
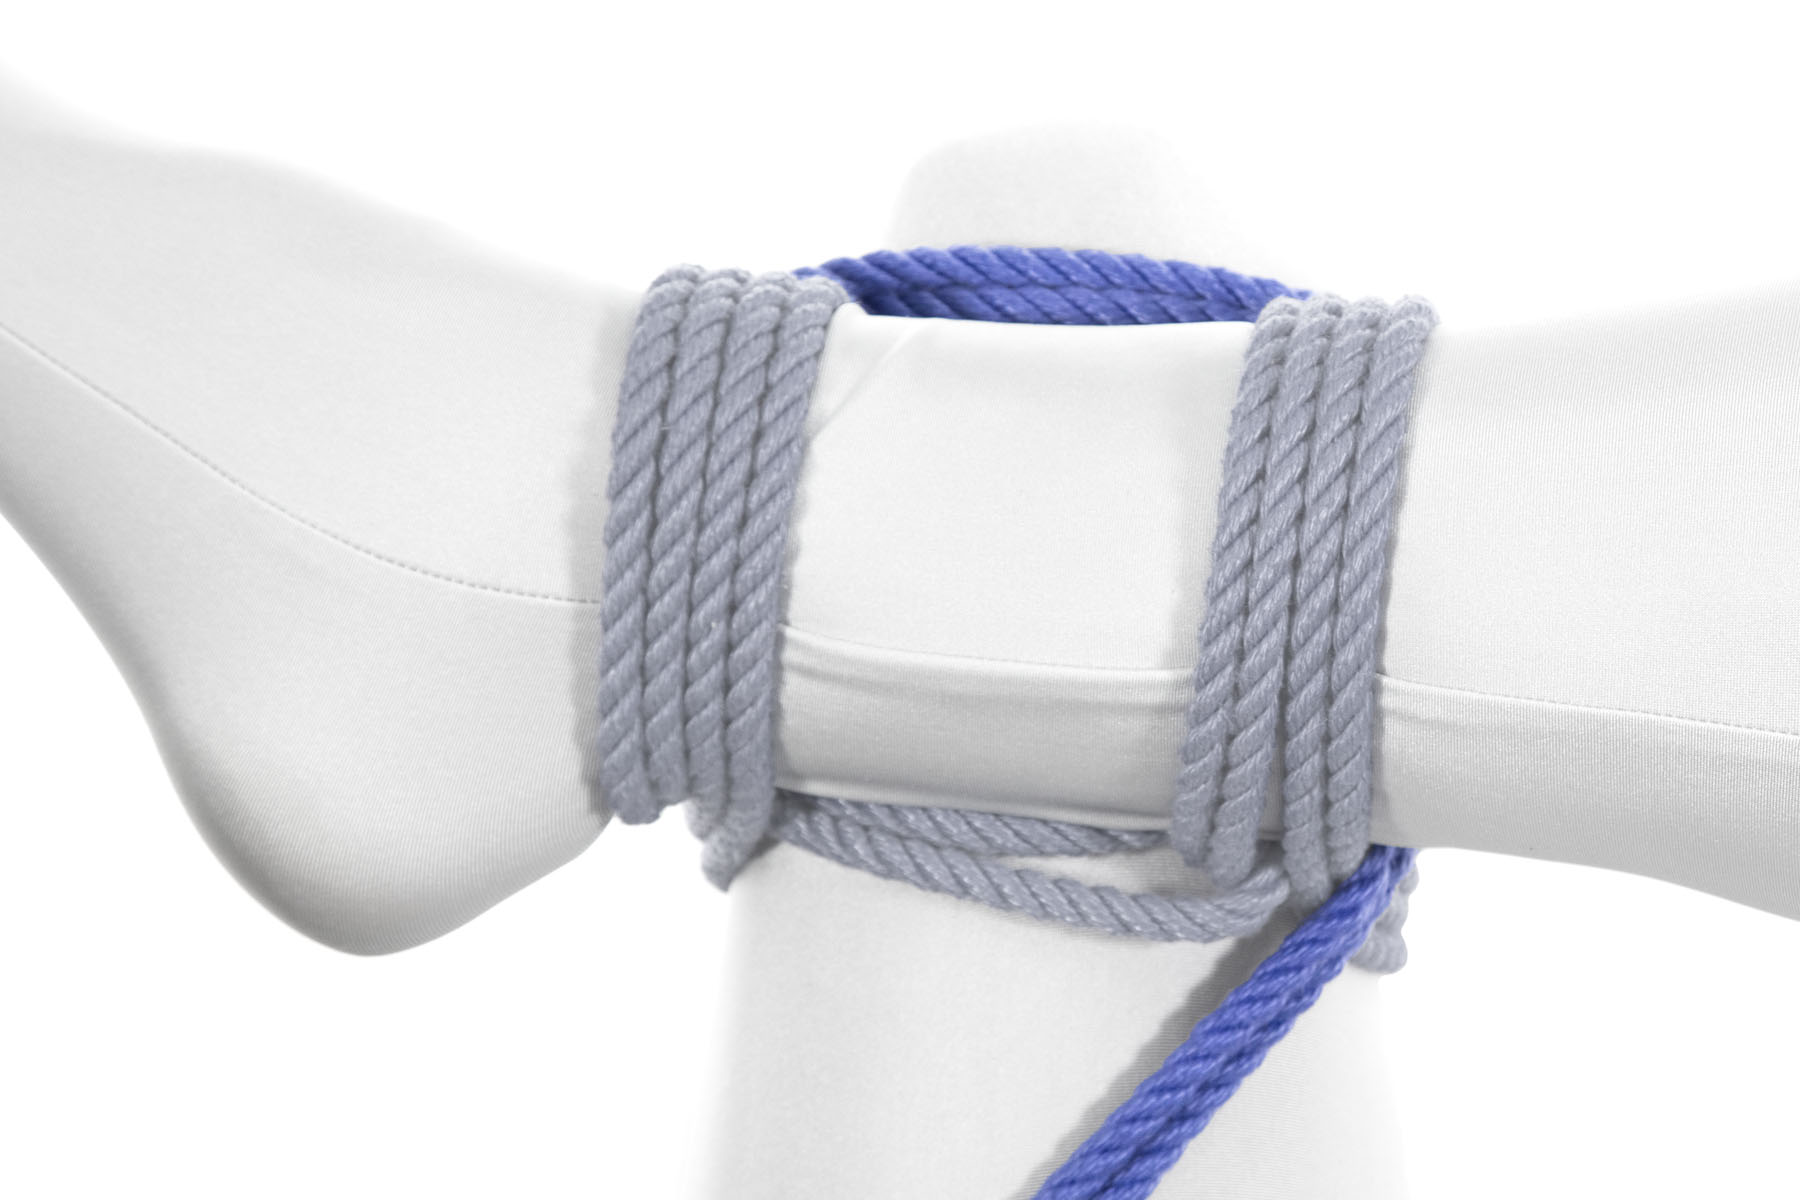
3Retrace your steps, always going over the right leg and under the left one. Lay the second pass neatly next to the first one.

Stop after the second pass over the right ankle.

The rope now continues around the right ankle, going down on the side closer to the body and coming back up on the side away from the body.

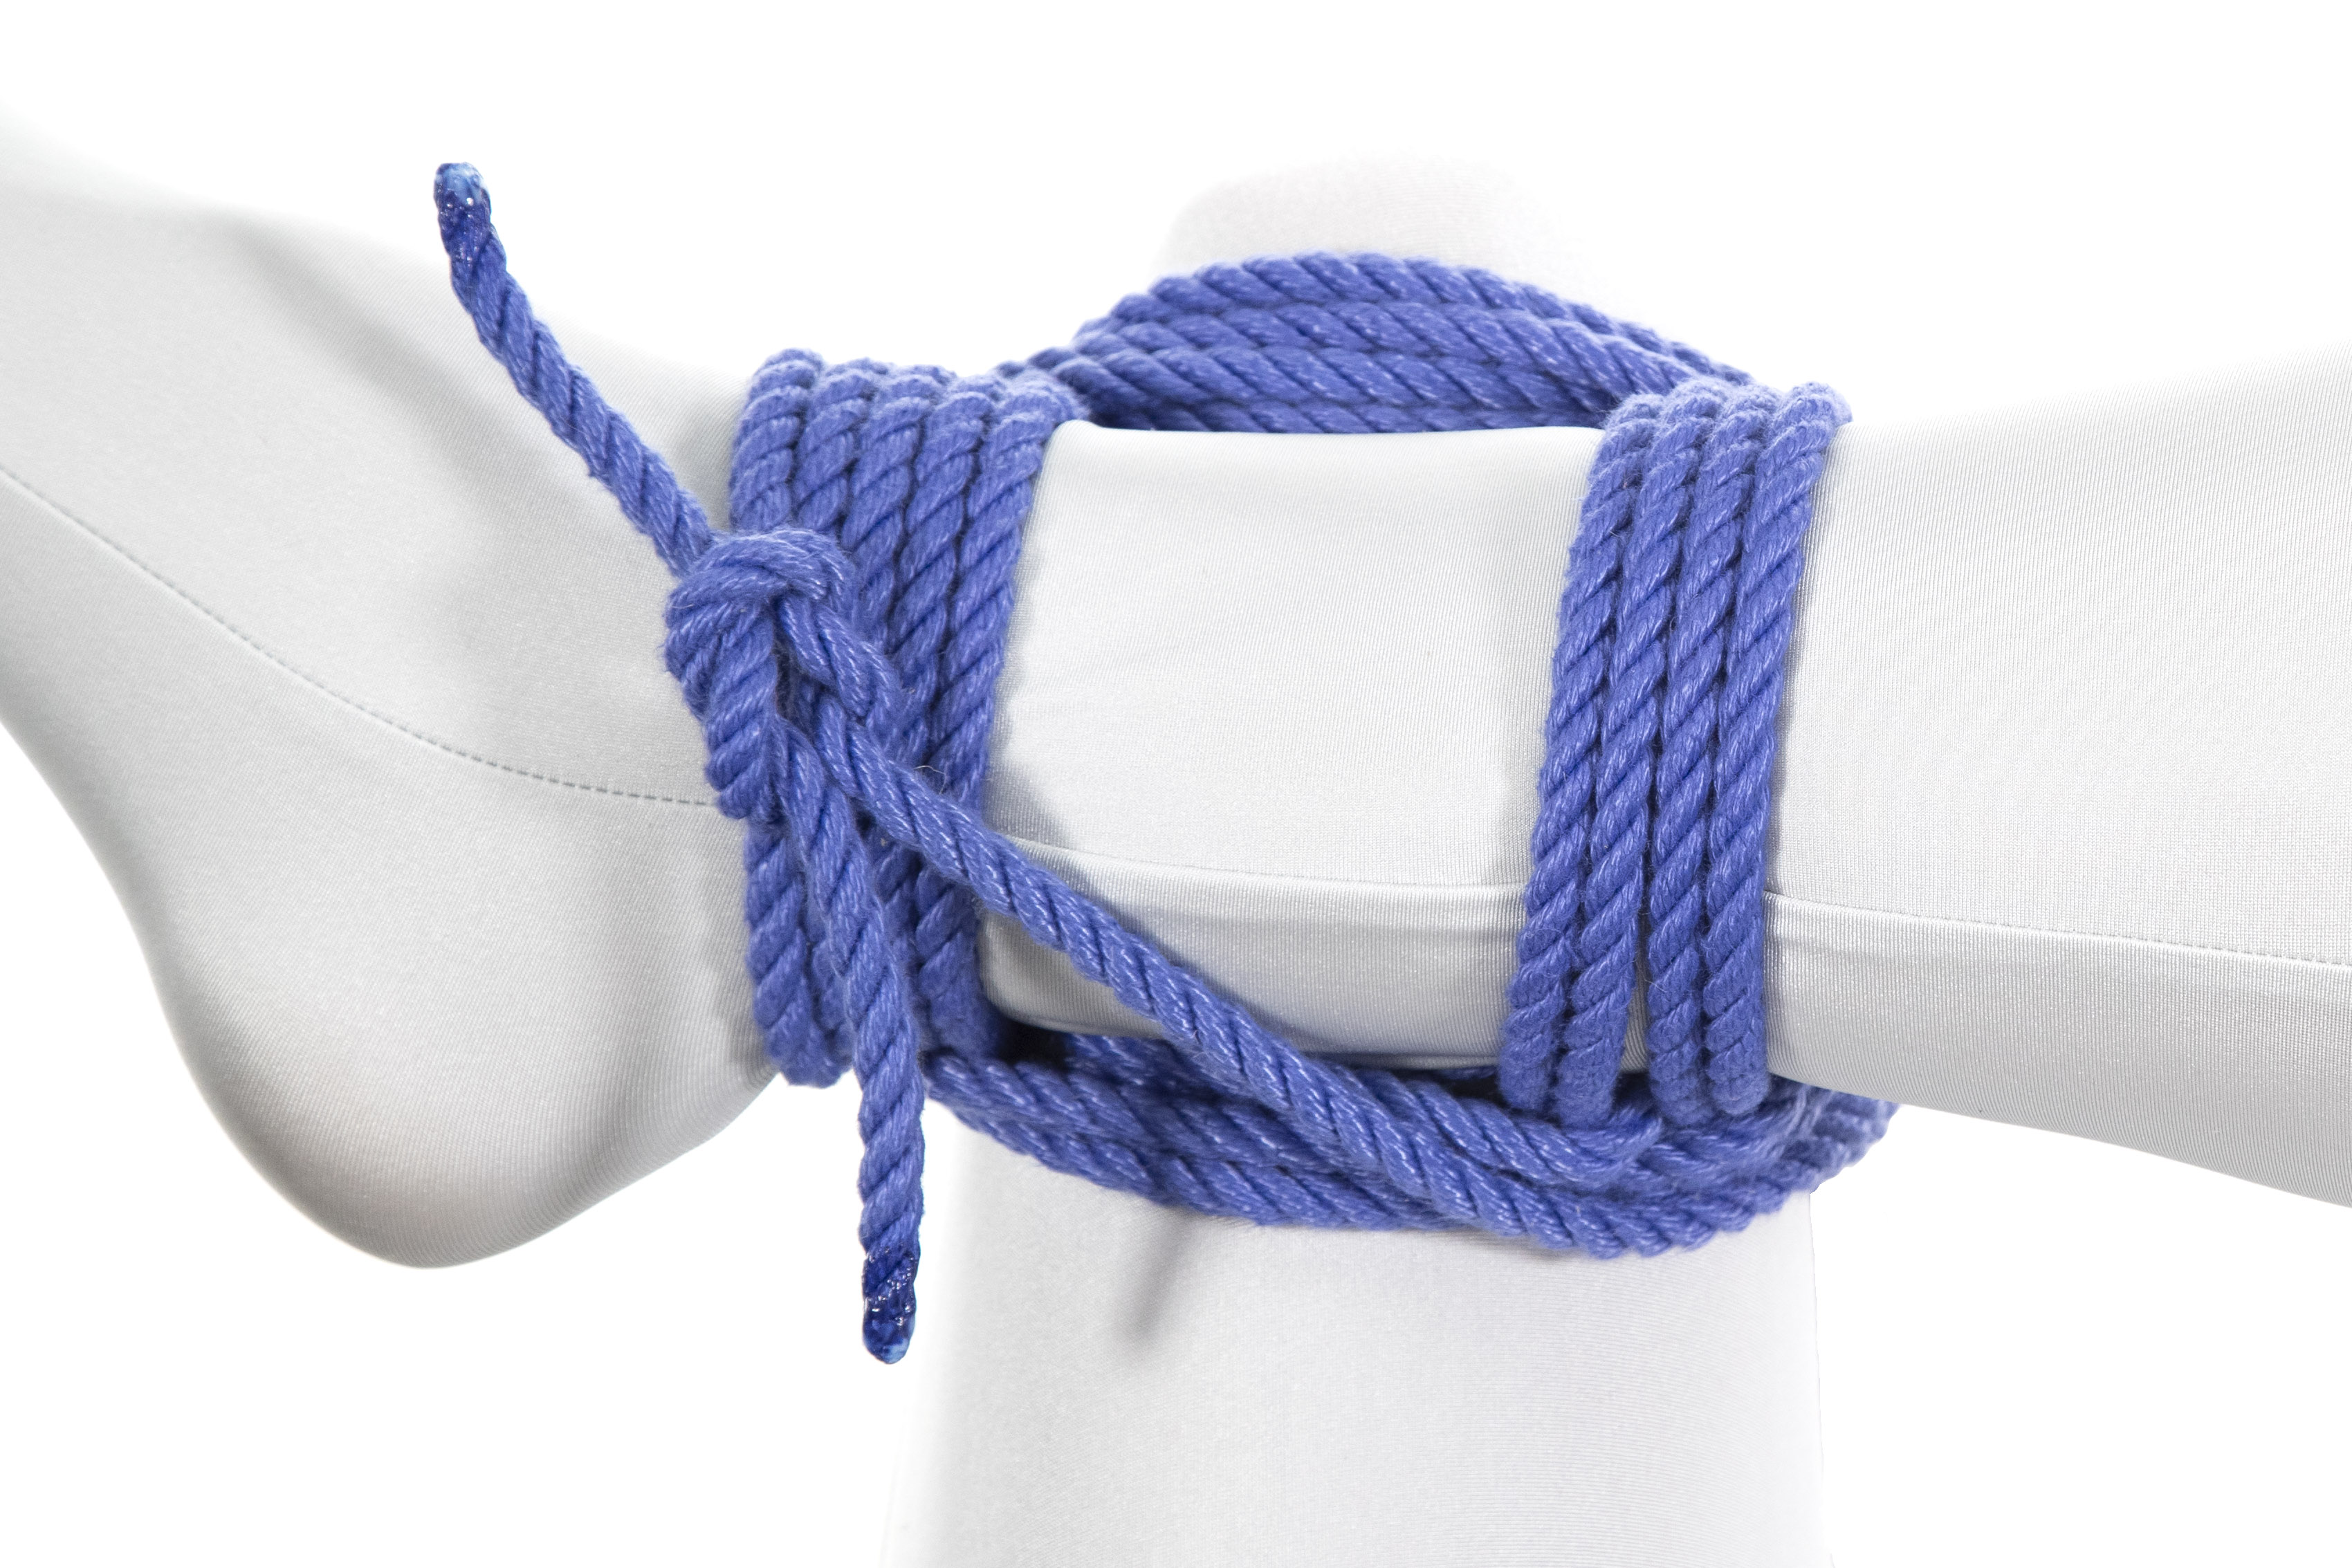
4You’re done lashing the legs together. Now it’s time for some frapping turns to secure everything.

Go under your right ankle and bring the rope out over your left knee.

The rope now starts making a square. It crosses to the right over the left leg right above the knee, and wedged against the wraps that bind the right leg to it. It then crosses under the right leg, moving toward the body. It re-emerges on the lower right of the frame.

5Go over your left knee, under your right calf, and over your left thigh.

Notice that you’re travelling in a square.

The rope now makes a second full square, crossing left over the left leg, moving away from the body under the right ankle, crossing right over the left leg just above the knee, and coming back toward the body under the right leg. It again ends up in the lower right of the frame.

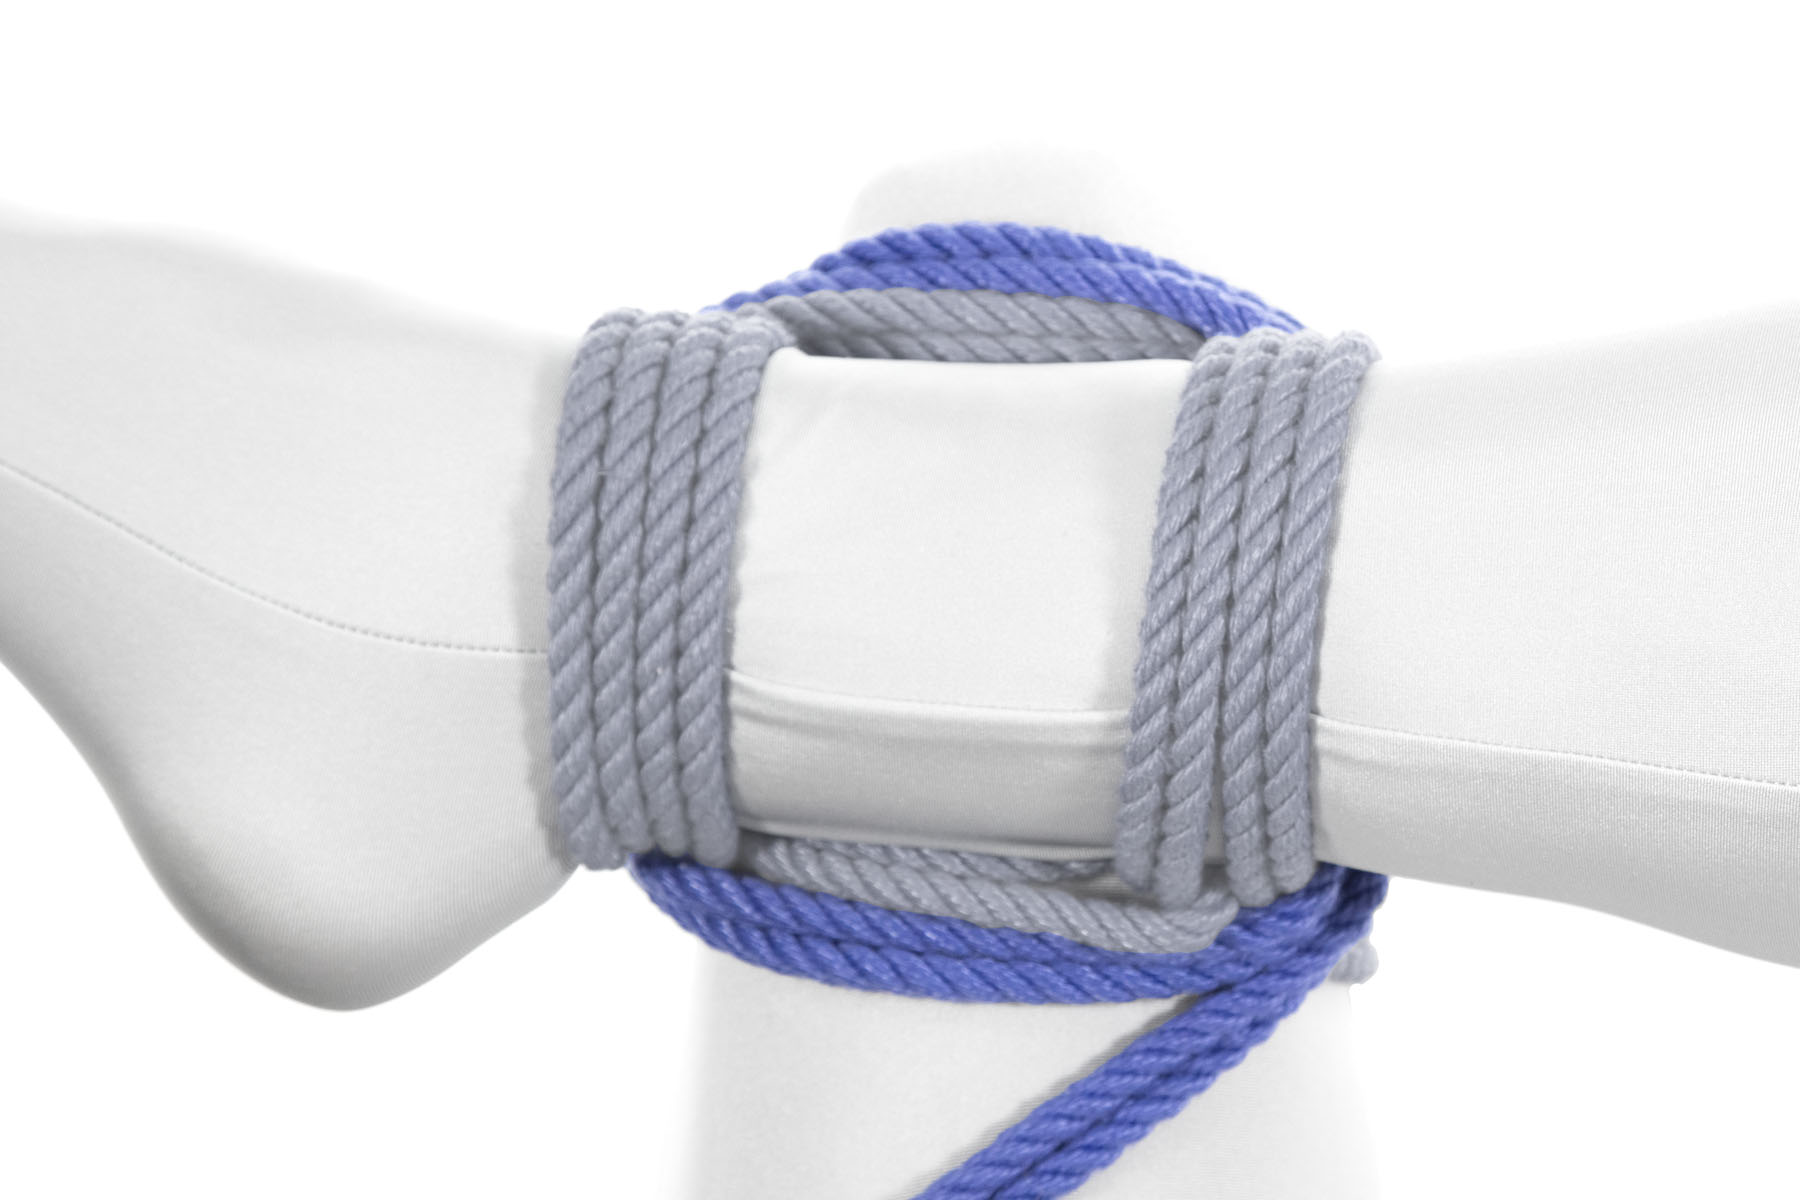
6Make a second square, retracing the path of the first one.

The ends of the rope have been split in preparation for tying a square knot. One end goes diagonally up and over the right ankle, lying on top of it. The other end continues to follow the sqaure, crossing to the left over the left leg and then moving away from the body under the right ankle. It then wraps up around the ankle and meets the first end on top of the ankle.

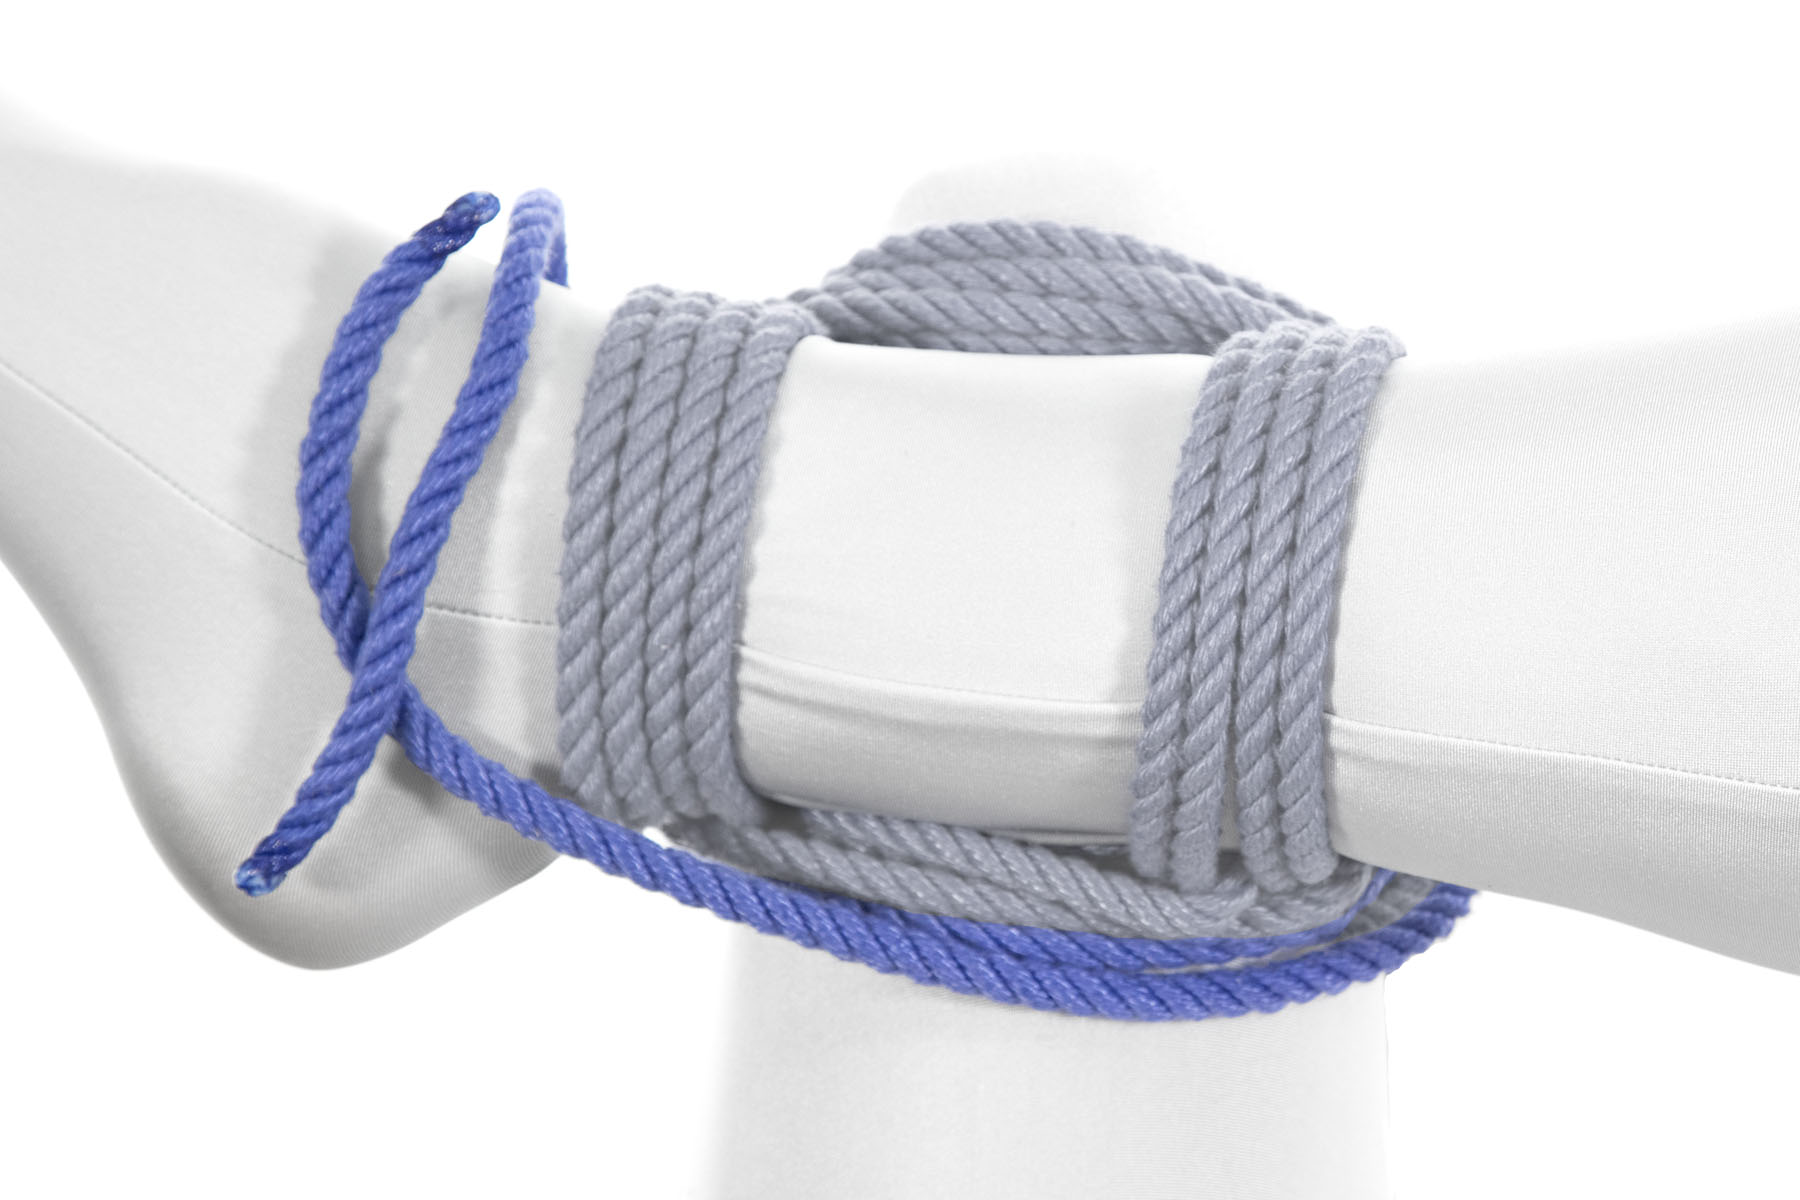
7Separate the ends of the rope.

Run one underneath and around the right ankle and the lay the other on top of the ankle.

The two ends have been tied together with a square knot that lies on top of the ankle.

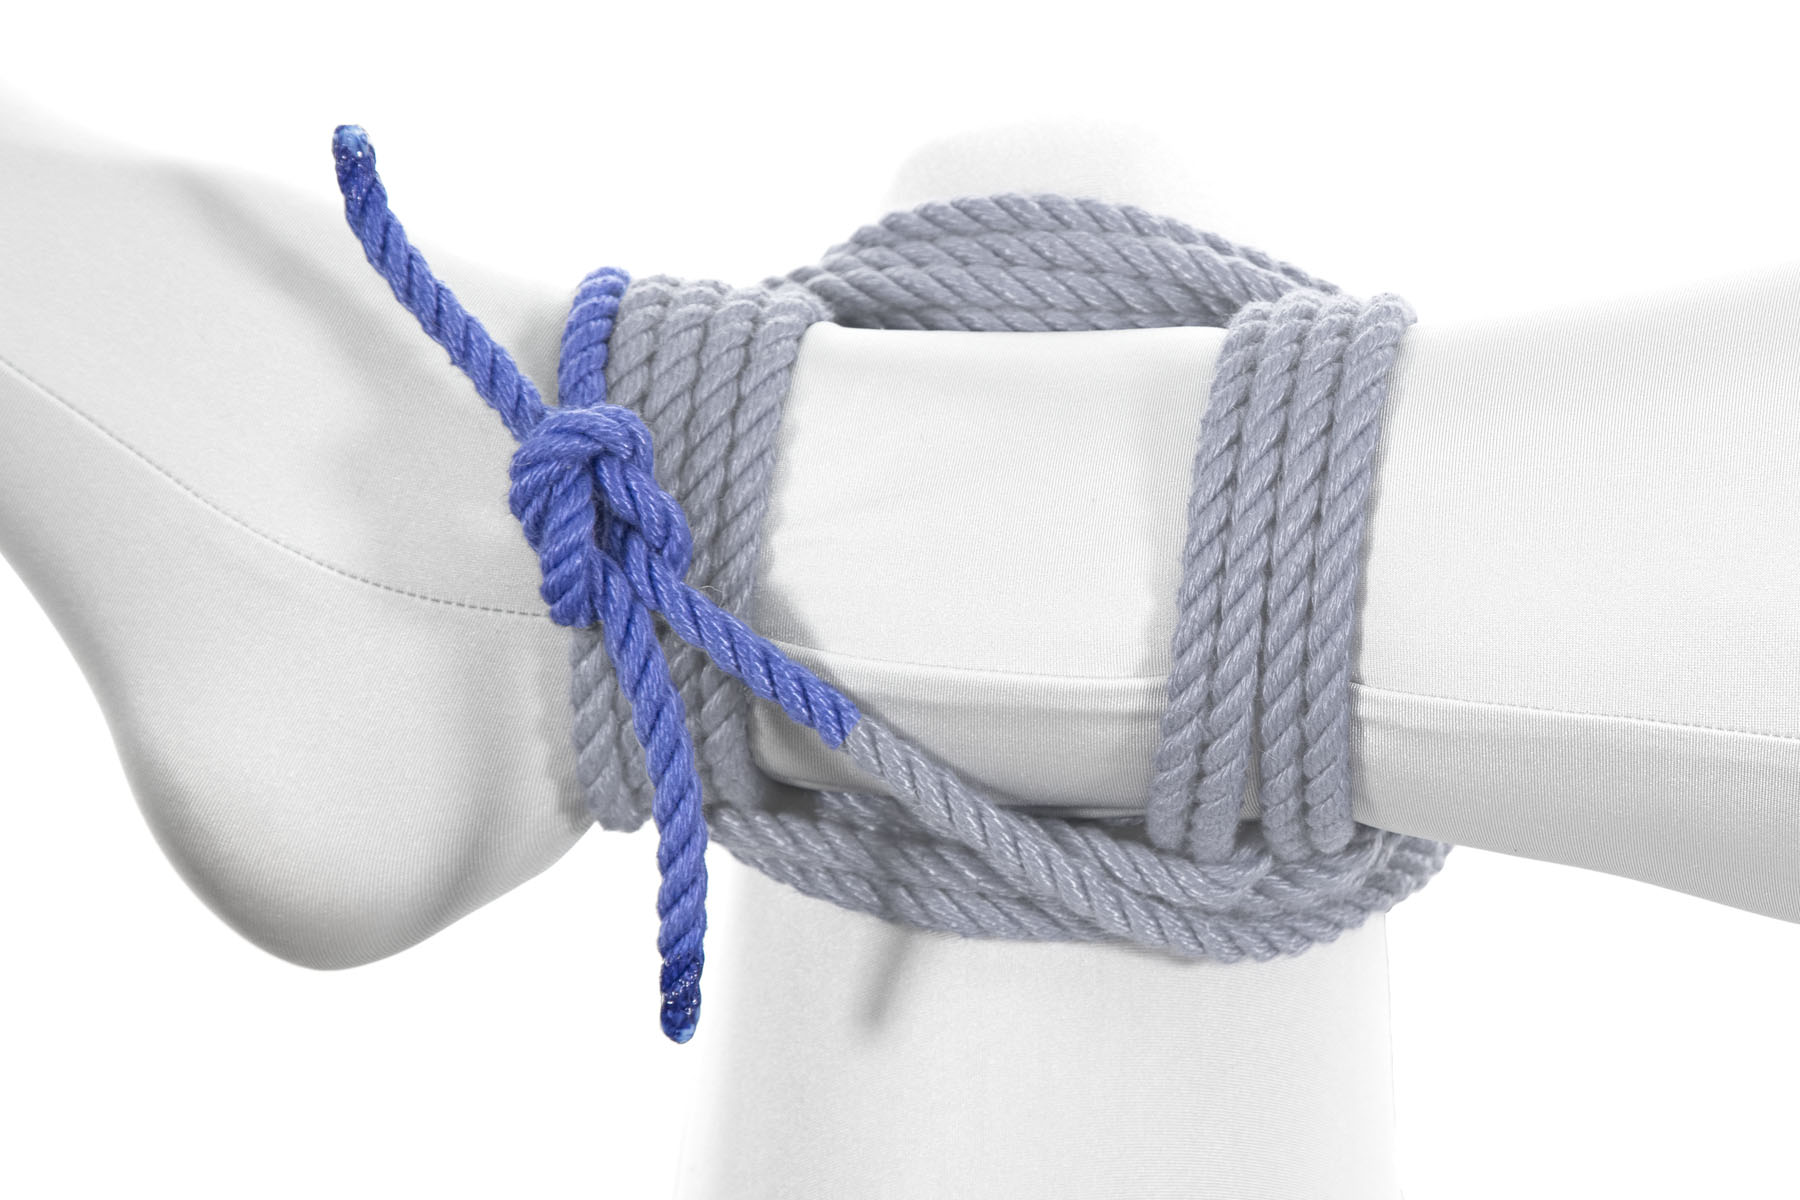
8Tie the ends of the ropes together with a square knot.

Pulling on the ends of the rope will cinch the frapping turns. Don’t do that!

0

This work is licensed under a Creative Commons Attribution-ShareAlike 4.0 International License.